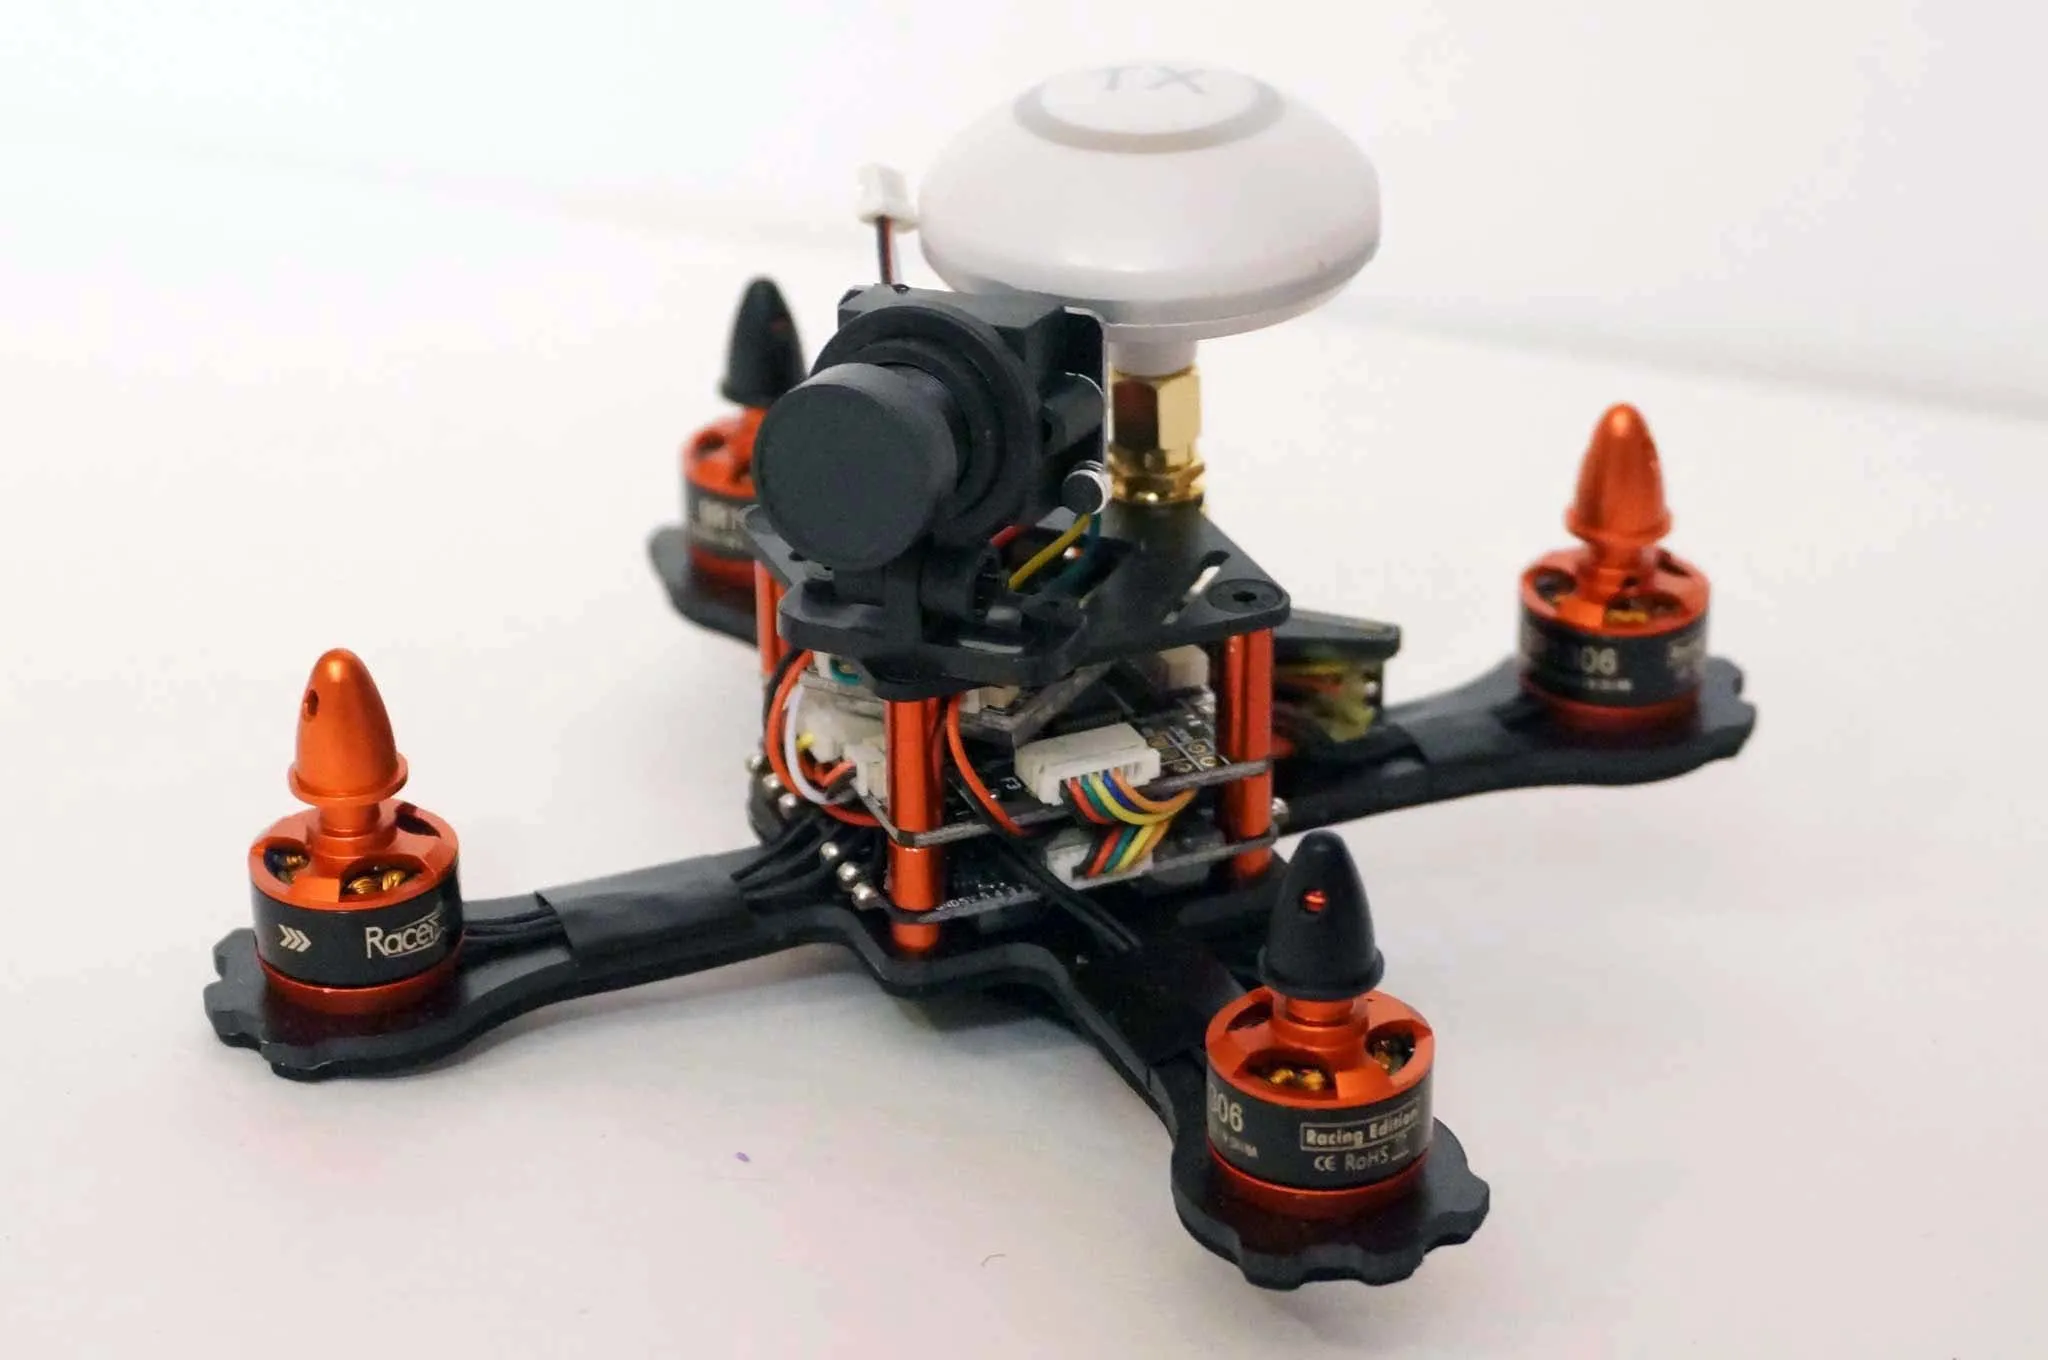
Falcon 120
The Falcon 120 is a micro brushless x-configuration quadcopter. This is a review and setup guide.
The Eachine Falcon 120 is similar to the
Parts
When ordering the Falcon 120, you’ll have a choice of what flight controller to order with it. I got the SP Racing F3 flight controller. To run Betaflight, you’ll want at least an F3 flight controller. The SP Racing F3 is not quite as nice as the
You’ll also need a battery. I ordered a little 4S battery.
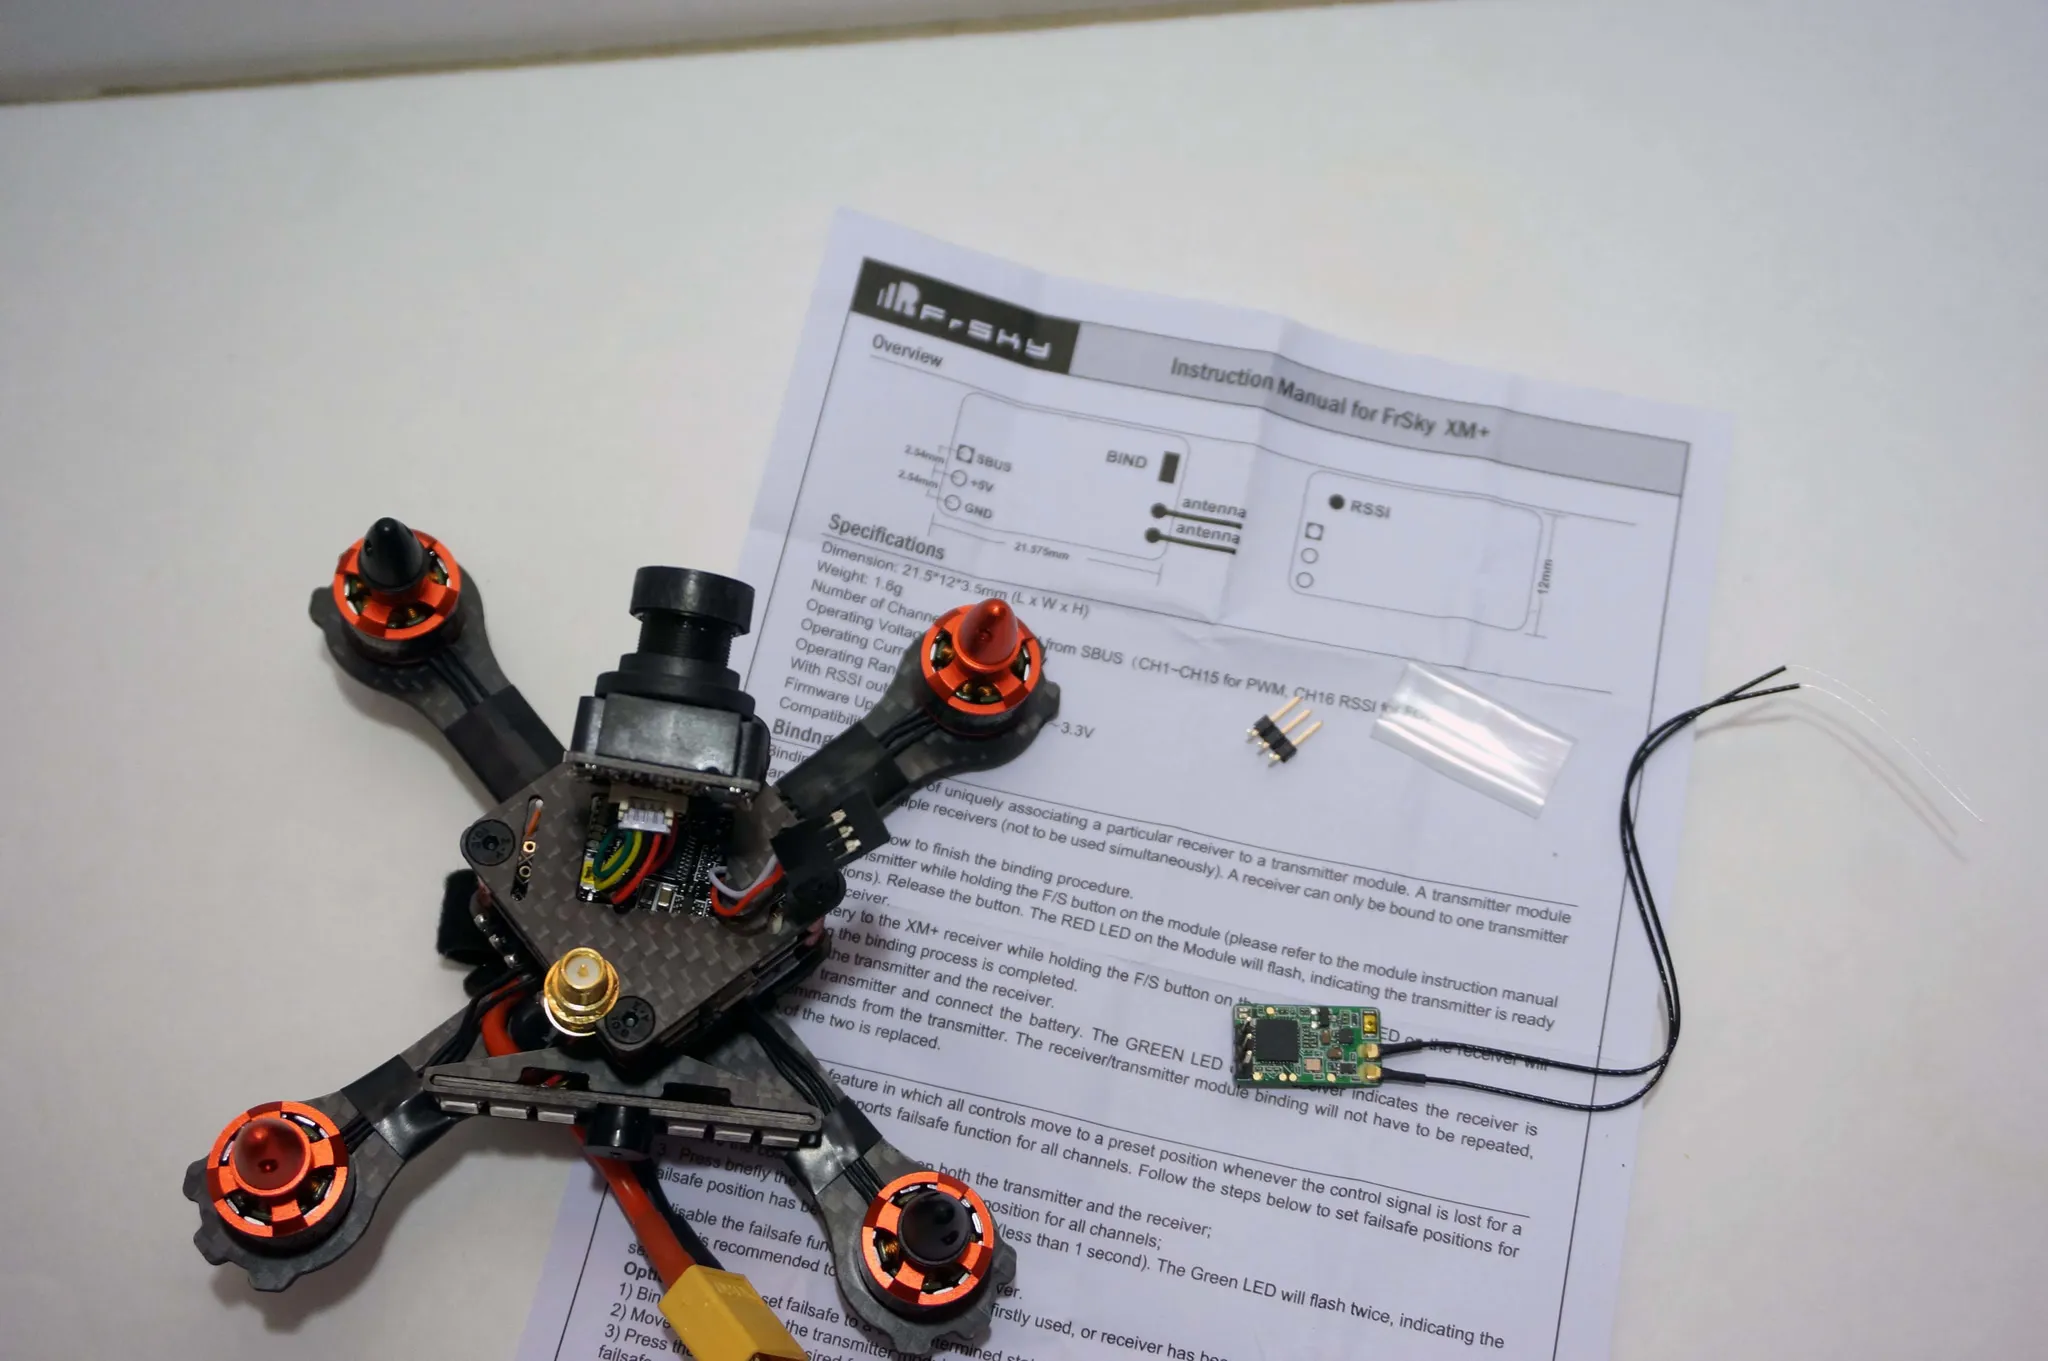
Finally, you’ll need a receiver. I picked the new (and very performant/cost-effective) FrSky XM Micro 16 Channel Receiver.
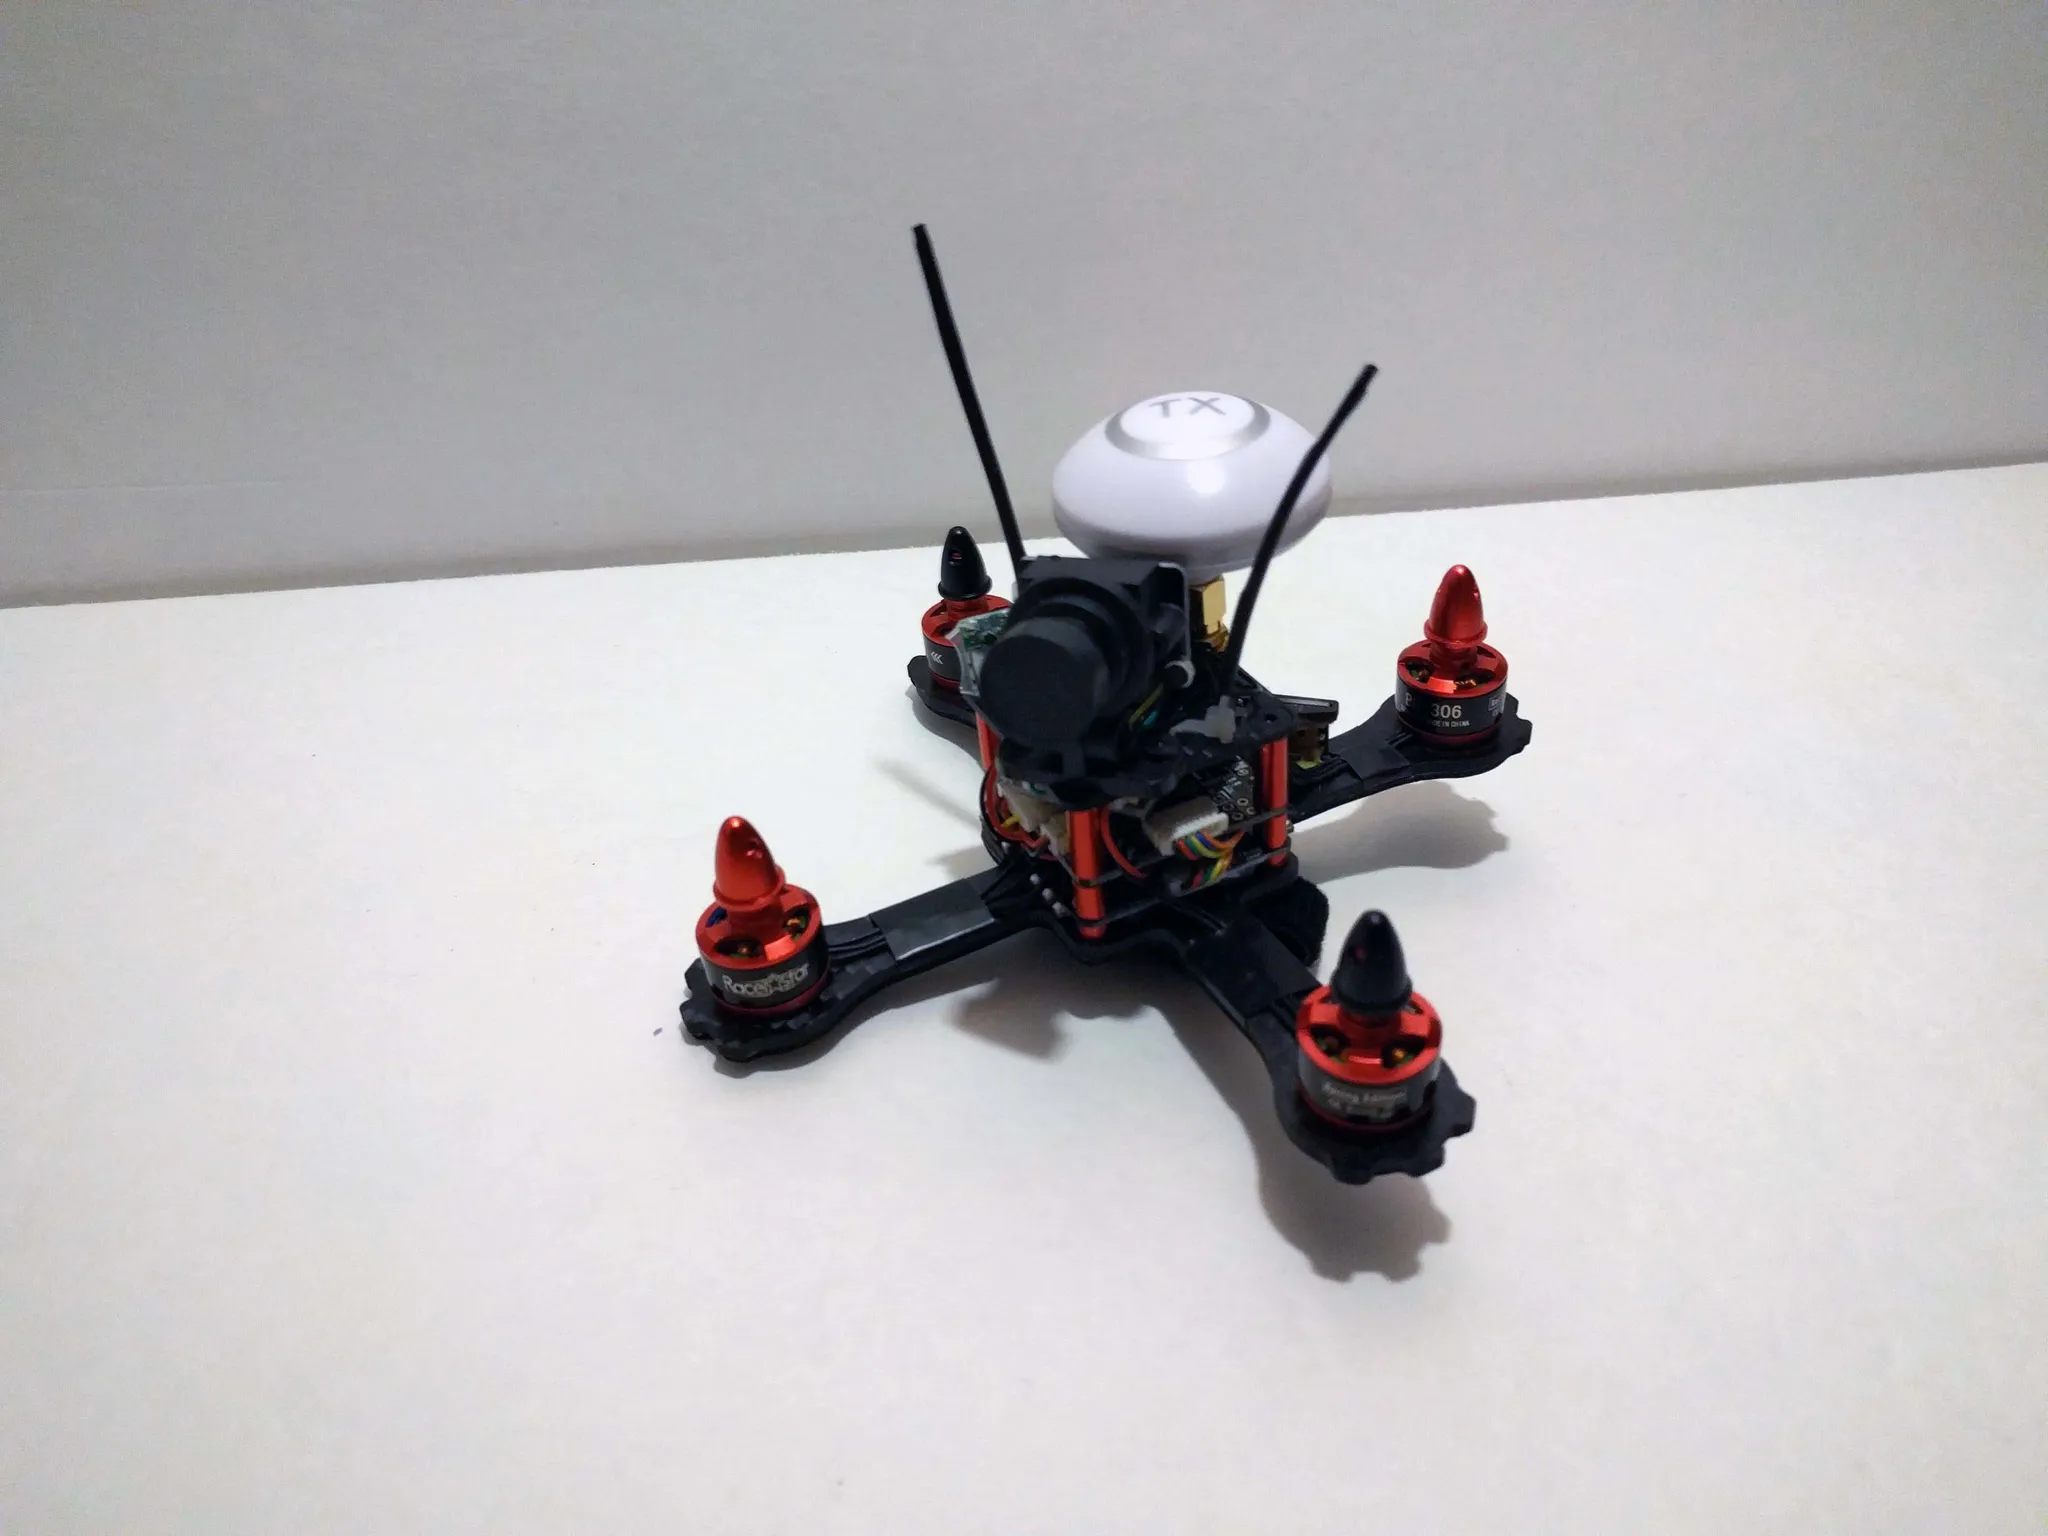
This tiny quadcopter comes almost ready to fly, in a nicely padded box. It includes a circular polarized video transmitter antenna.
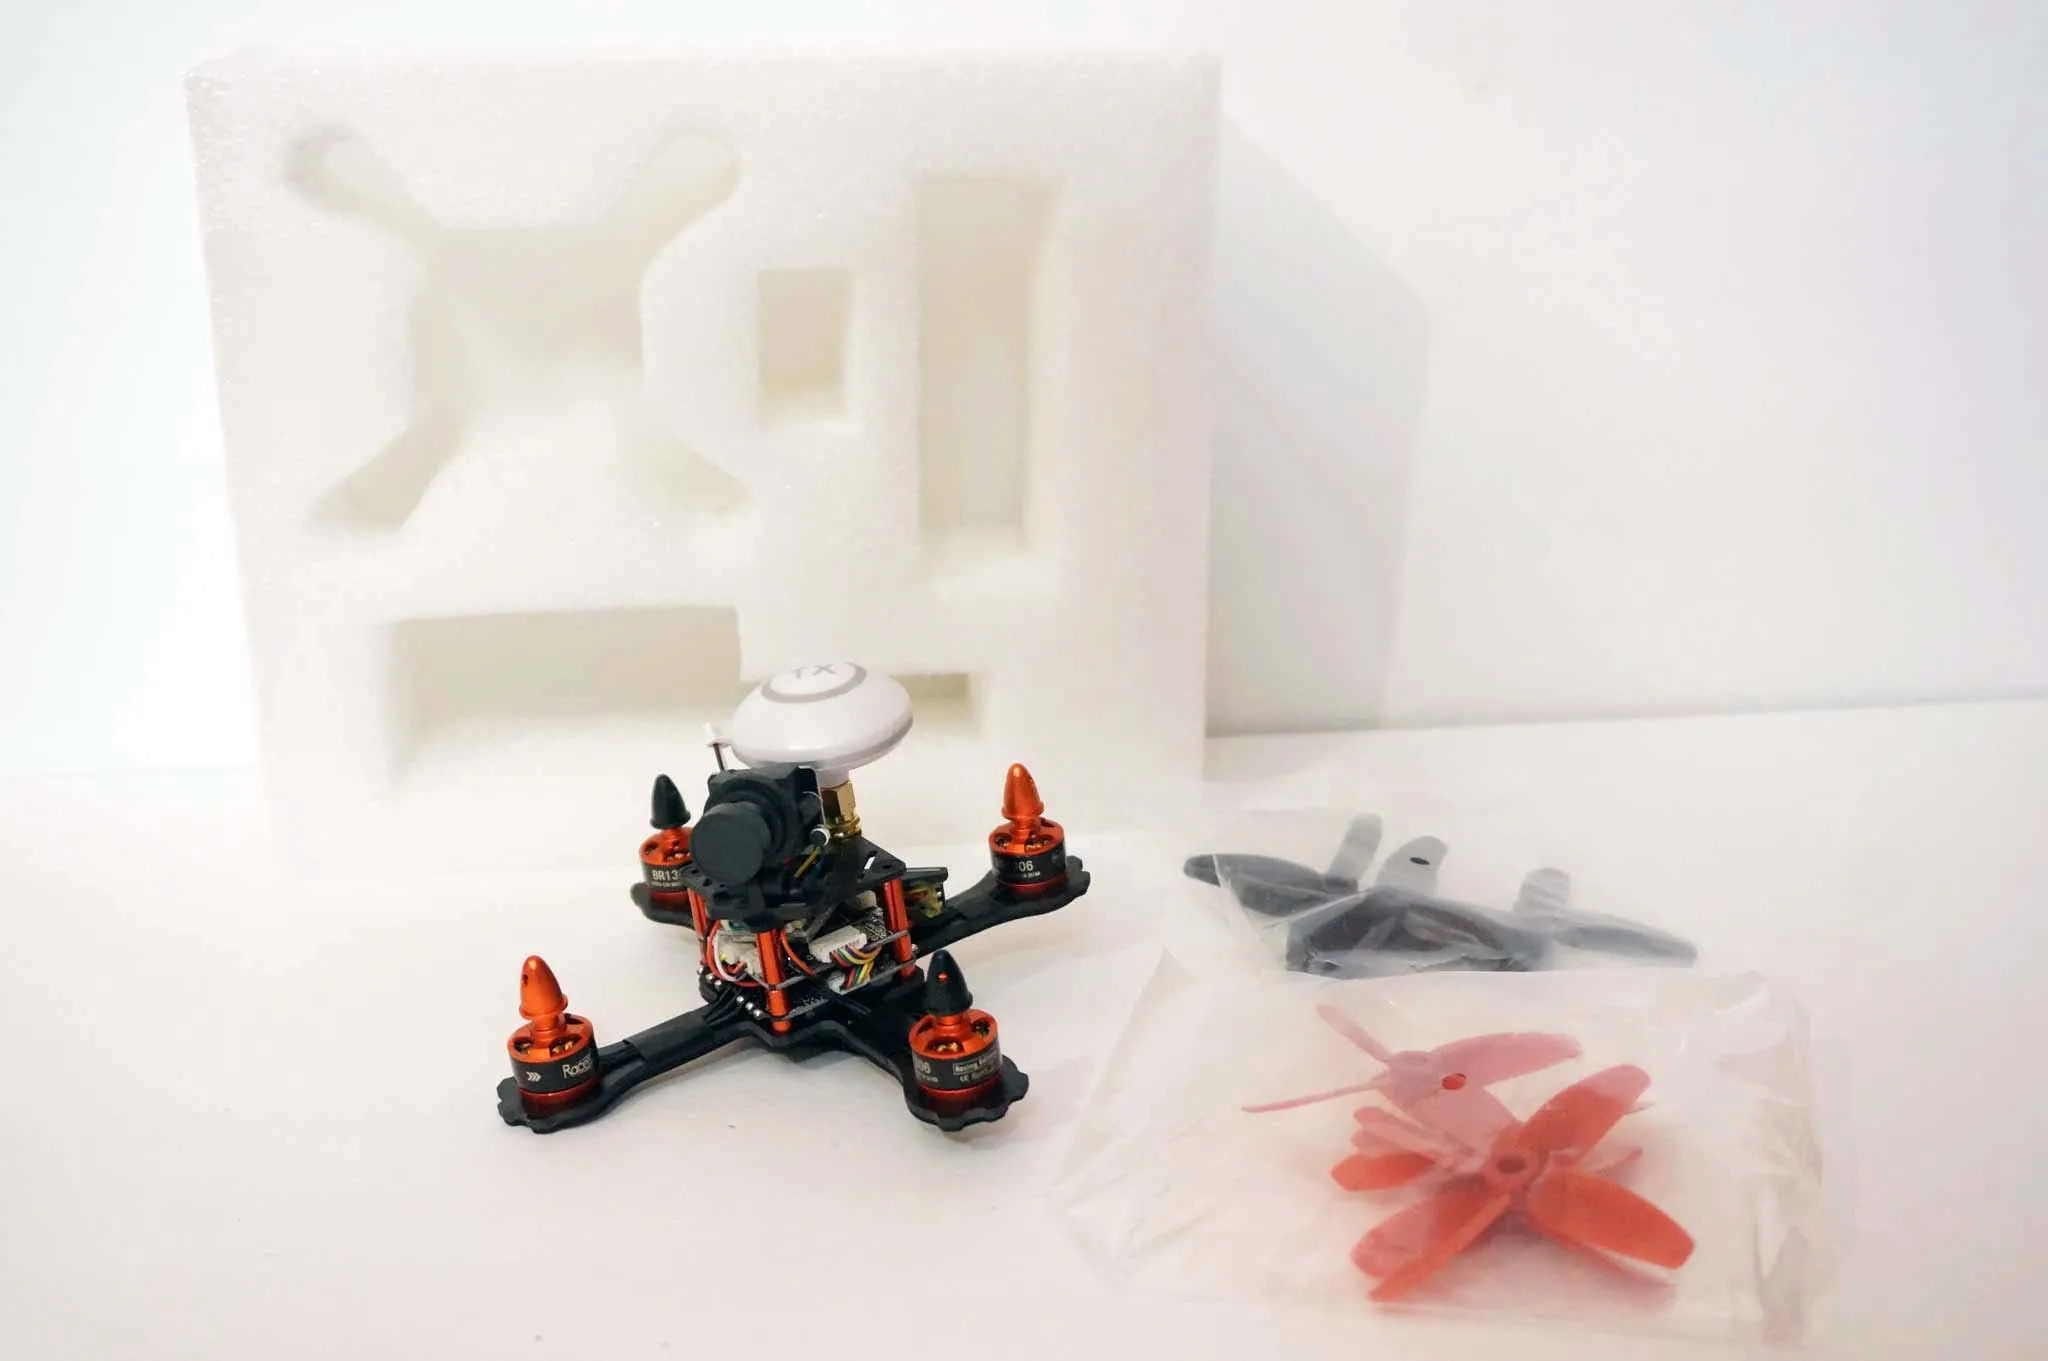
Eight 4-blade props mean you’ll have a full set of spares.
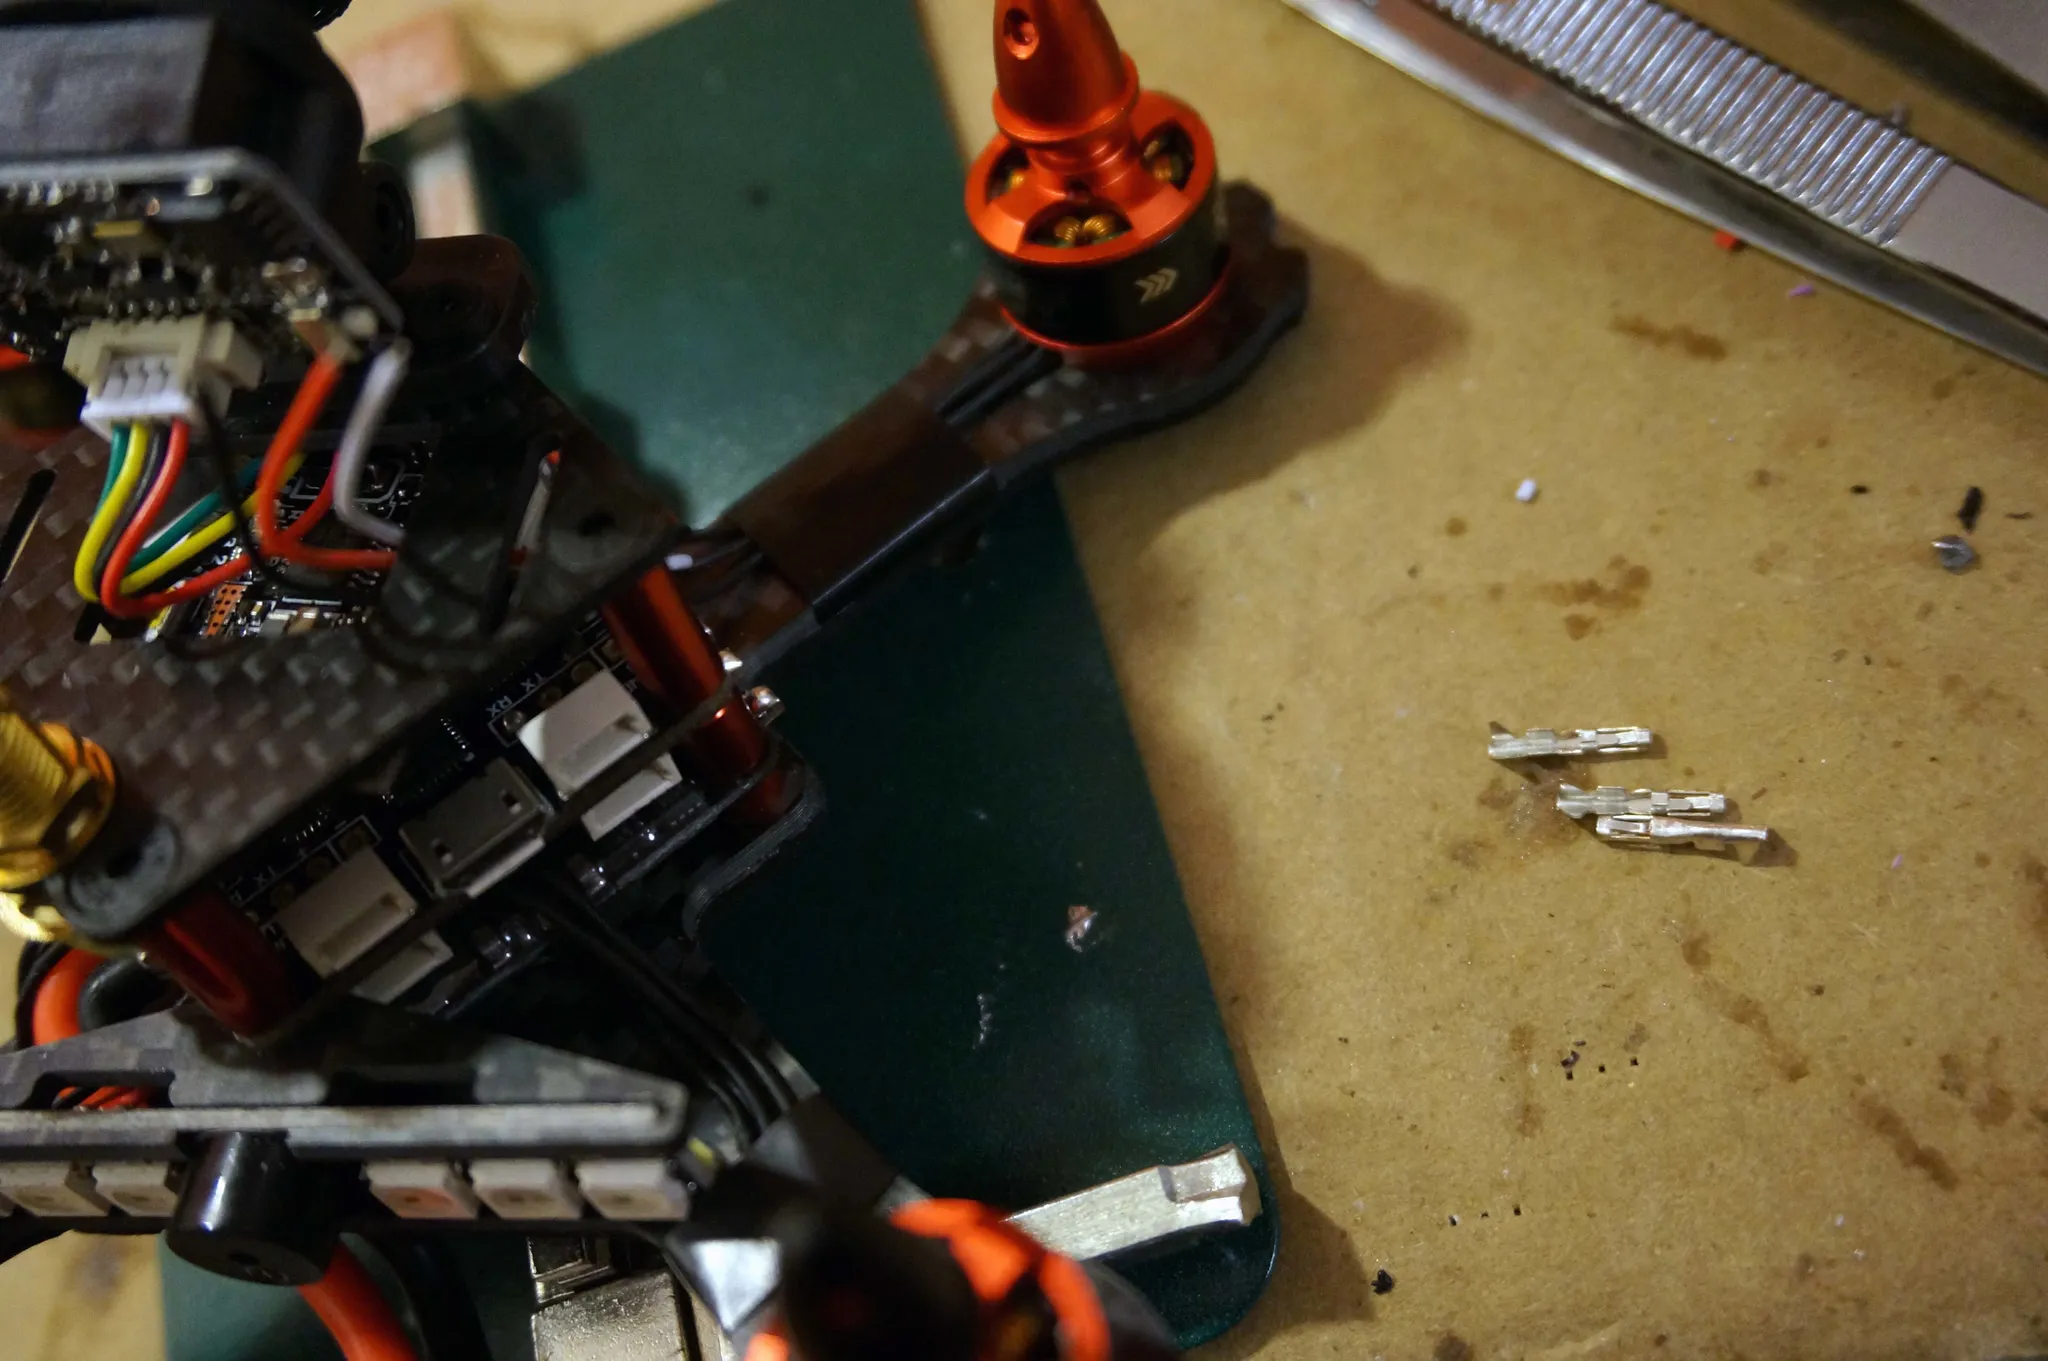
Assembly
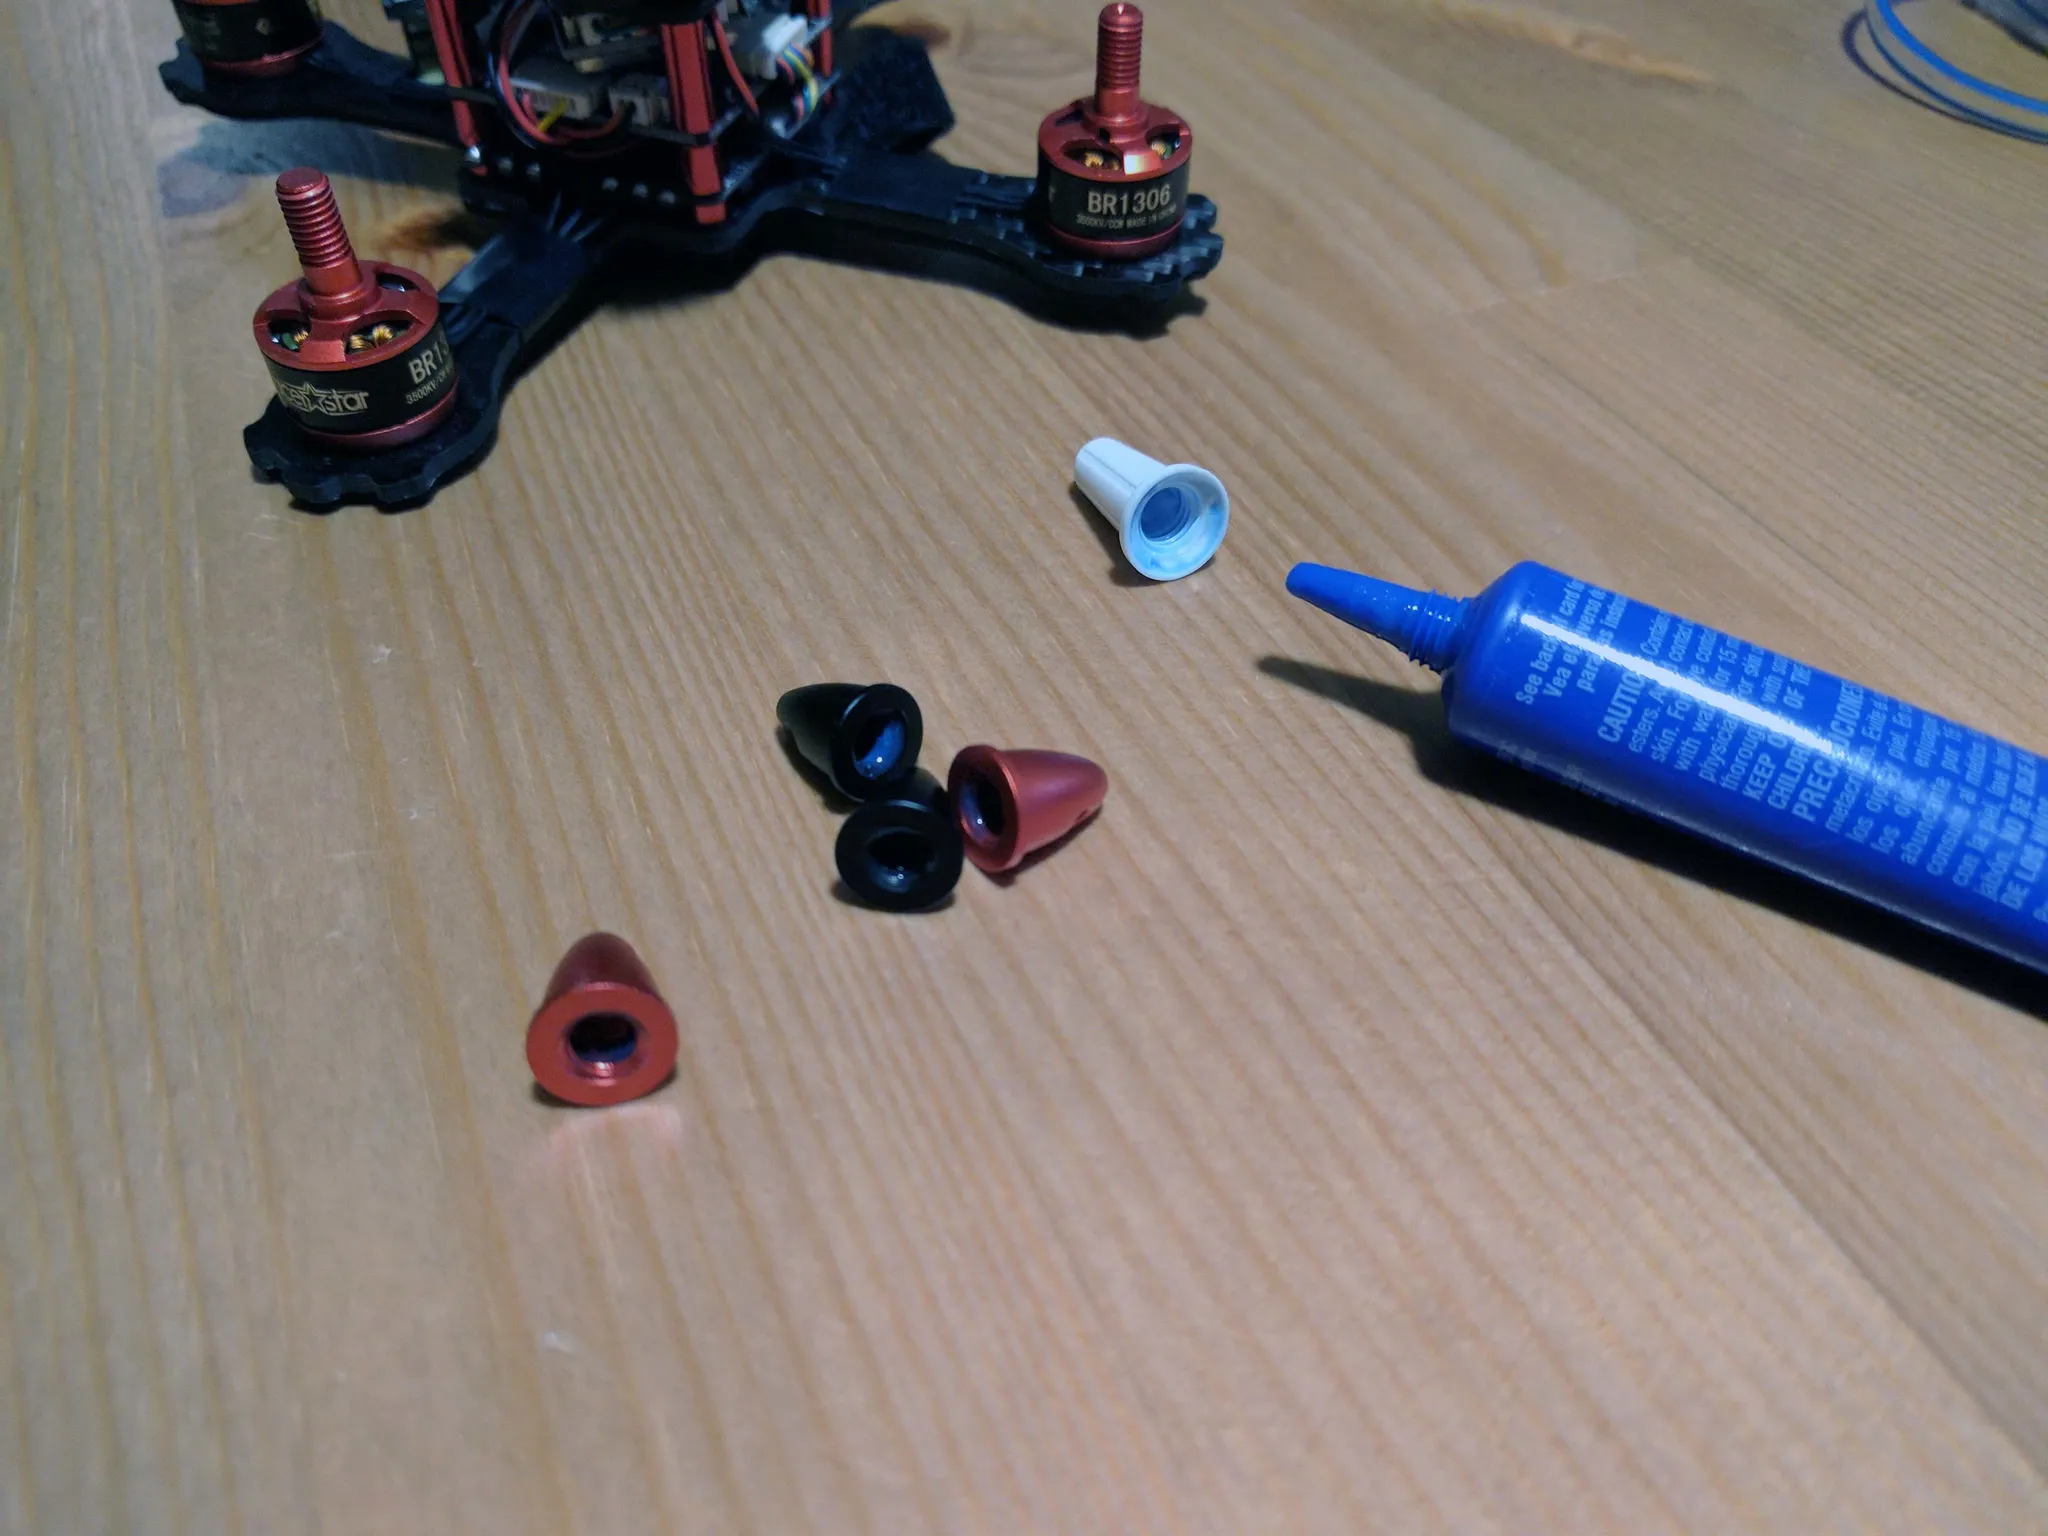
We don’t need to do too much to finish the assembly and get this ready to fly. However, a pro tip with these prop nuts: since they don’t have nylock inserts, you’ll want to make sure you put some blue threadlock in the nuts. There is a slight problem, though: liquid threadlock will interact with the plastic in the propellers and cause them to crack. Therefore, you’ll want to put the threadlock in and let it dry before putting them on.
To prepare the receiver, solder on the 2.54mm pin headers.
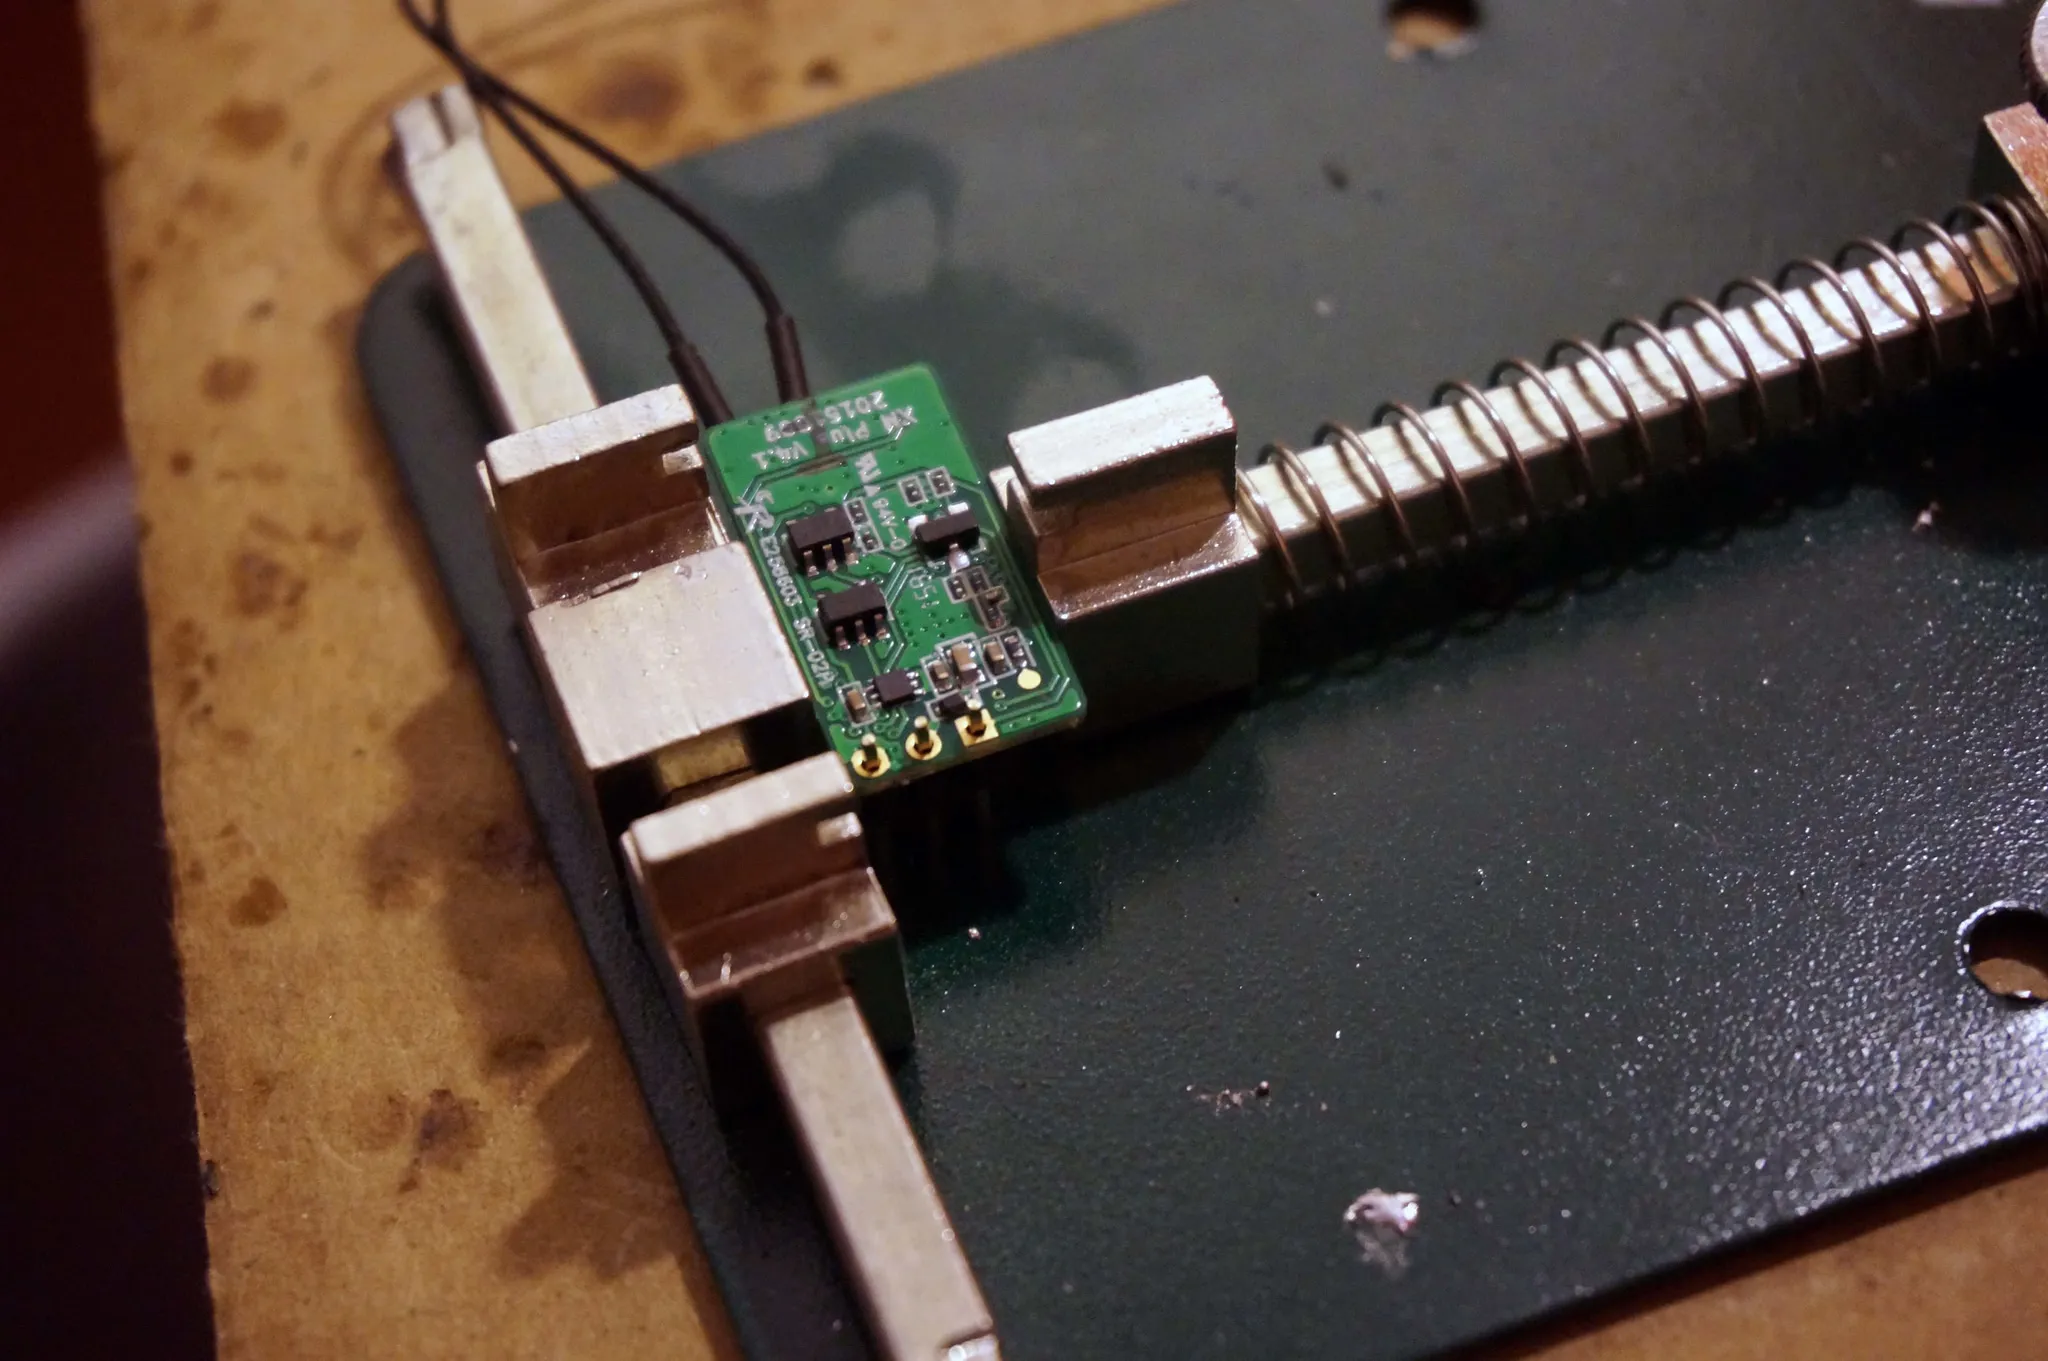
I removed the micro JST SH1.0 connector from the quadcopter and soldered on some 2.54mm pin headers.
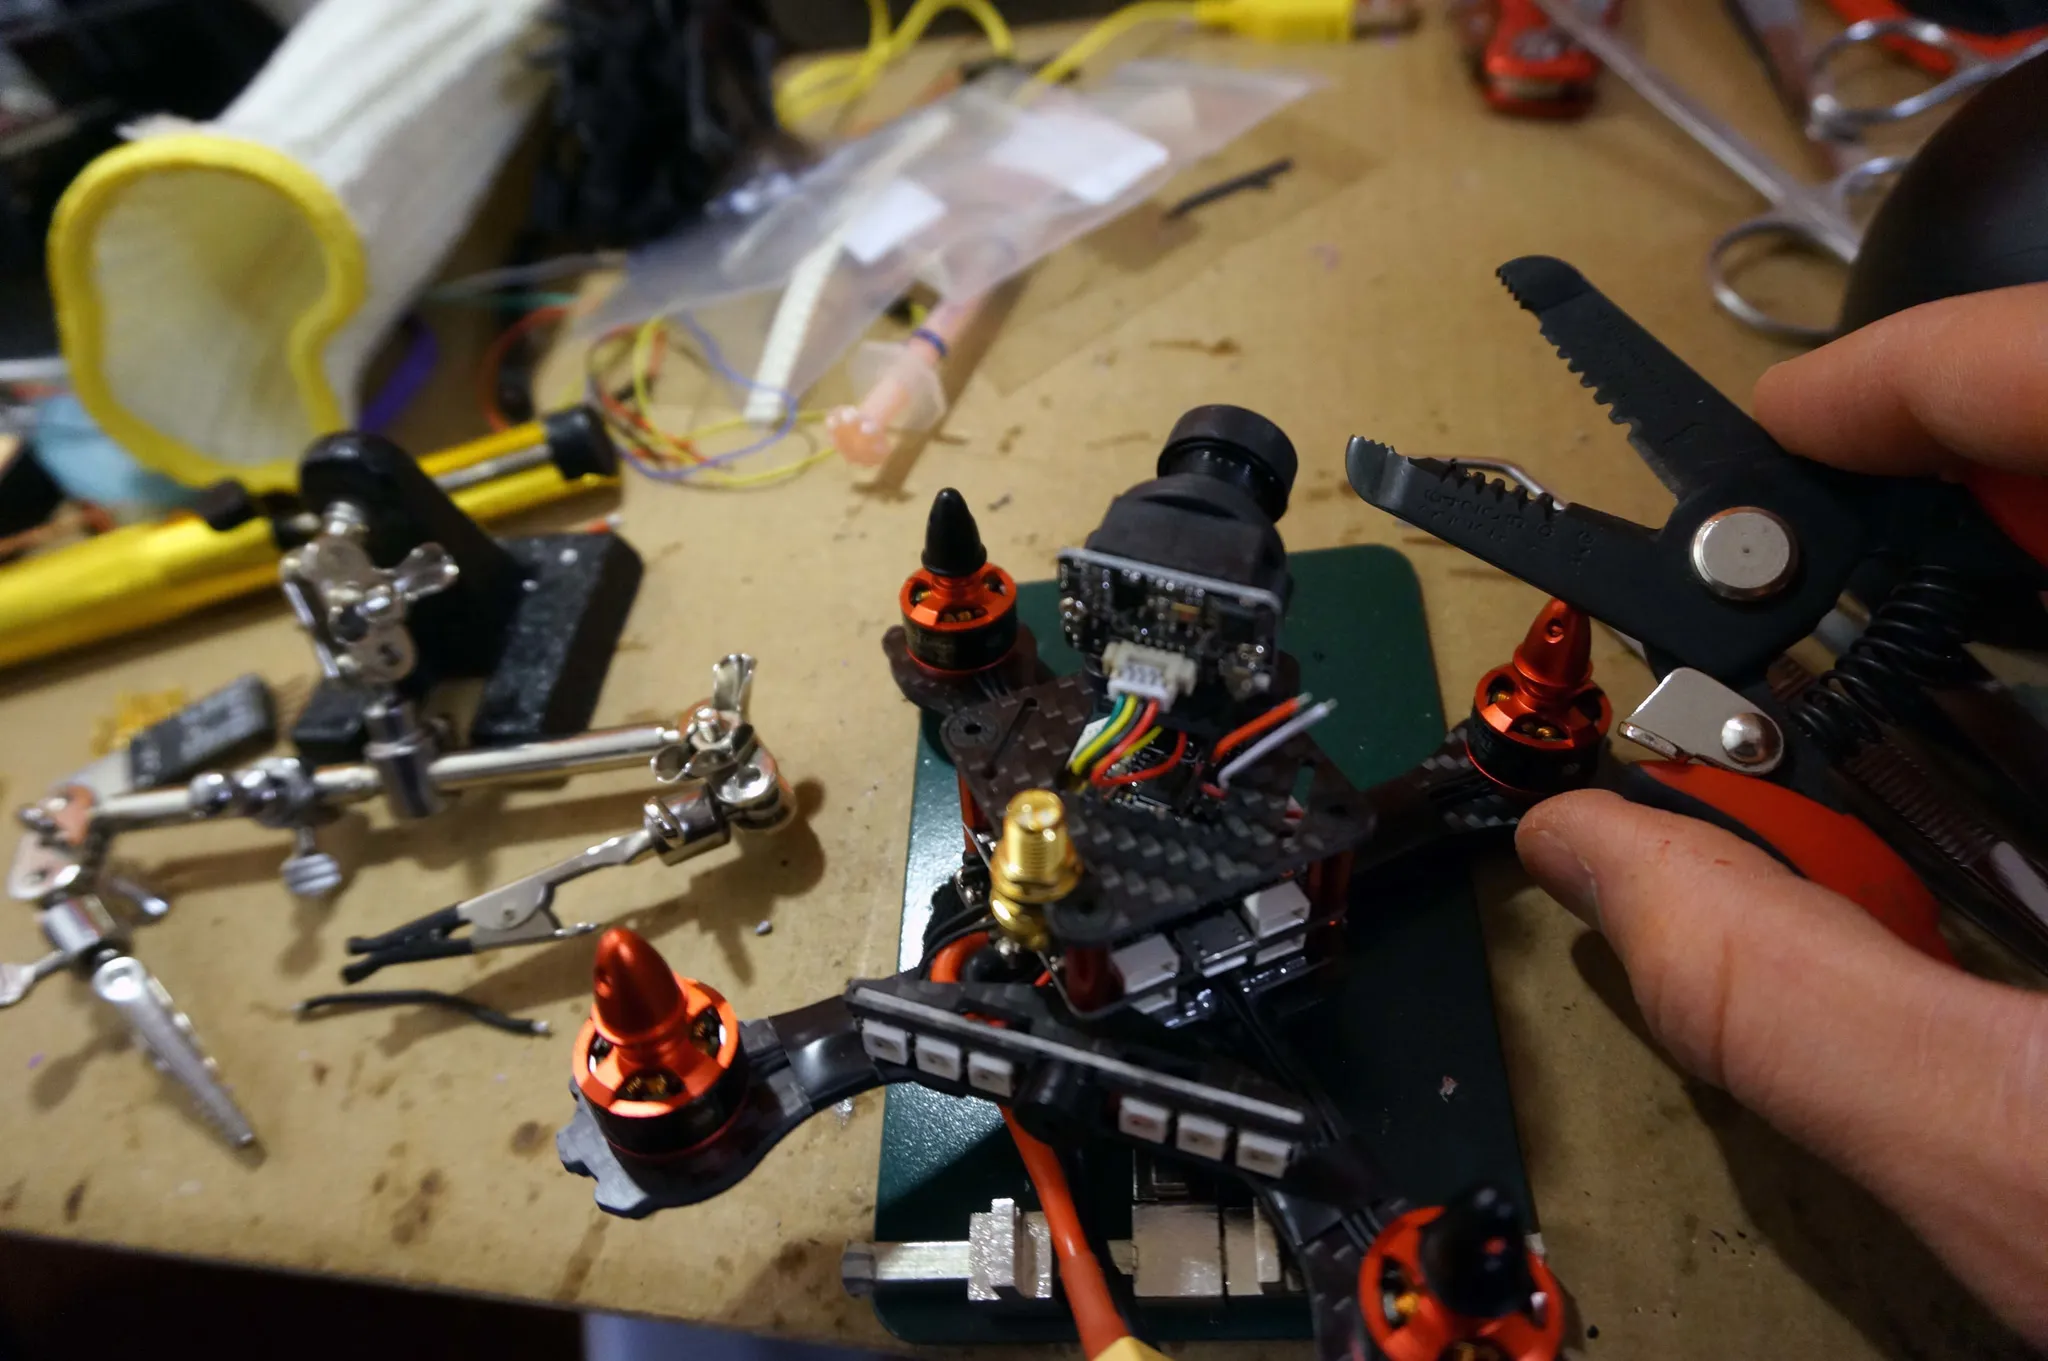
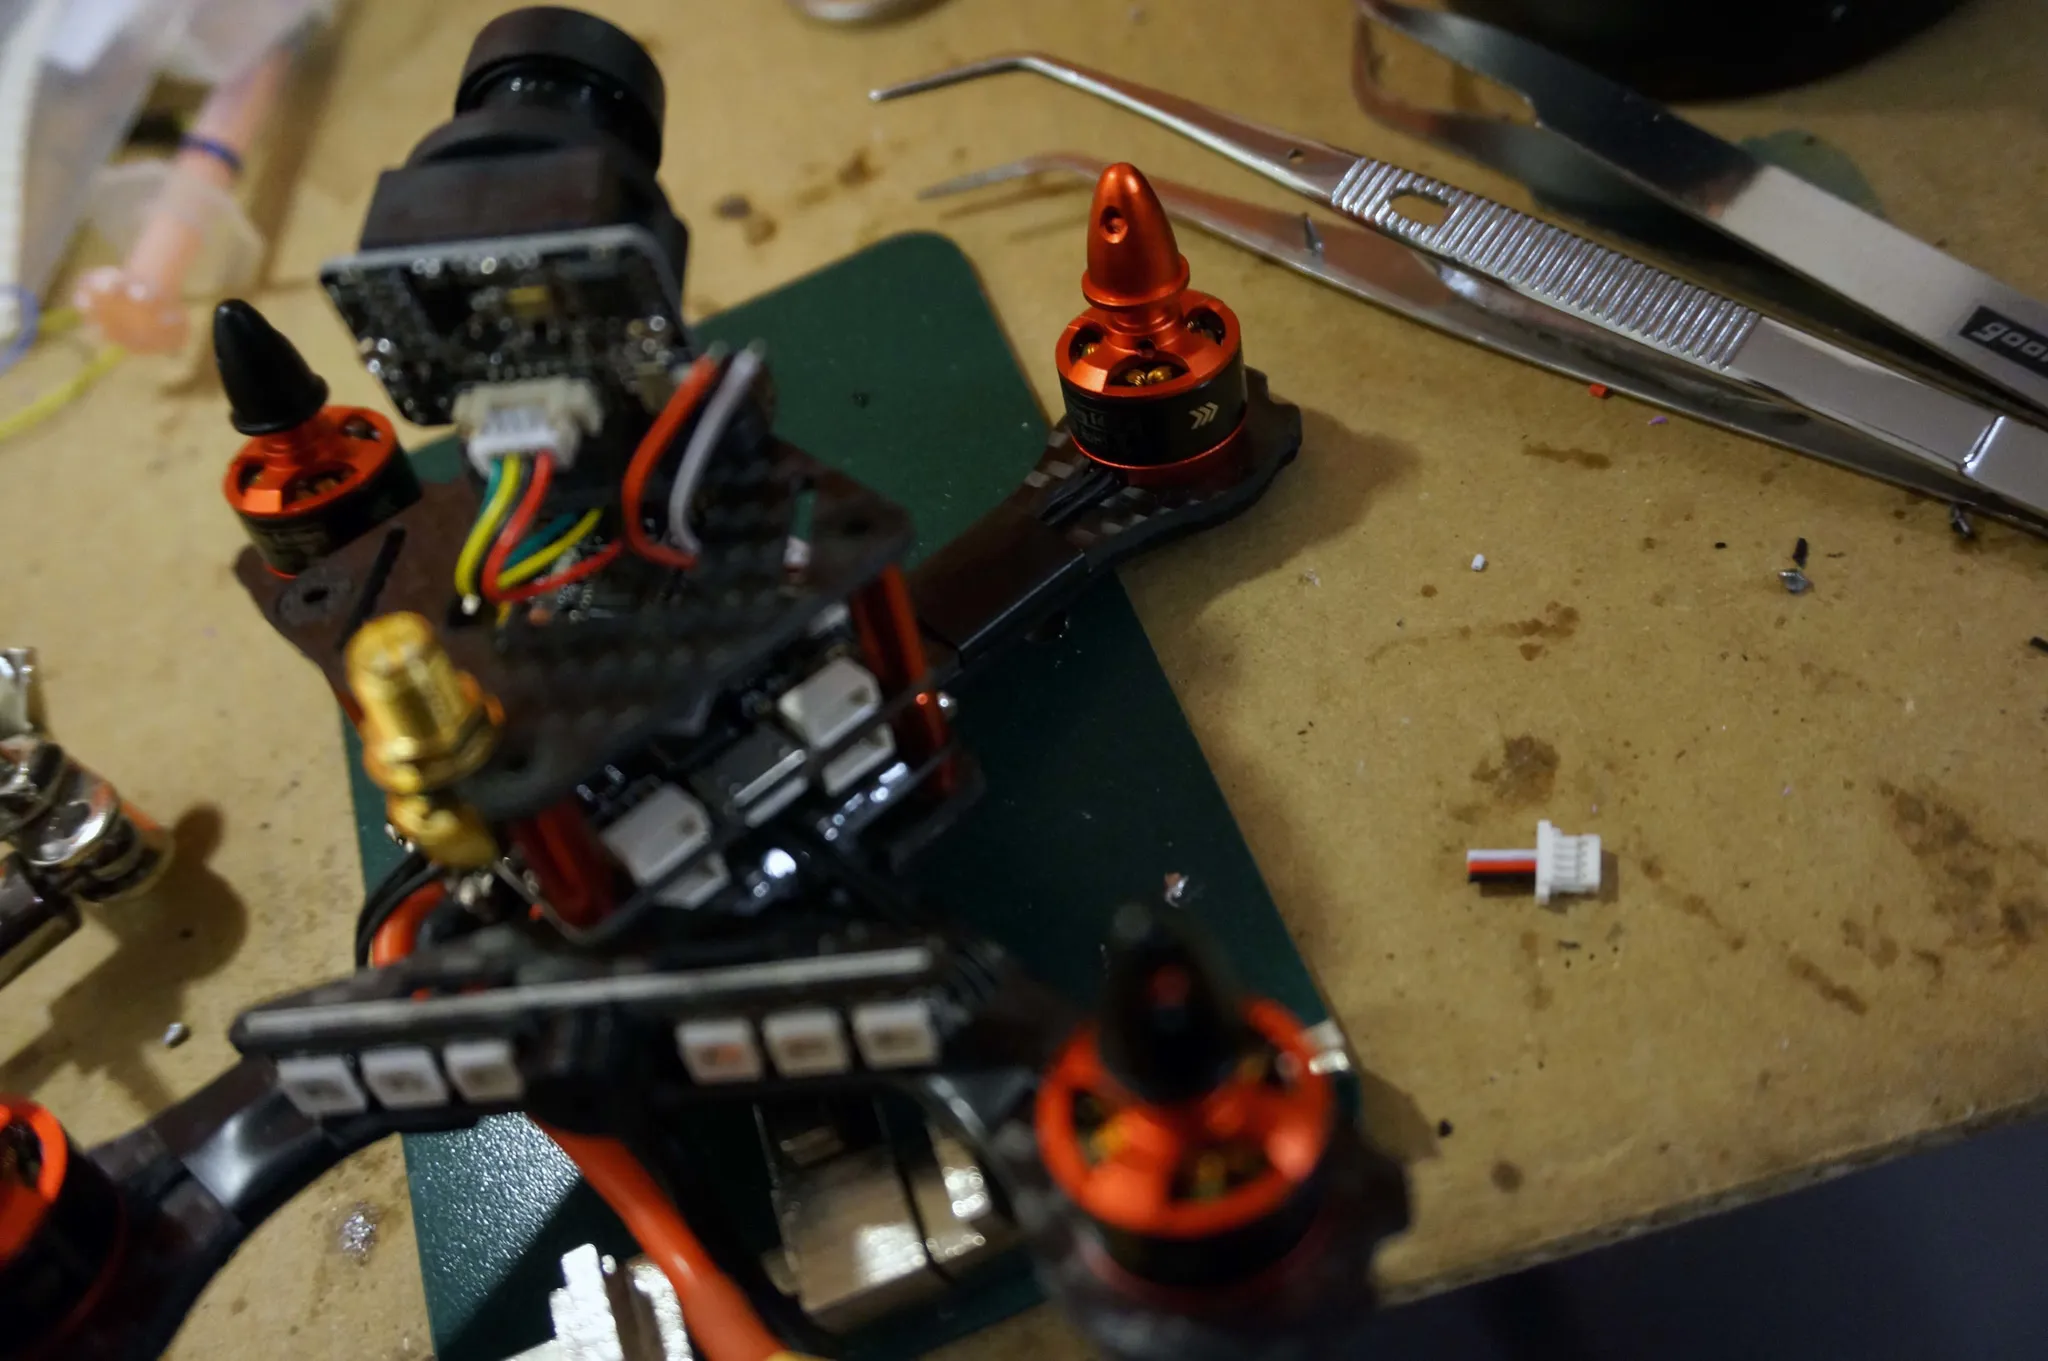
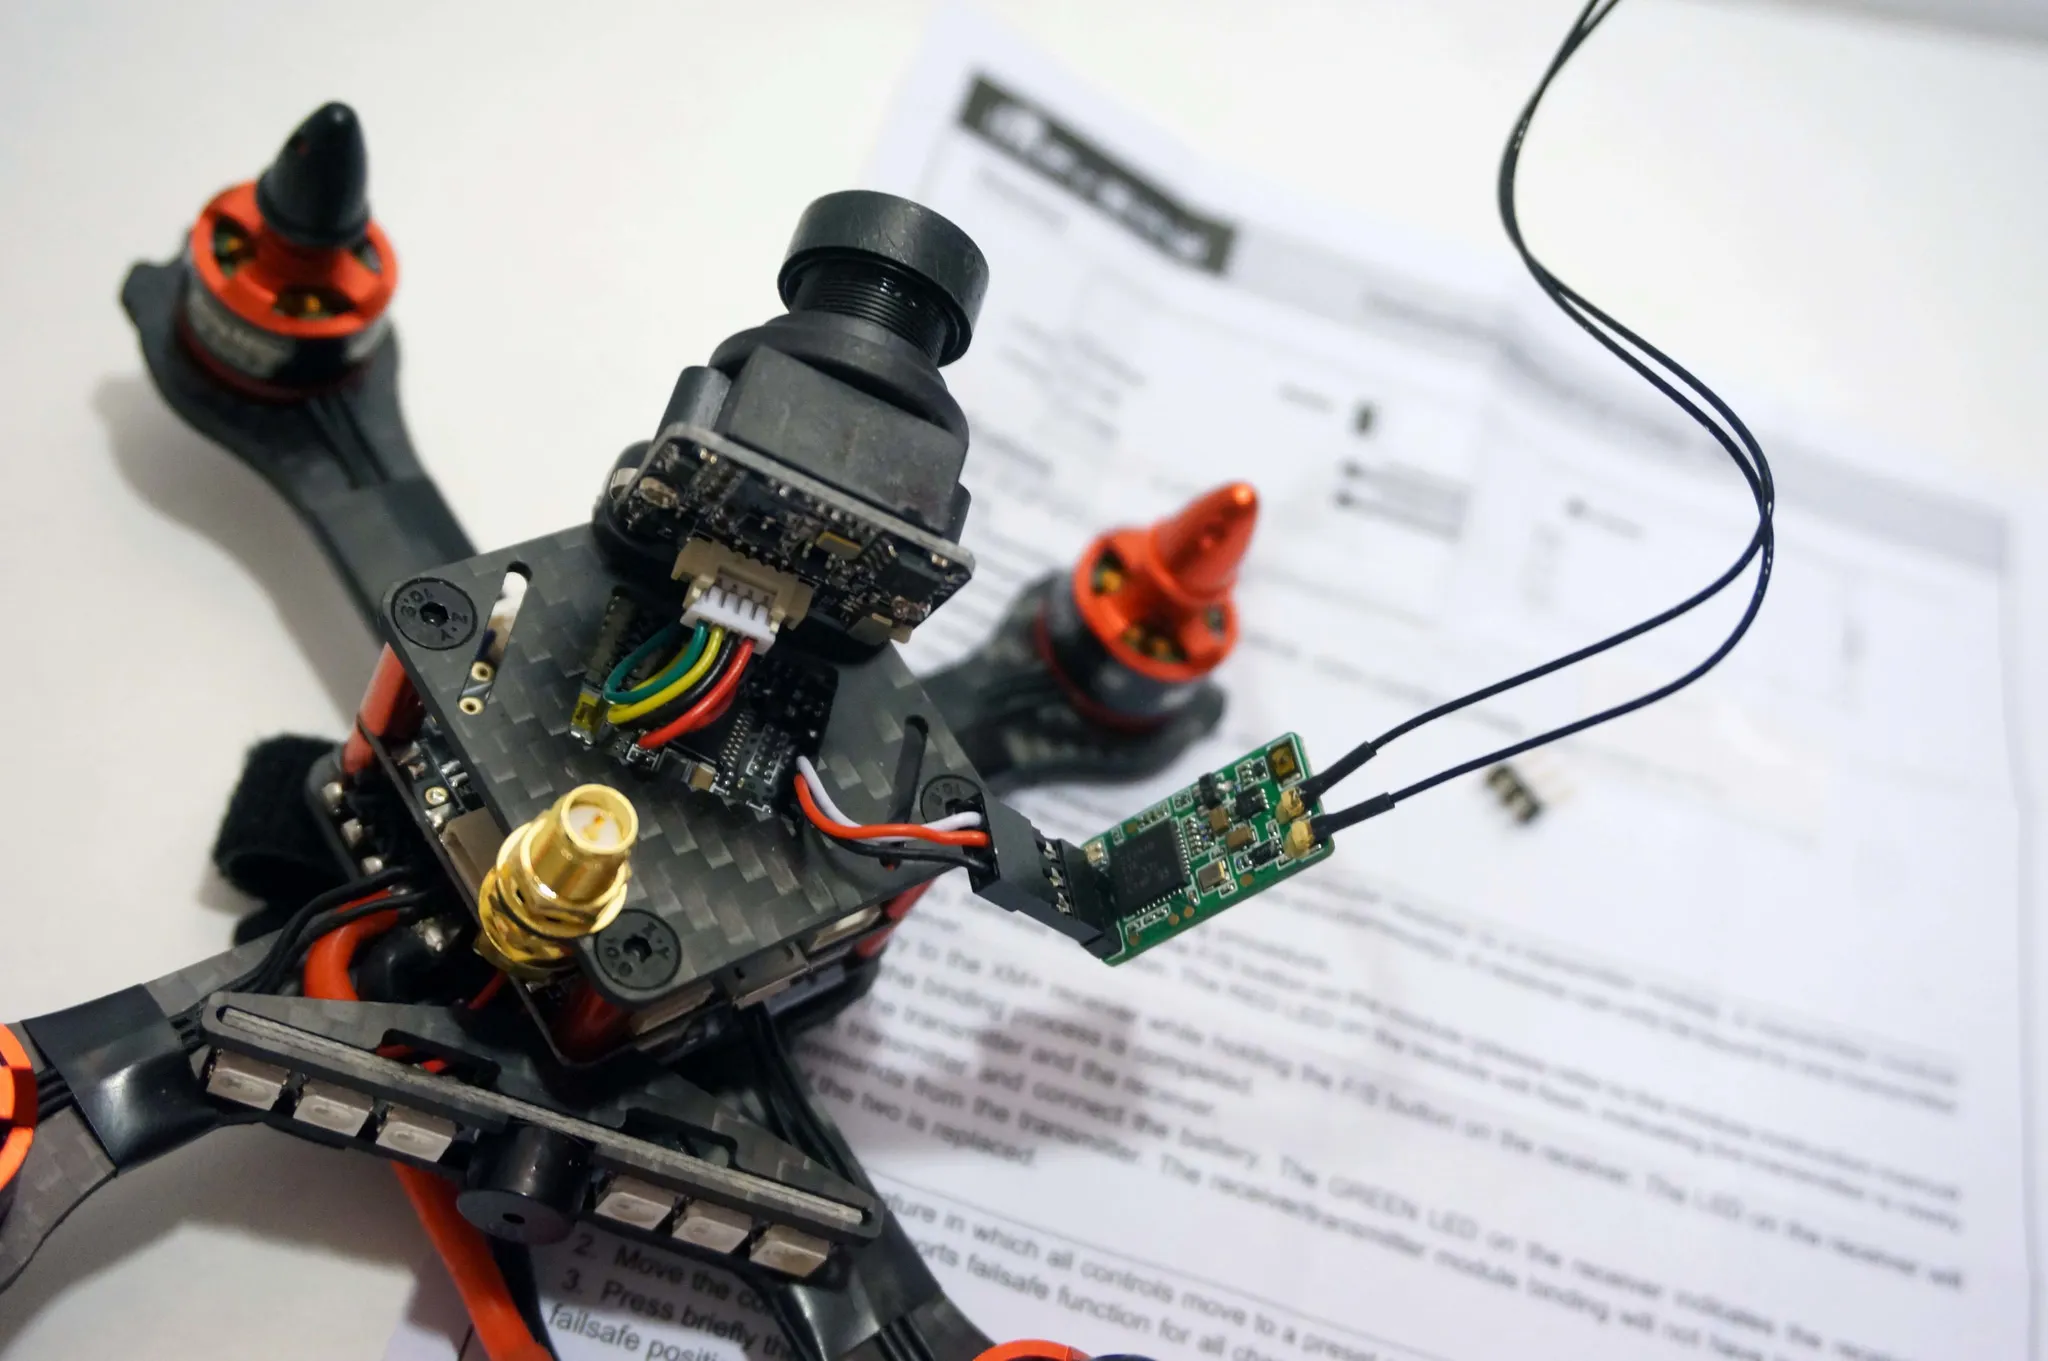
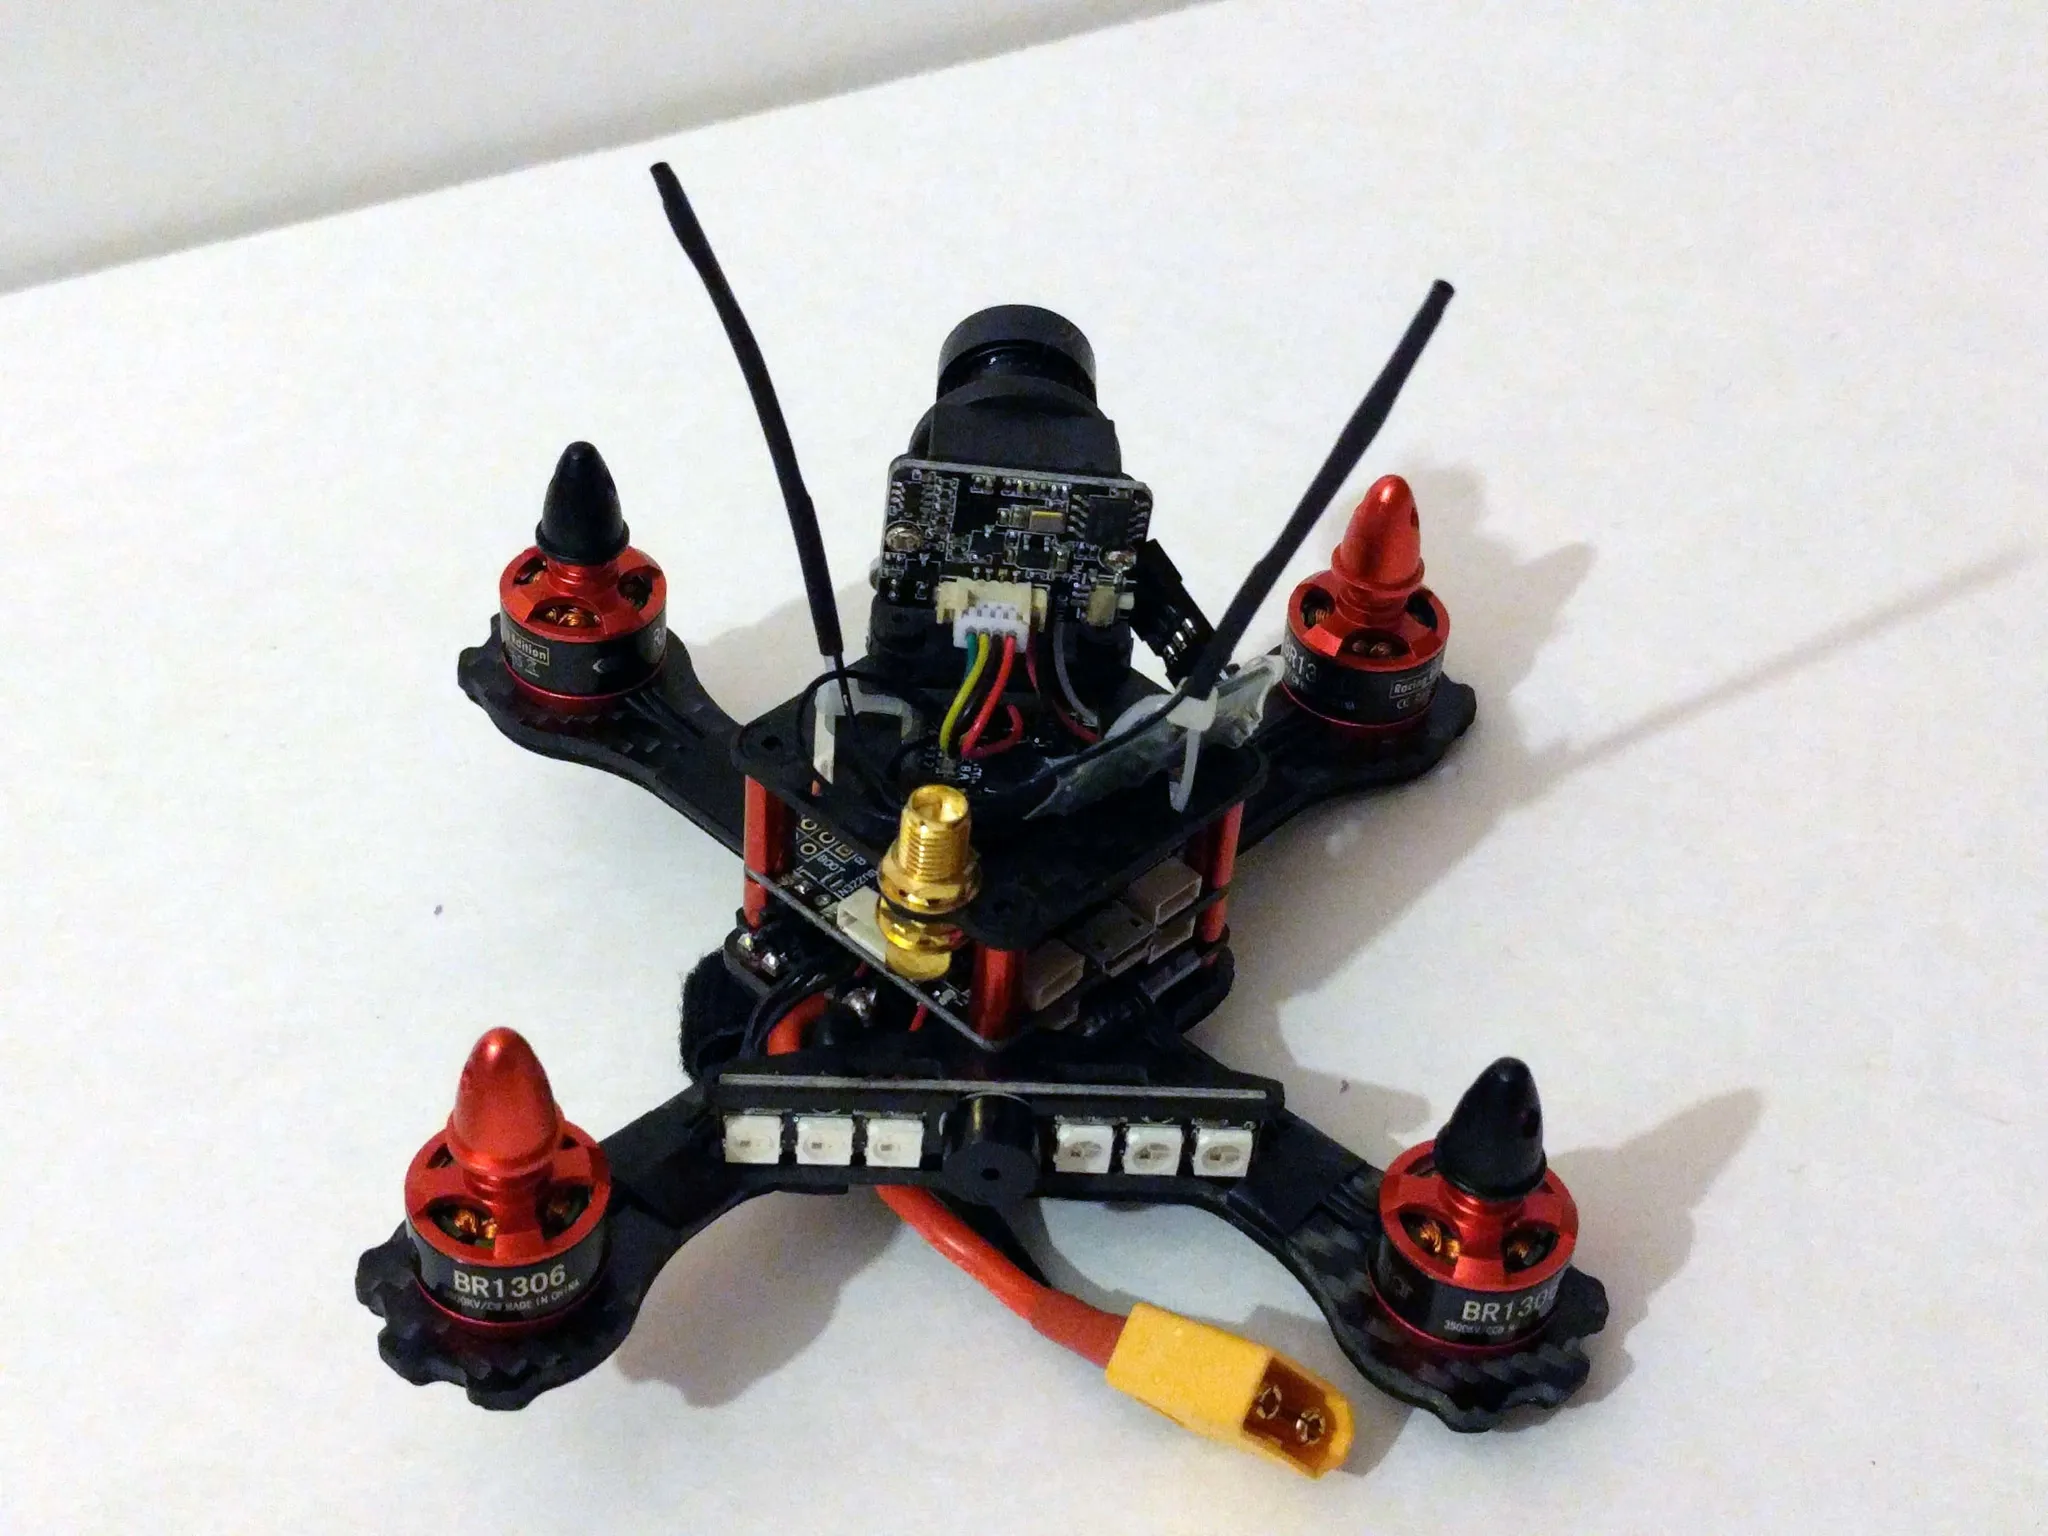
I zip-tied the receiver on the top of the mini quad and then attached another zip tie for the other antenna.
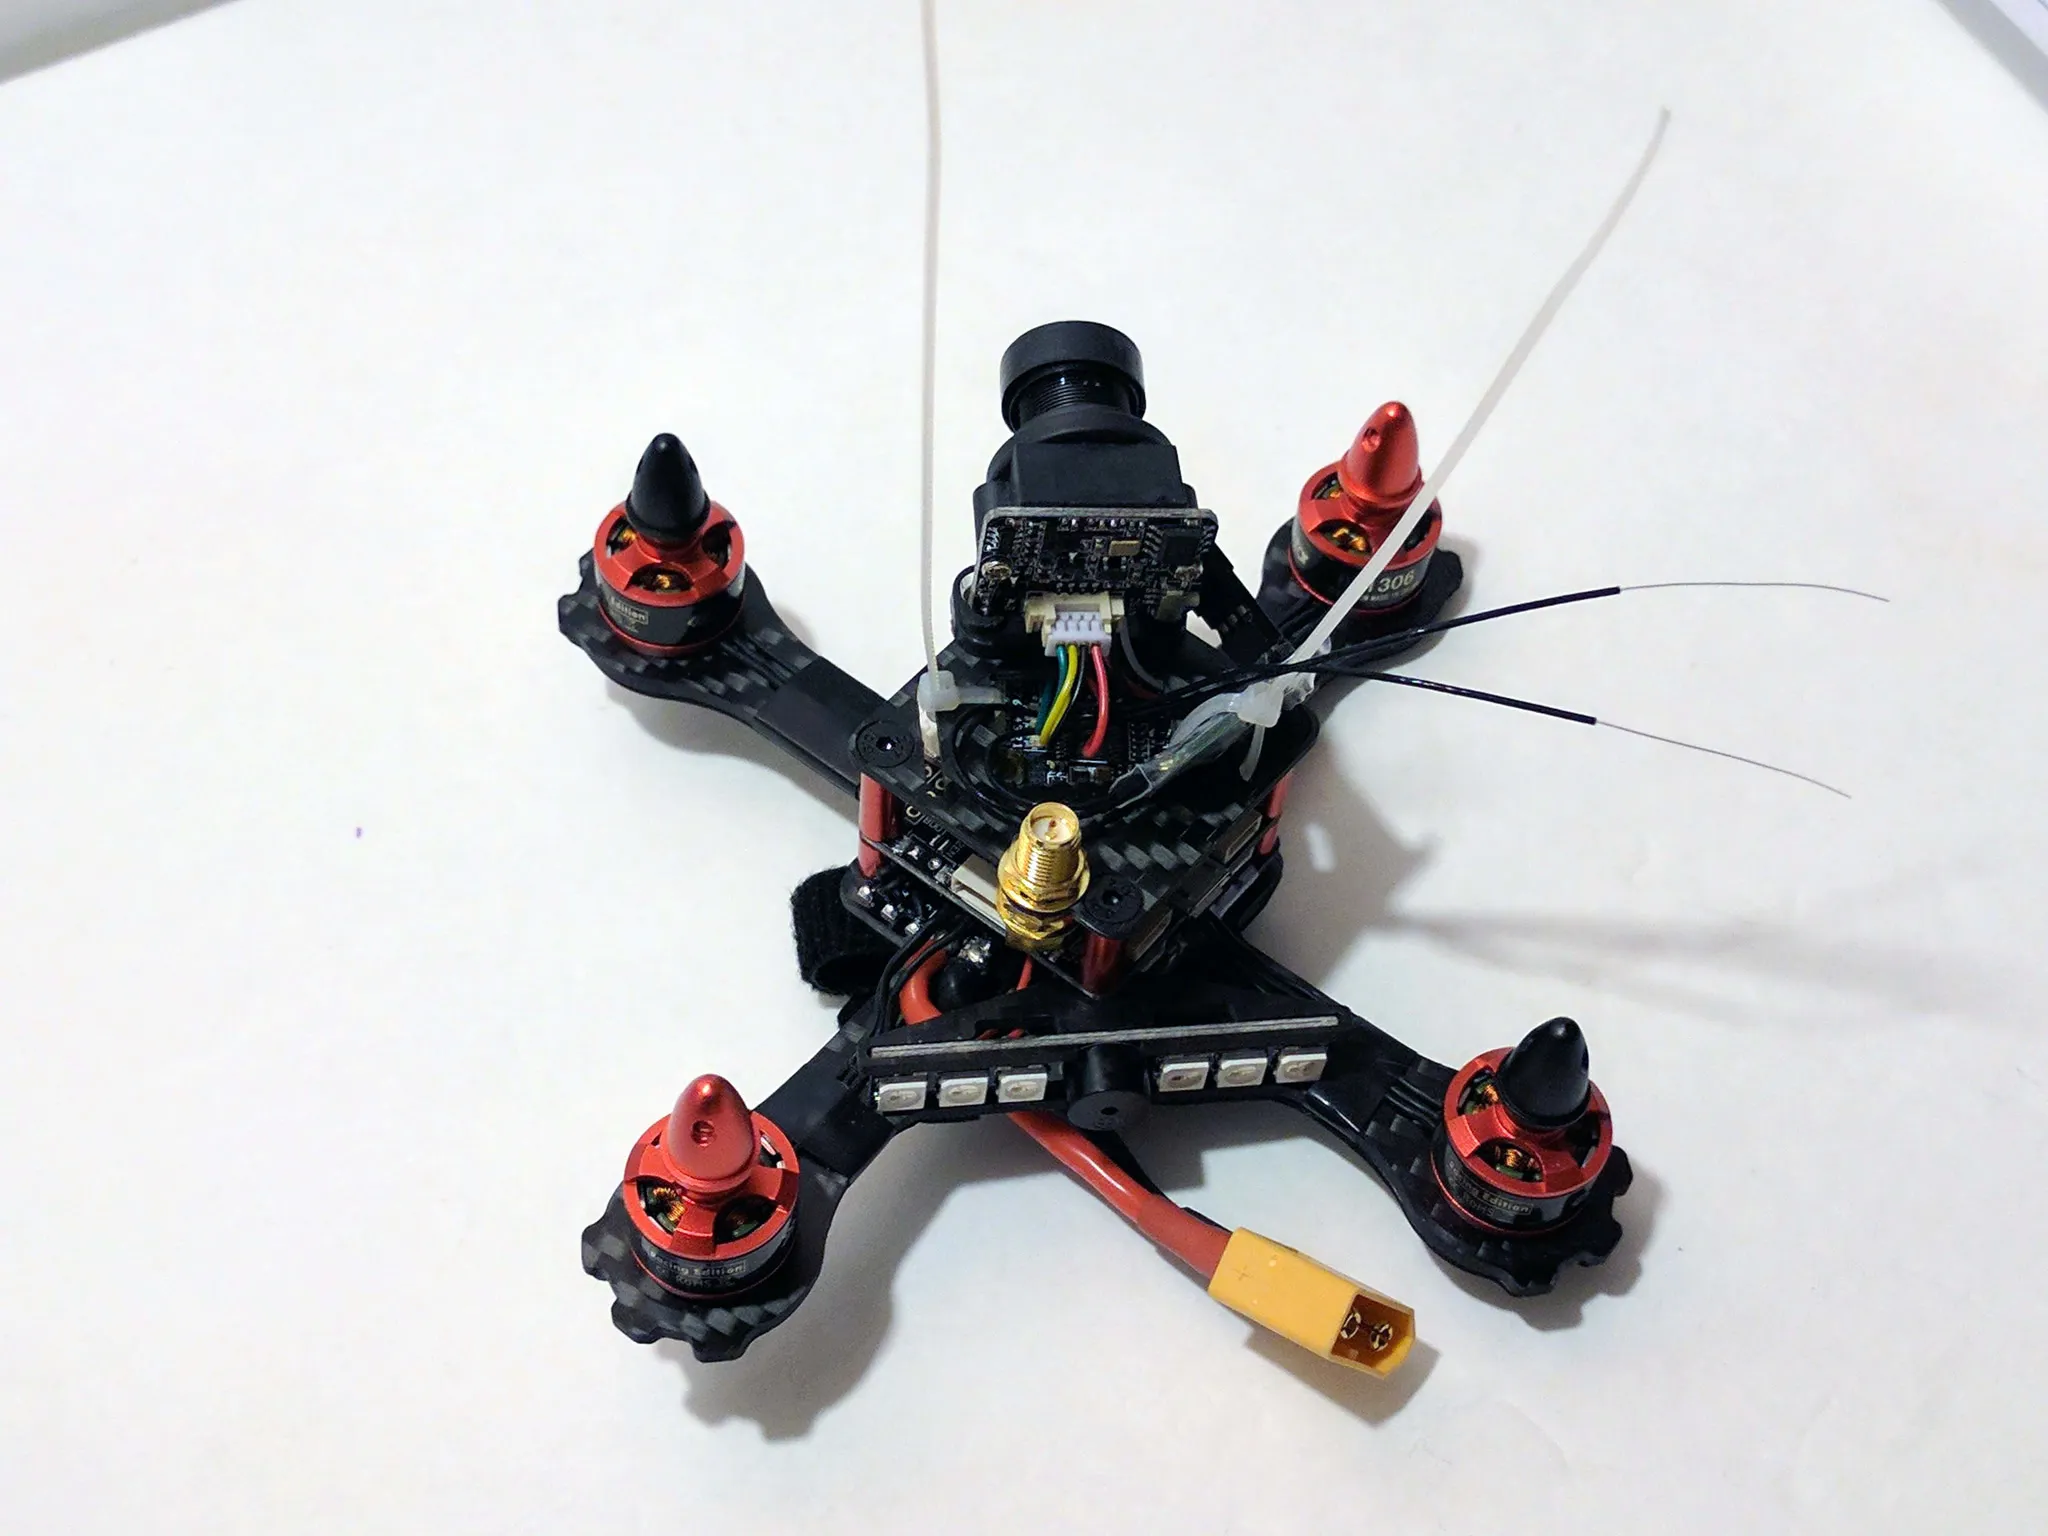
Use some heat shrink to attach the antennas.
Configuration
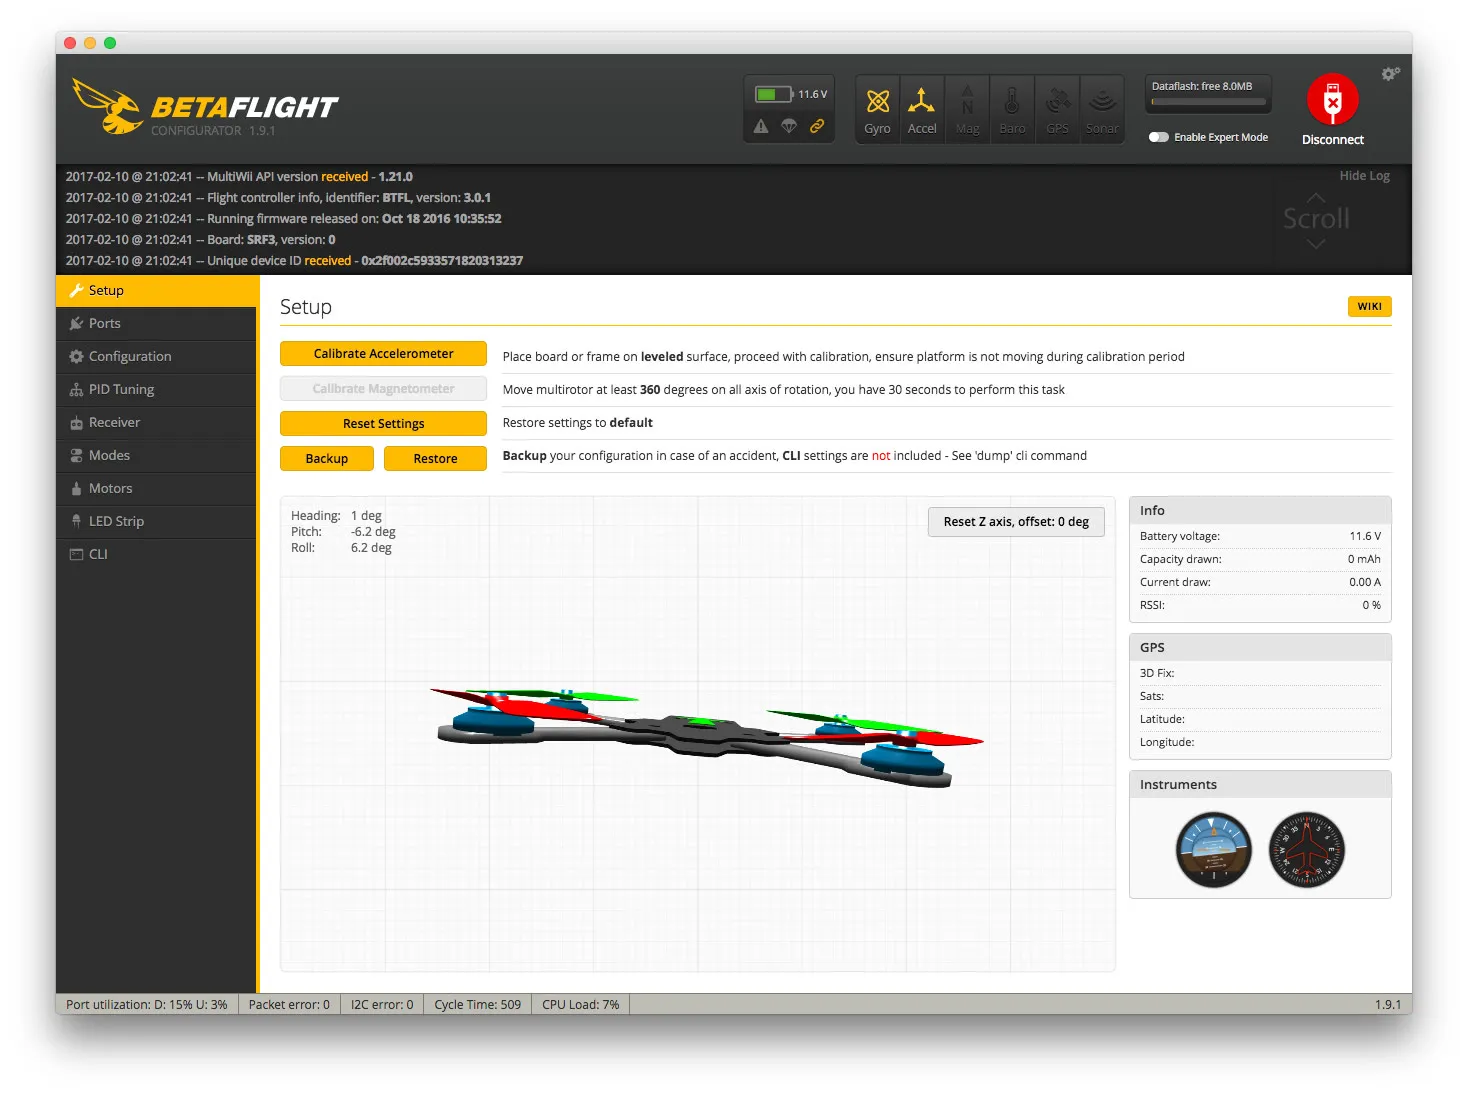
It comes with Betaflight 3.0.1 installed.
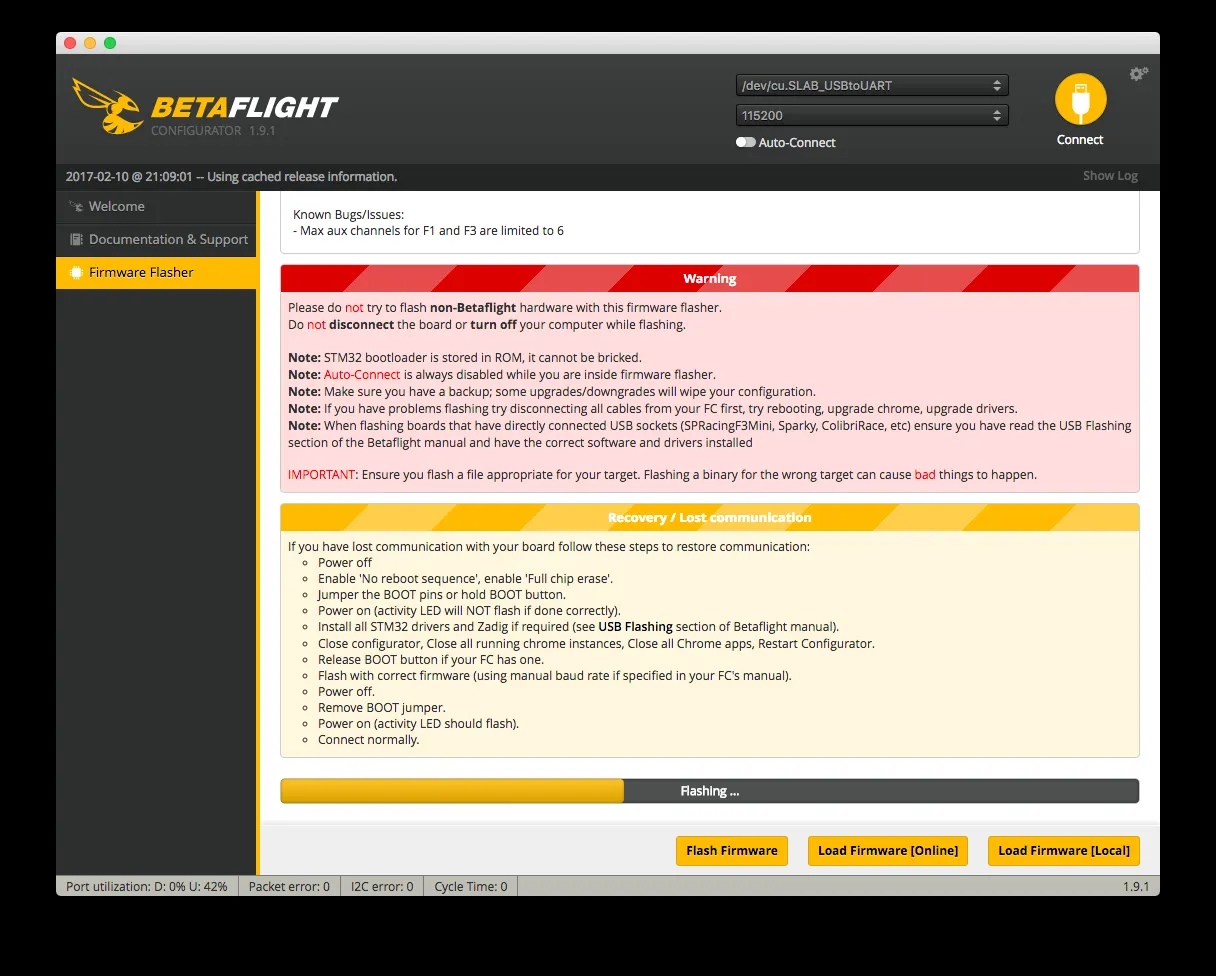
Flash the latest version.
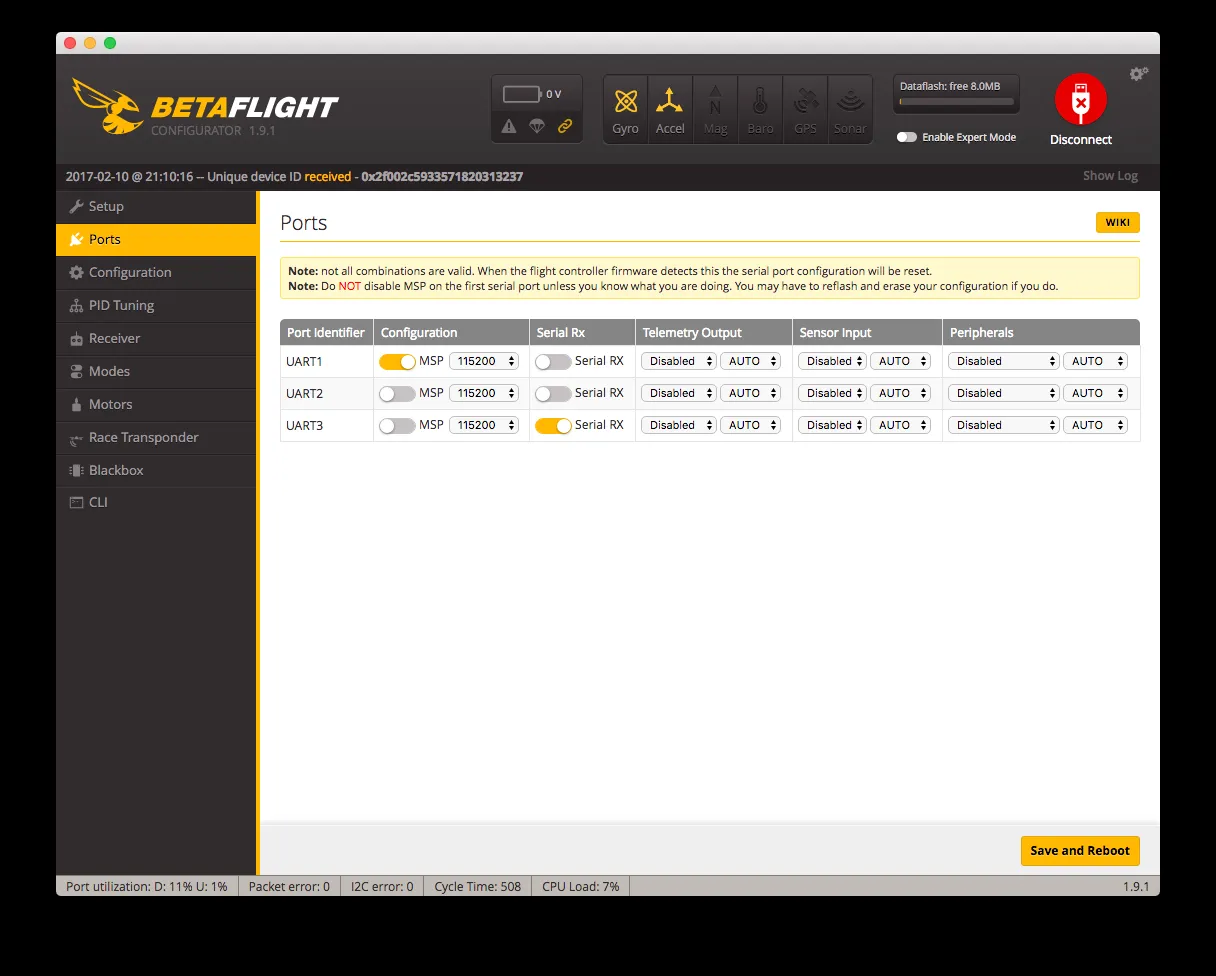
Make sure you set UART2 to Serial RX under the Ports tab.
Note that since the flight controller is rotated slightly, you must set the “Board Sensor Alignment” Yaw Degrees to -45 on the configuration tab.
You can get my whole configuration here: /downloads/https-gist-github-com-nathants
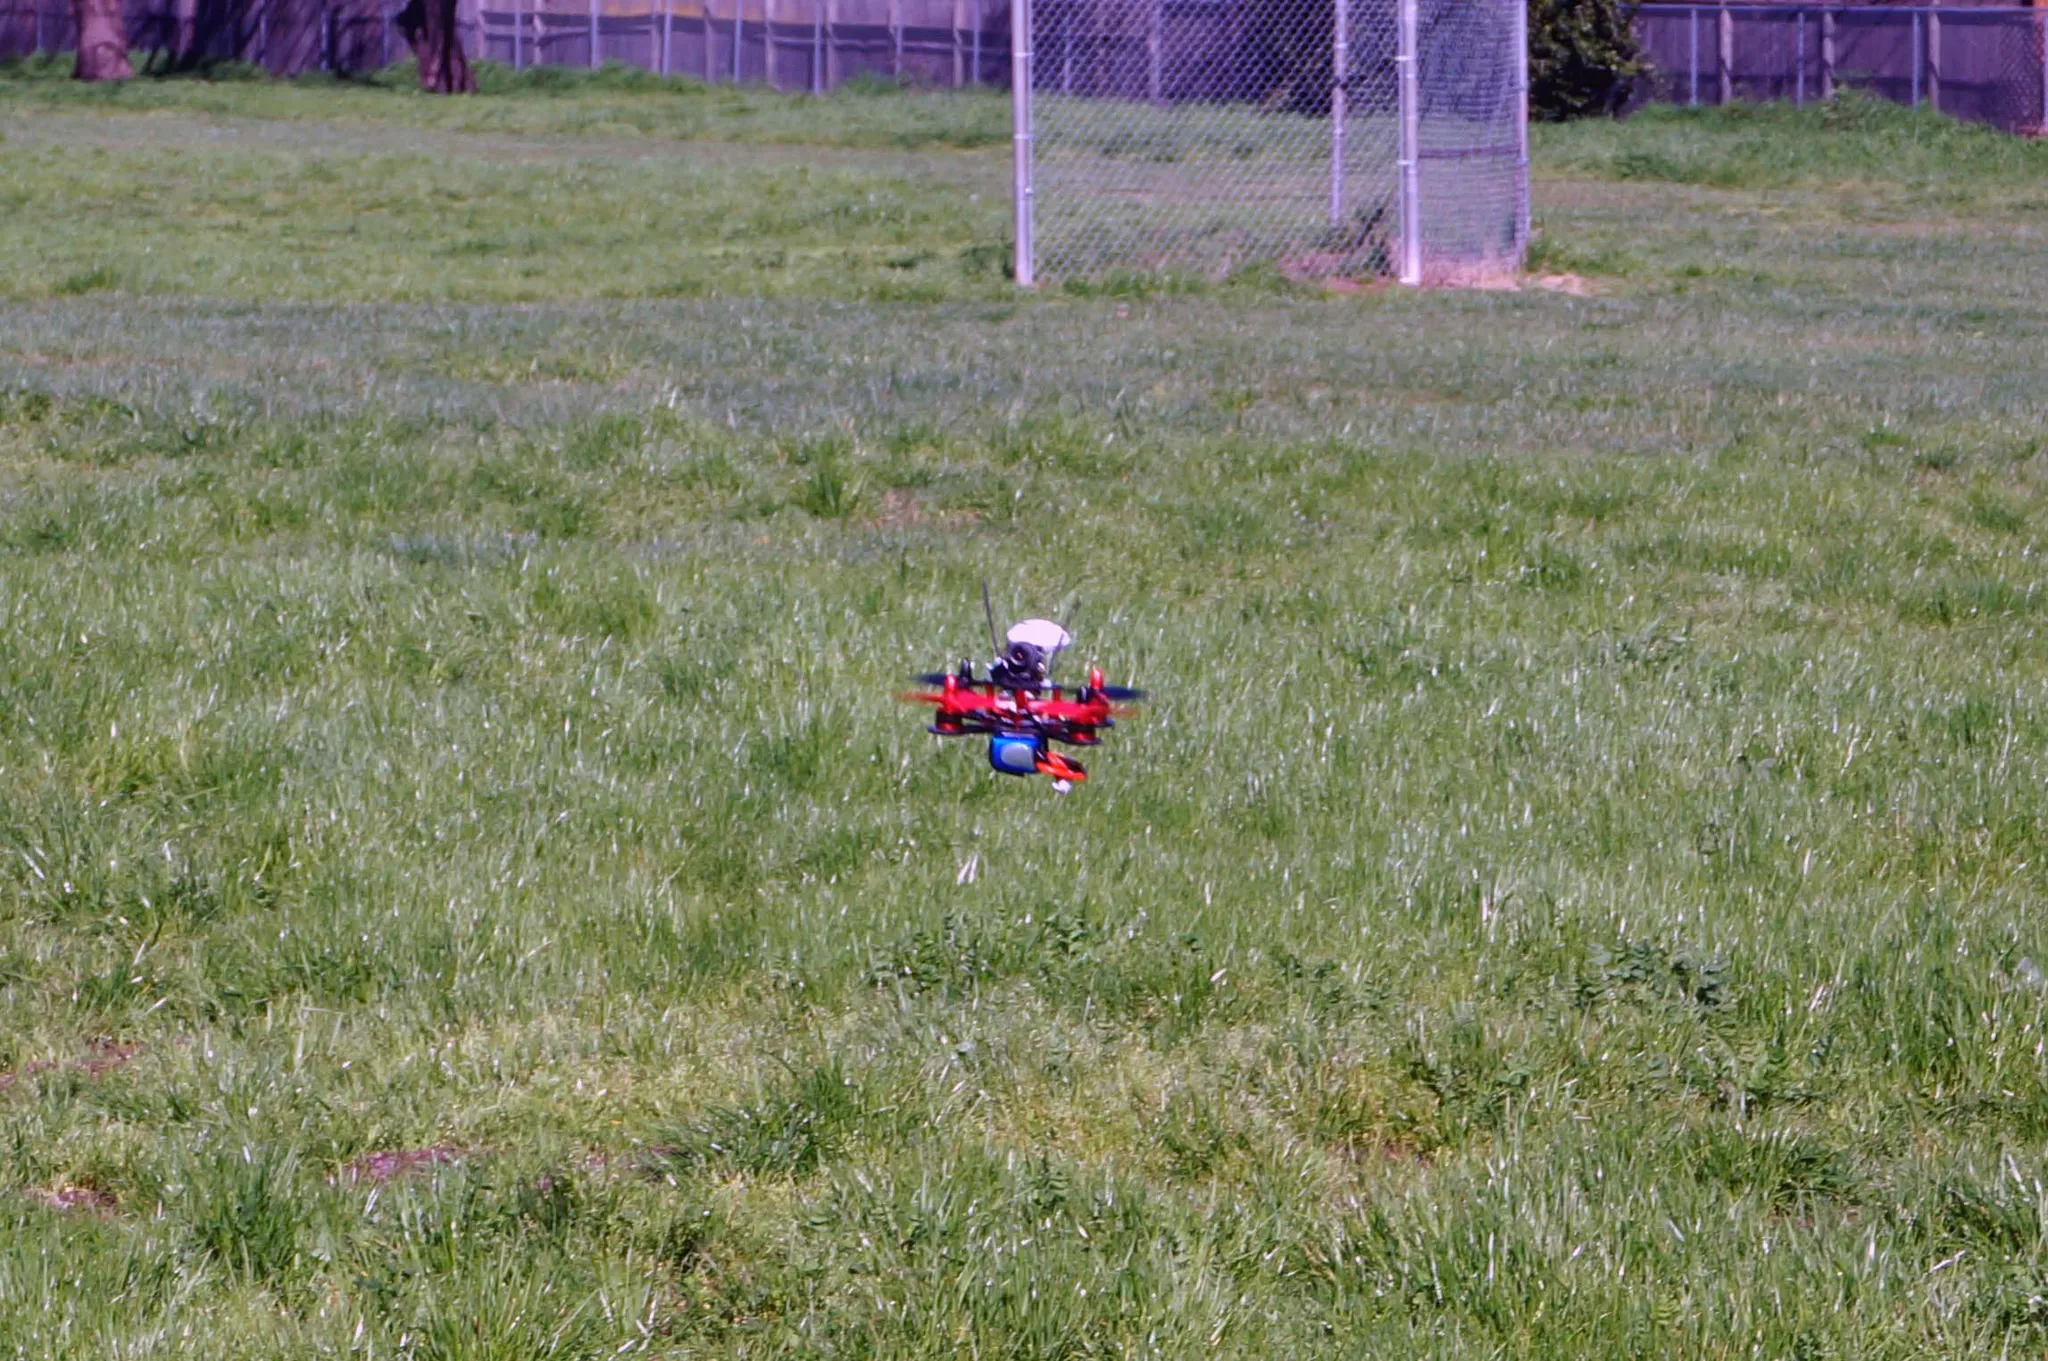
Flight