Creality K1C 3D Printer
Introduction
The Creality K1C is a high-speed CoreXY 3D printer featuring a 220x220x250mm build volume. Equipped with a direct-drive extruder and a 32-bit controller, this machine is designed for both accessibility and performance. A standout feature is its open-source Klipper-based firmware, which provides significant customization potential for both novice and experienced users, the details of which can be found in the Upgrading The Printer section.
Special thanks to SainSmart for providing the Creality K1C for this review. You can find the printer on their website here.
6-Month Long-Term Performance
After six months of consistent use, the K1C has proven to be a reliable workhorse, particularly after addressing a few key optimizations.
Filament Path Optimization: I discovered that the stock lid height creates a sharp bend in the PTFE tube as it enters the extruder. For brittle materials like carbon-fiber-reinforced nylon, this tension can cause the filament to snap. I highly recommend installing a 50mm lid riser to create a smoother filament path.
Extruder Thermal Management: Prolonged printing with high-temperature materials like ABS (maintaining a ~40°C enclosure) eventually led to the failure of the stock extruder motor. I replaced it with a new motor, which has performed well since. To prevent this, I suggest installing a motor heatsink (also available on AliExpress) early on.
Bed Surface & Spare Components: For technical materials like ABS, ASA, and PETG, the stock smooth bed is less than ideal. Switching to a textured PEI sheet significantly improves adhesion. Additionally, it is wise to keep spare hardened steel nozzles on hand, as abrasive filaments will eventually wear them down.
Key Features
The Creality K1C integrates several premium features geared toward high-performance printing, including a filament runout sensor, an enclosed build chamber with active carbon filtration, and robust cooling via a large side-mounted fan. Integrated chamber temperature monitoring also allows for precise environmental control, which is essential for minimizing warping when printing materials like ABS and ASA.
The printer utilizes CoreXY geometry, a layout pioneered by Ilan E. Moyer. This architecture enables high-speed printing—ranging between 200mm/s and 500mm/s—without sacrificing accuracy. The direct-drive extruder provides excellent control for flexible filaments, and the factory-installed hardened steel nozzle is purpose-built for abrasive materials such as carbon fiber.
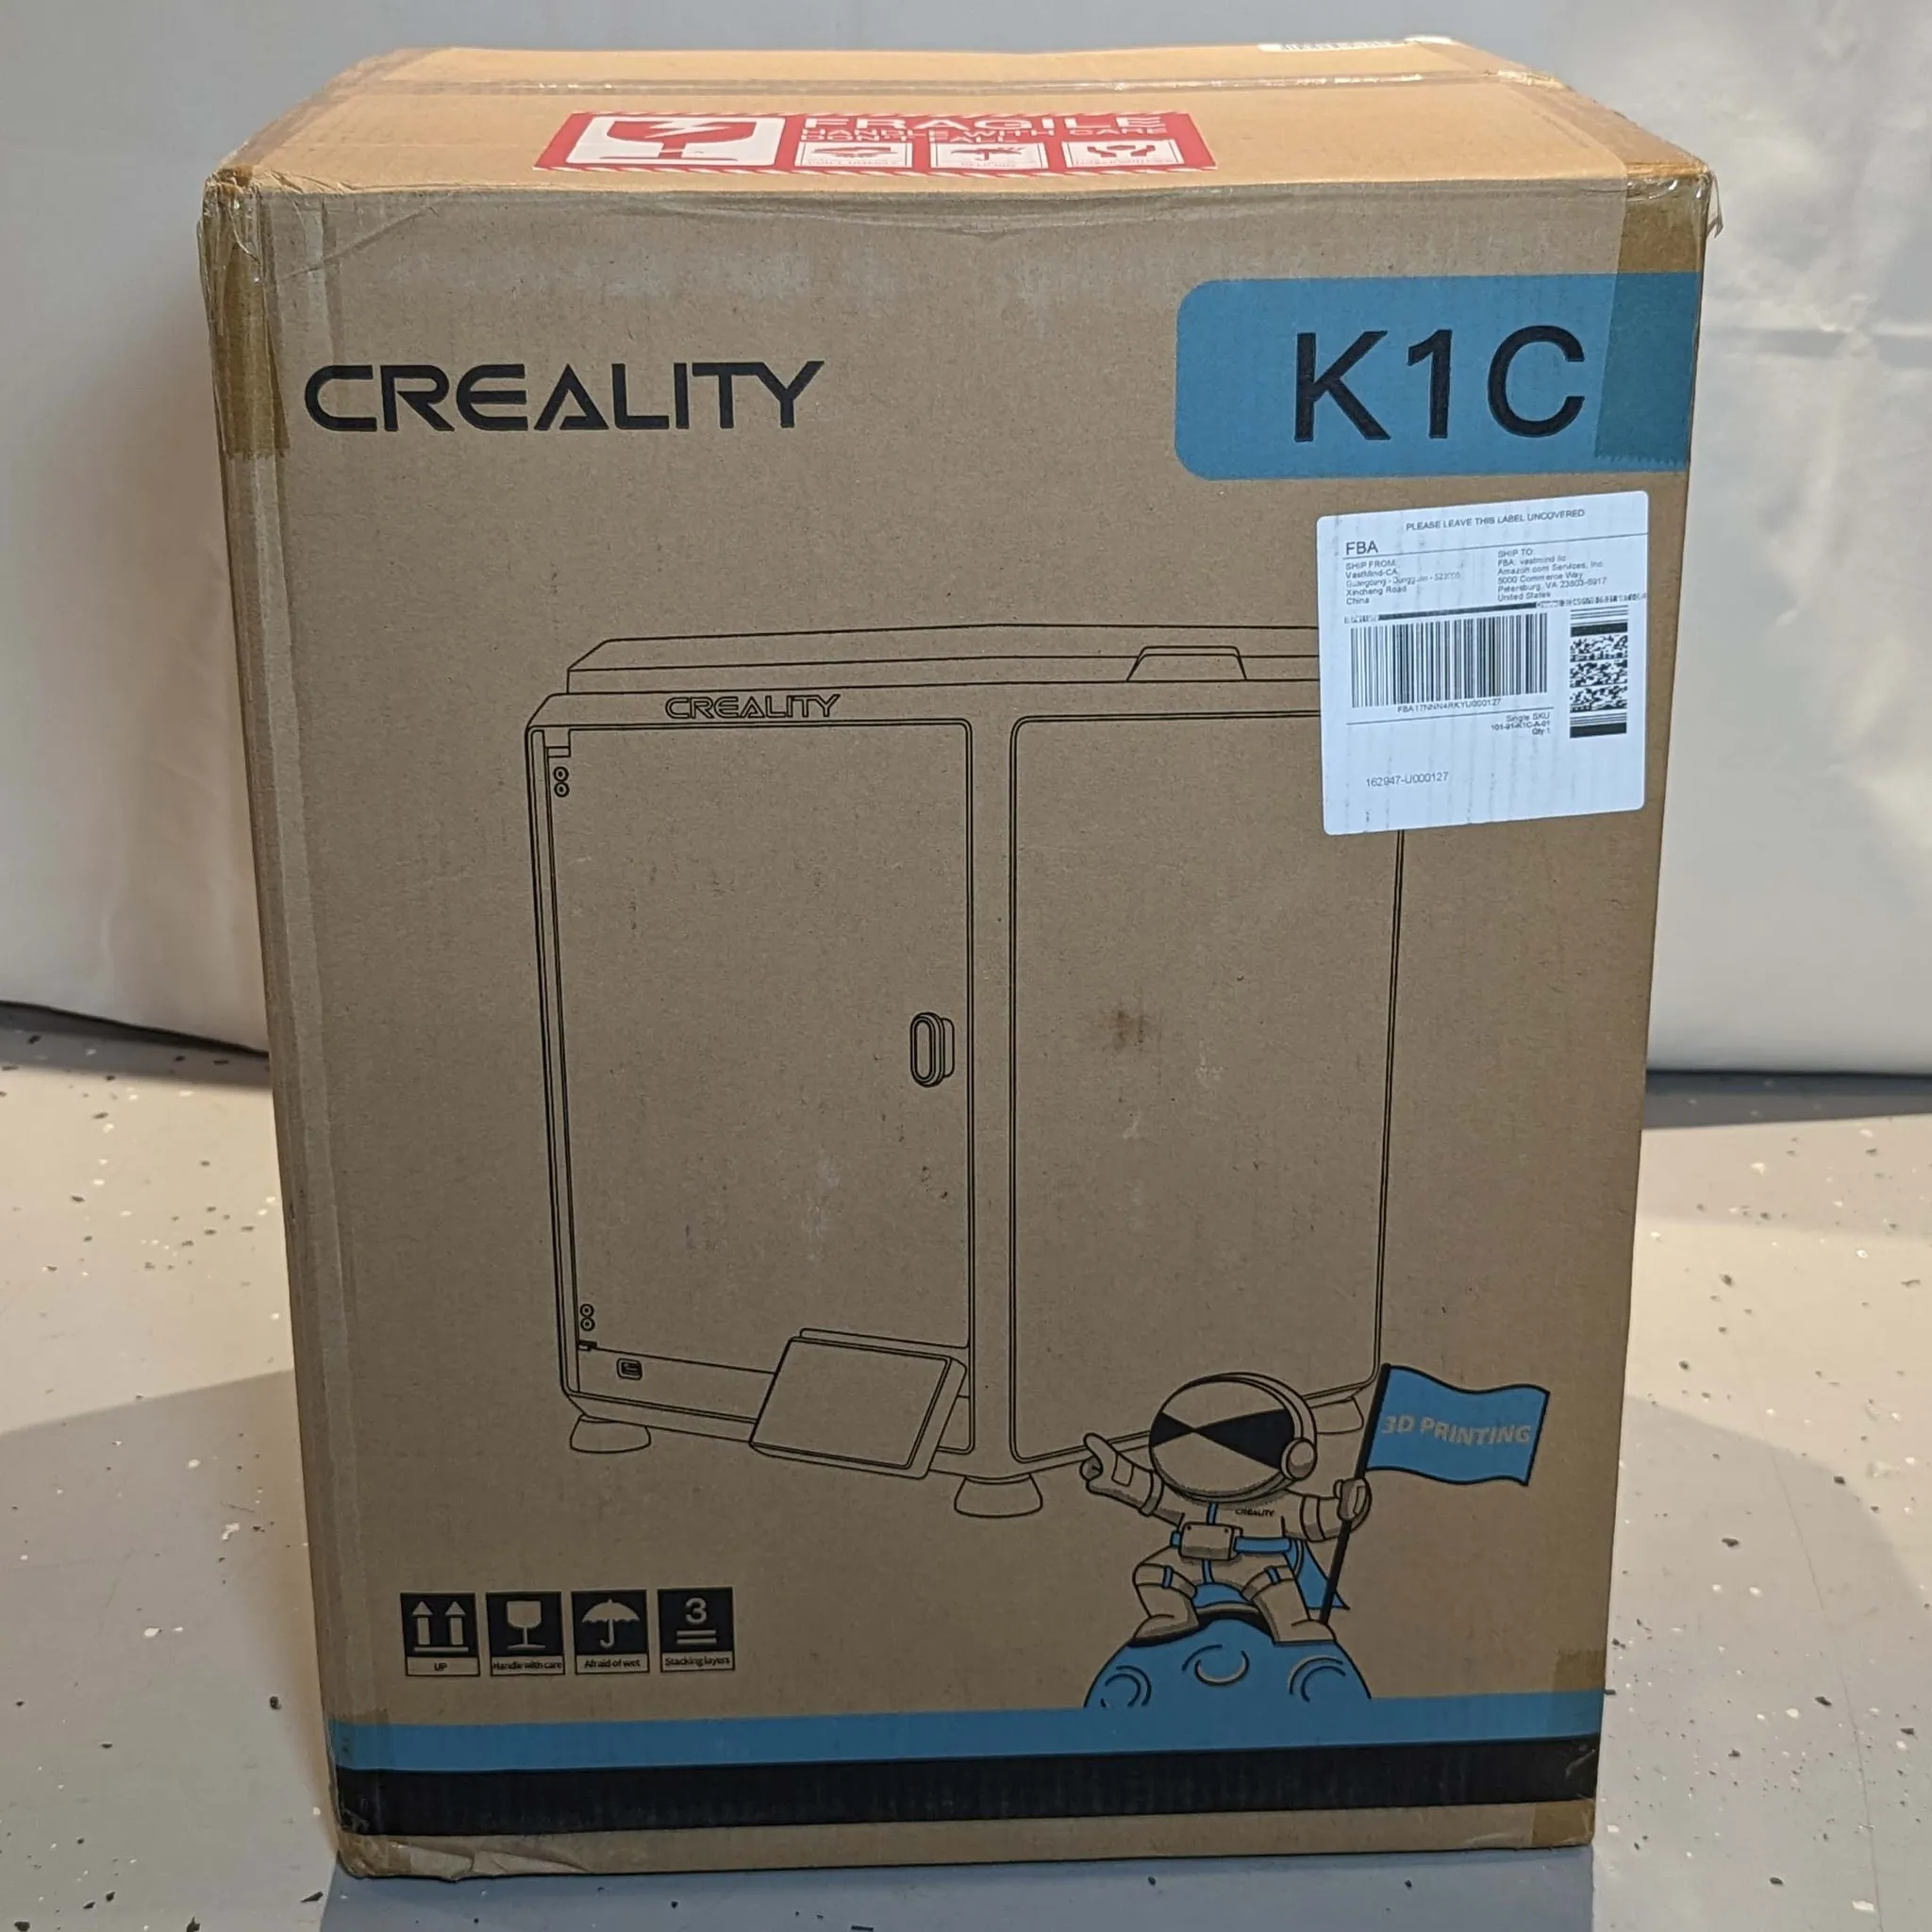
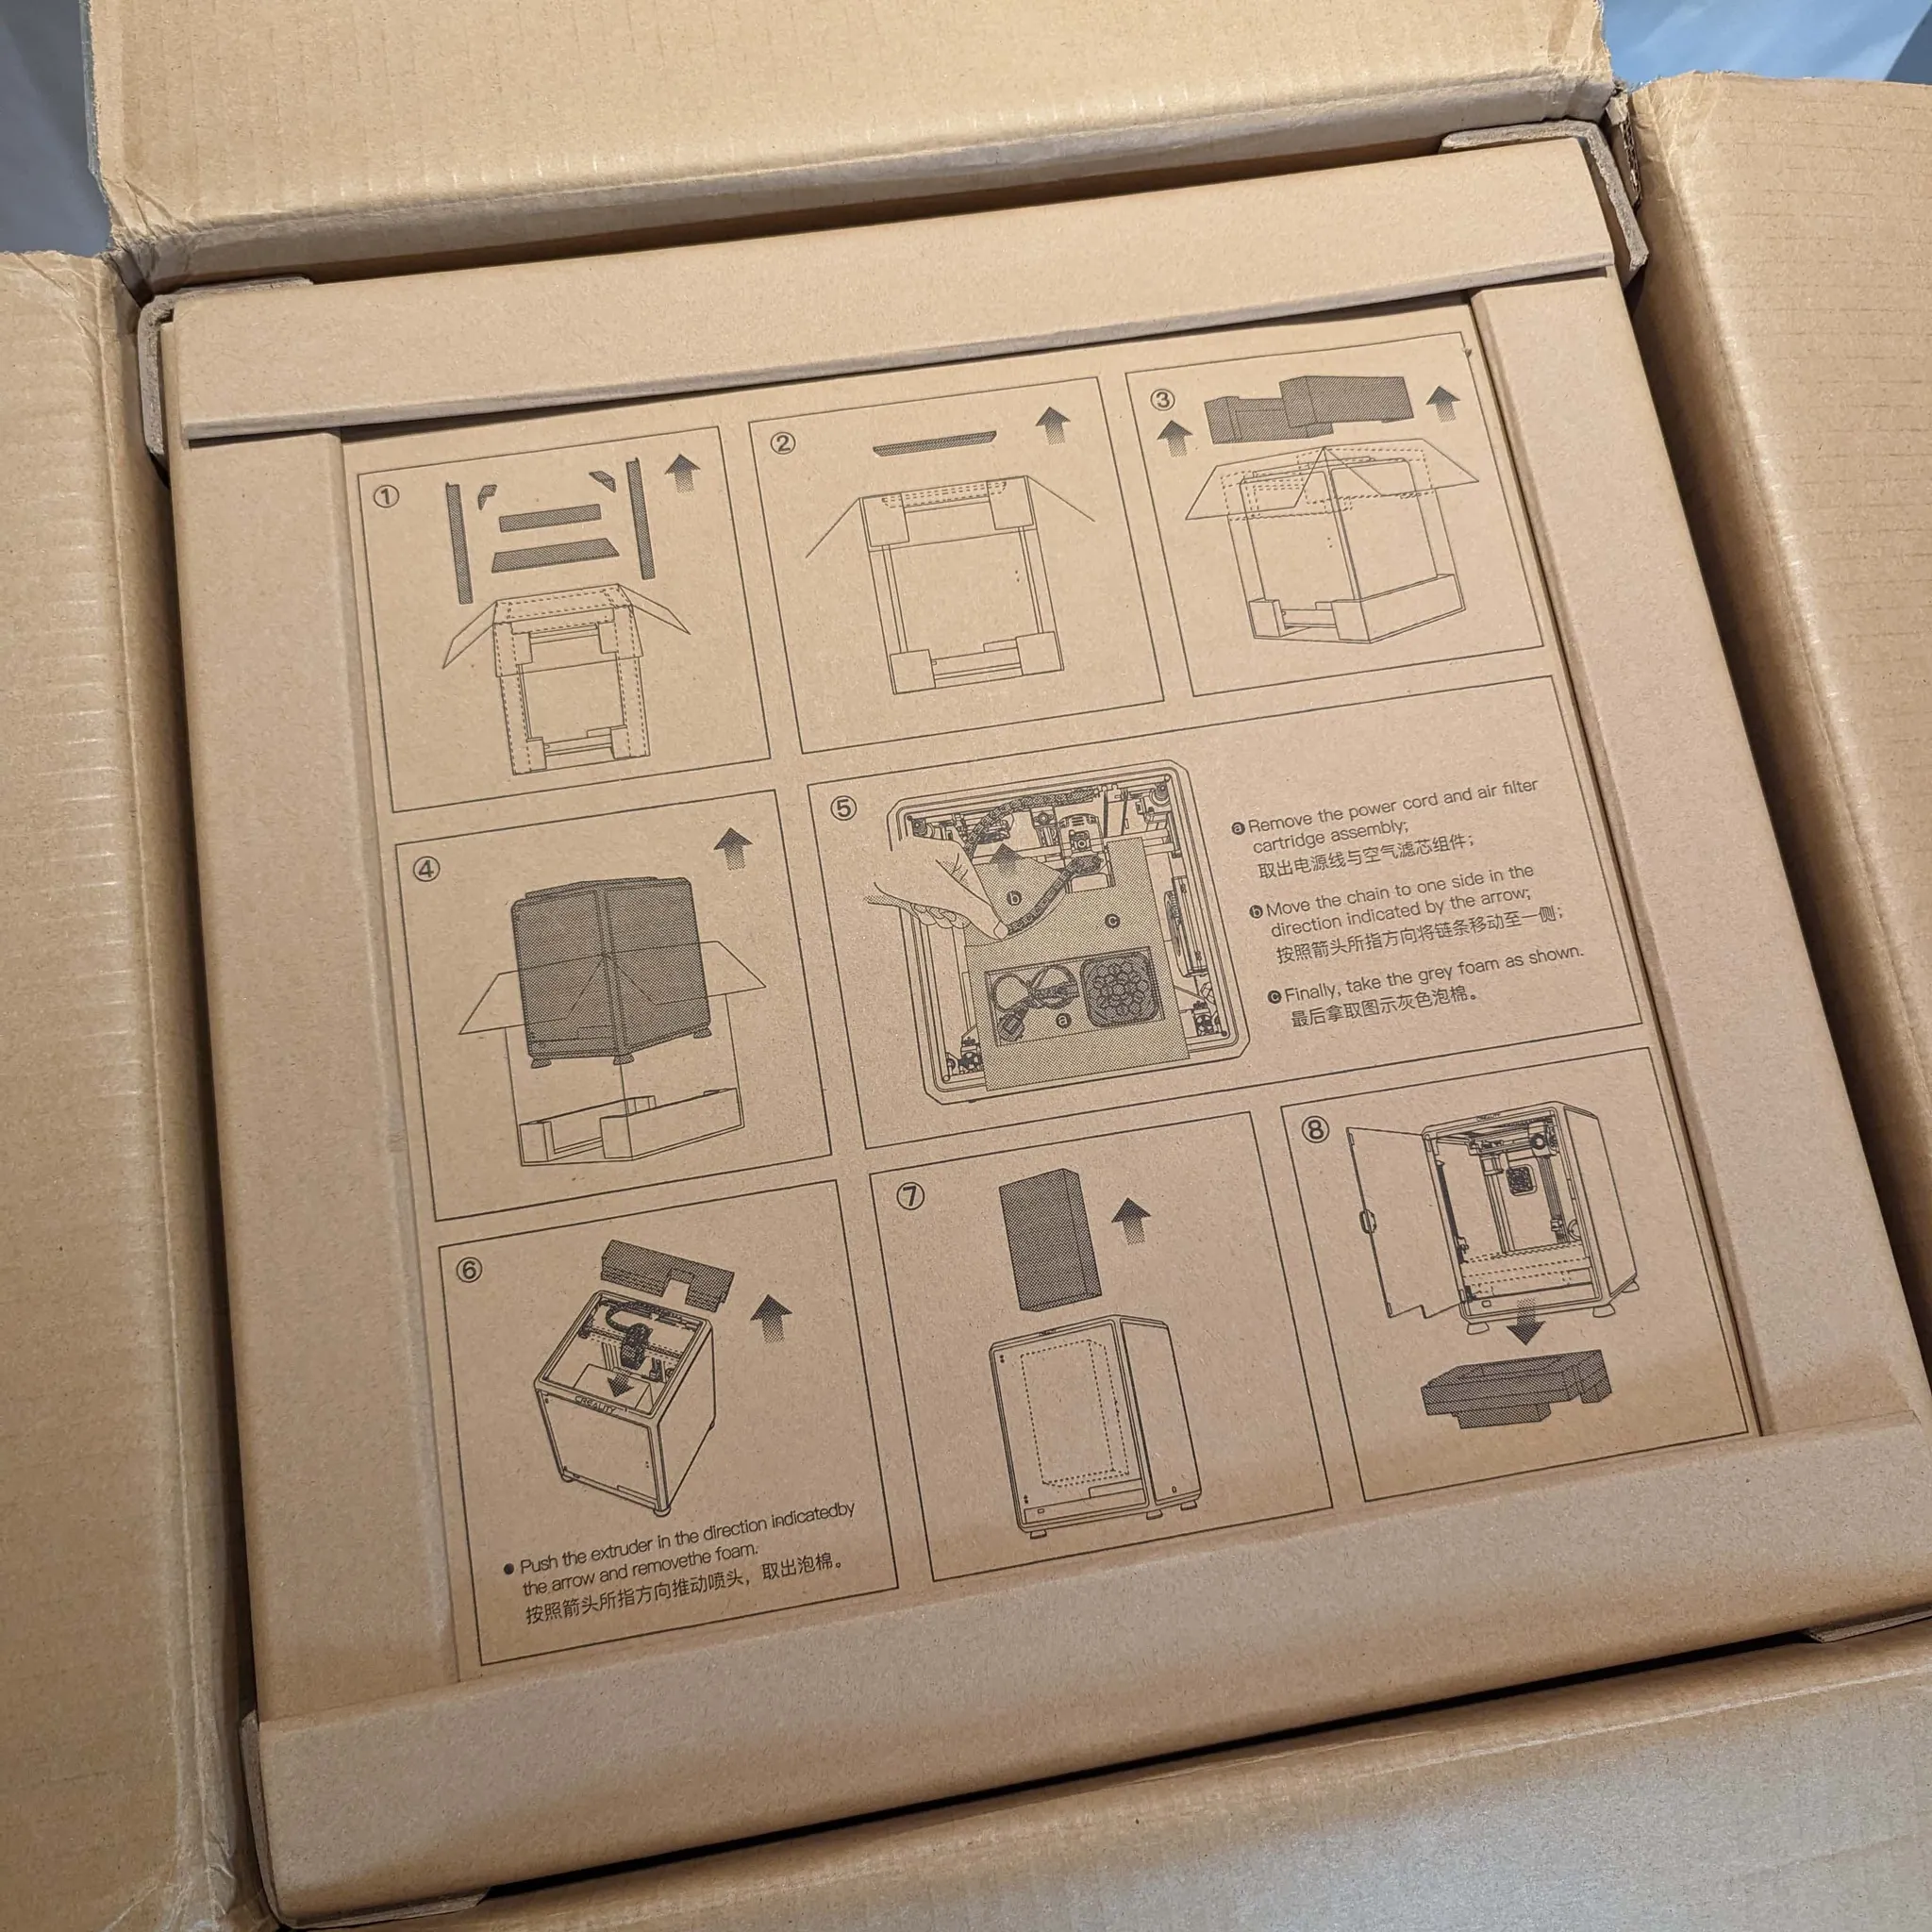
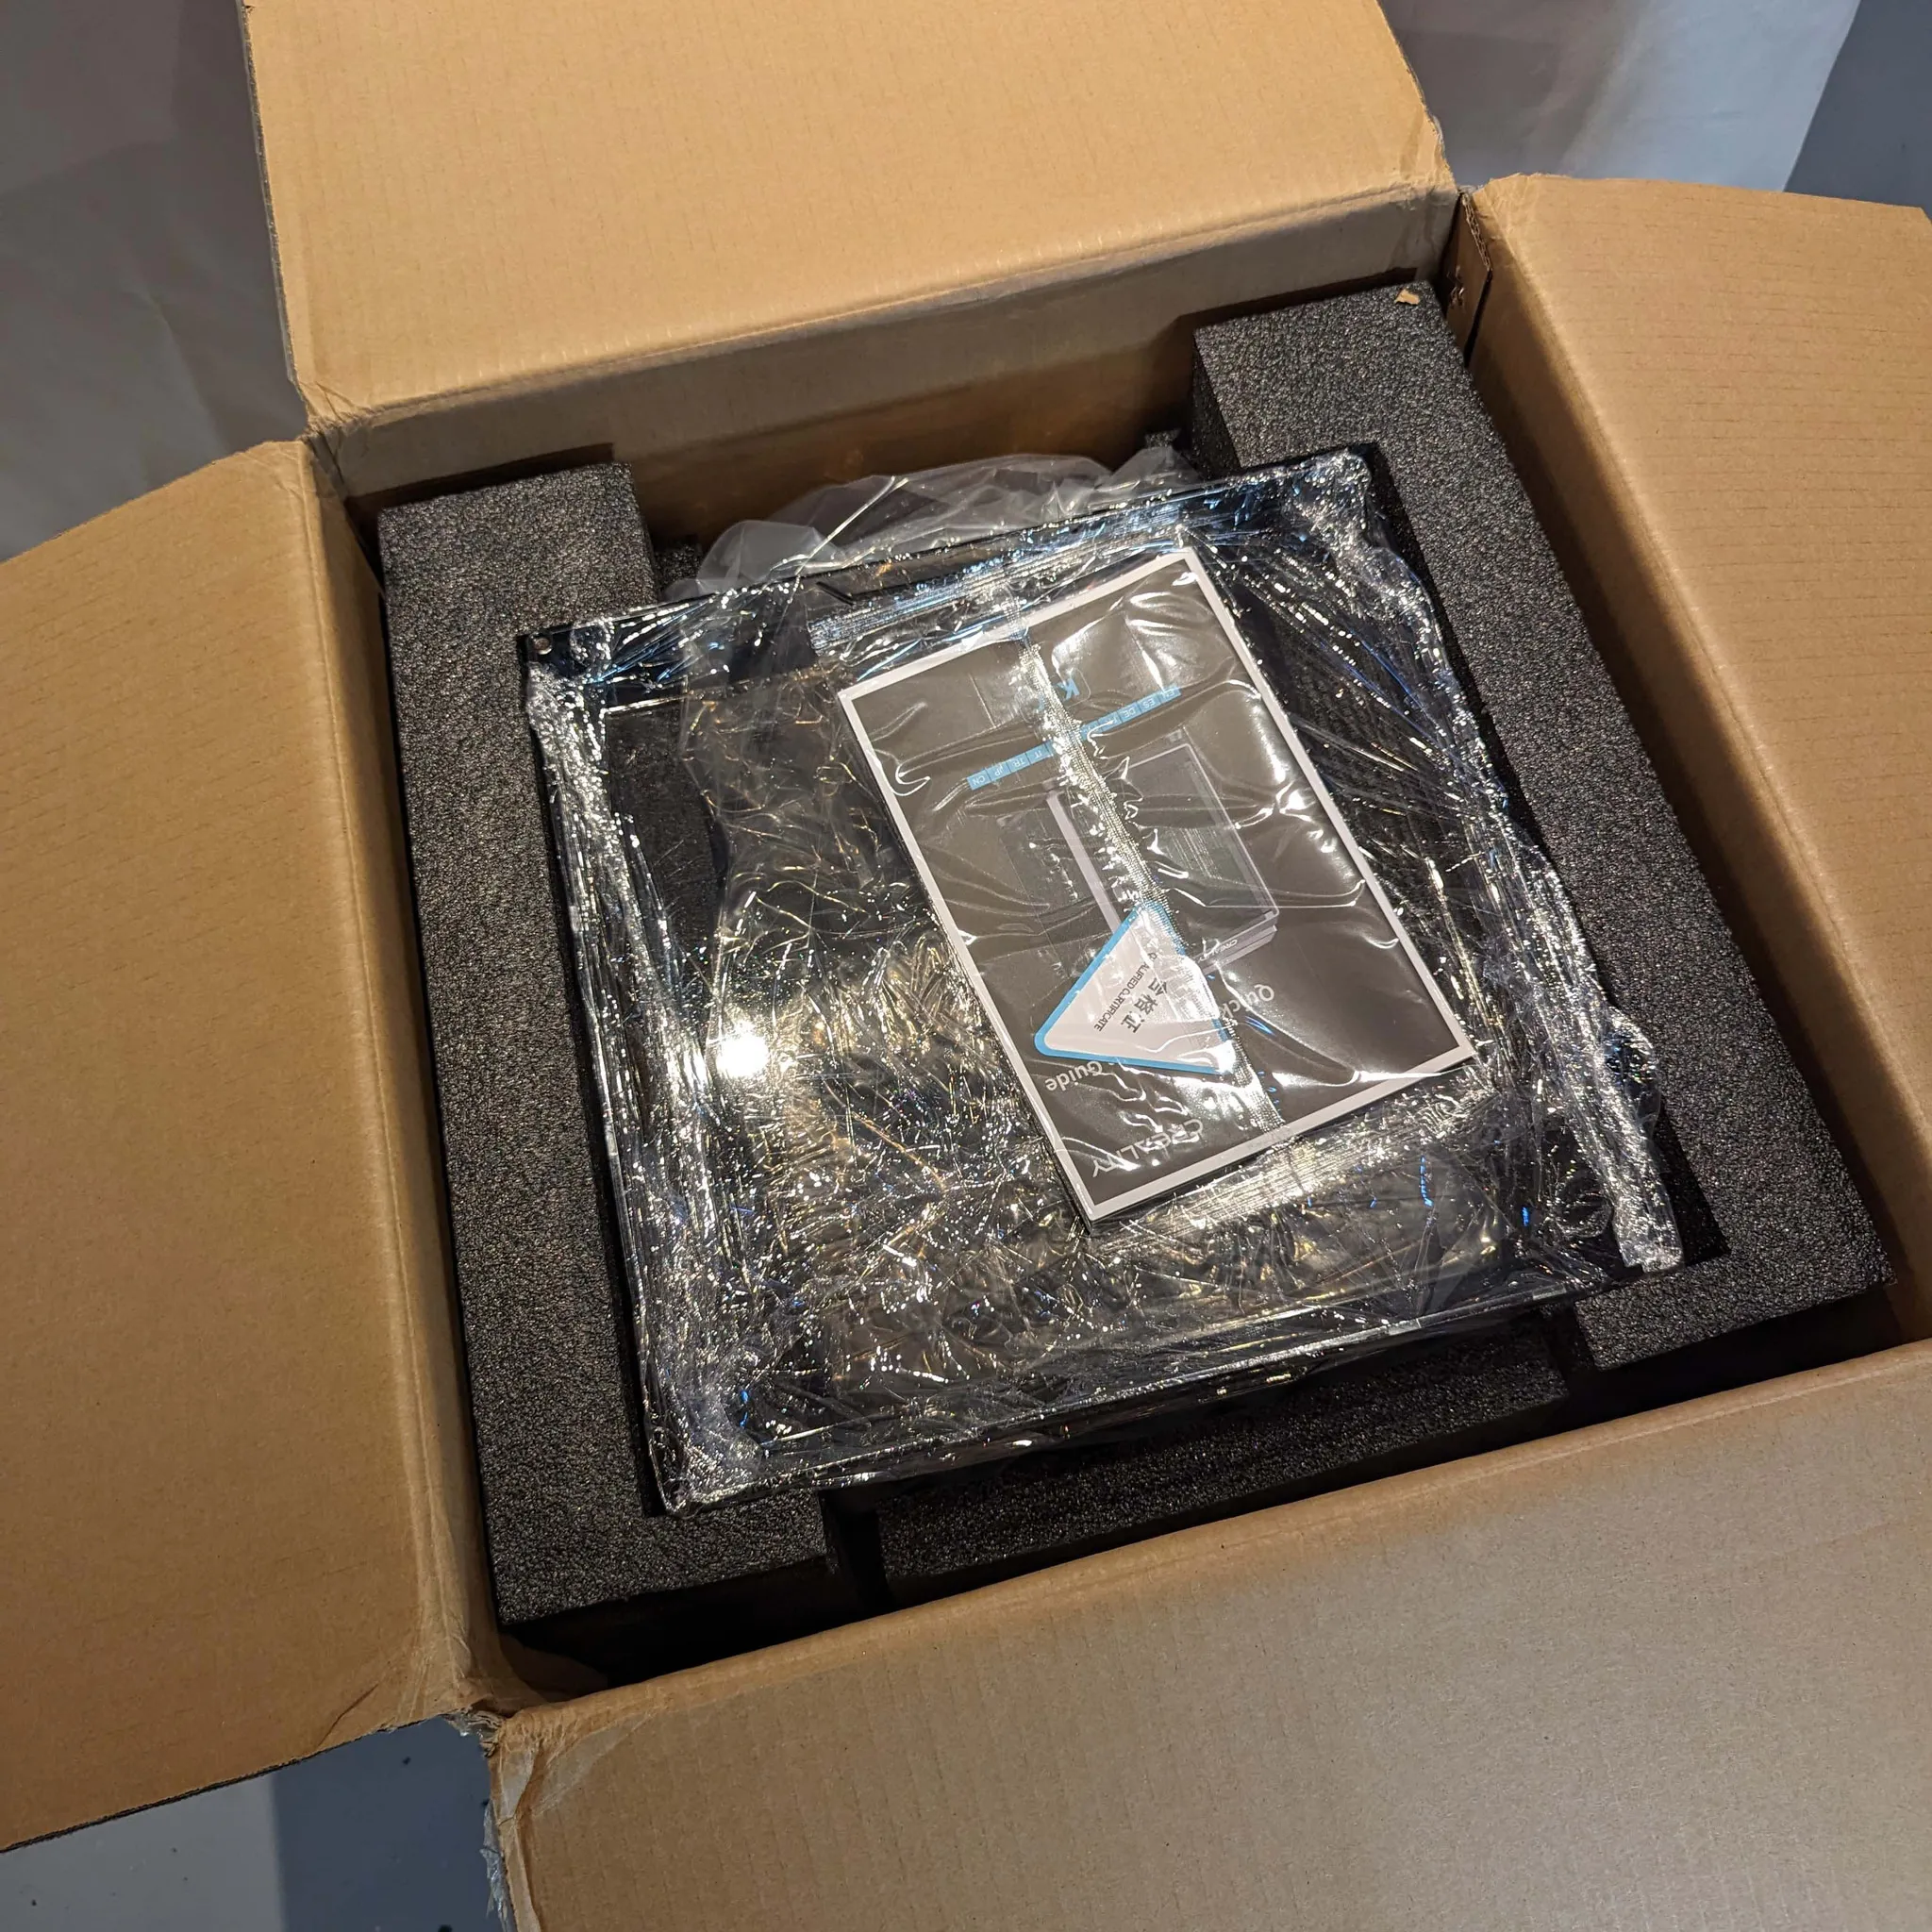
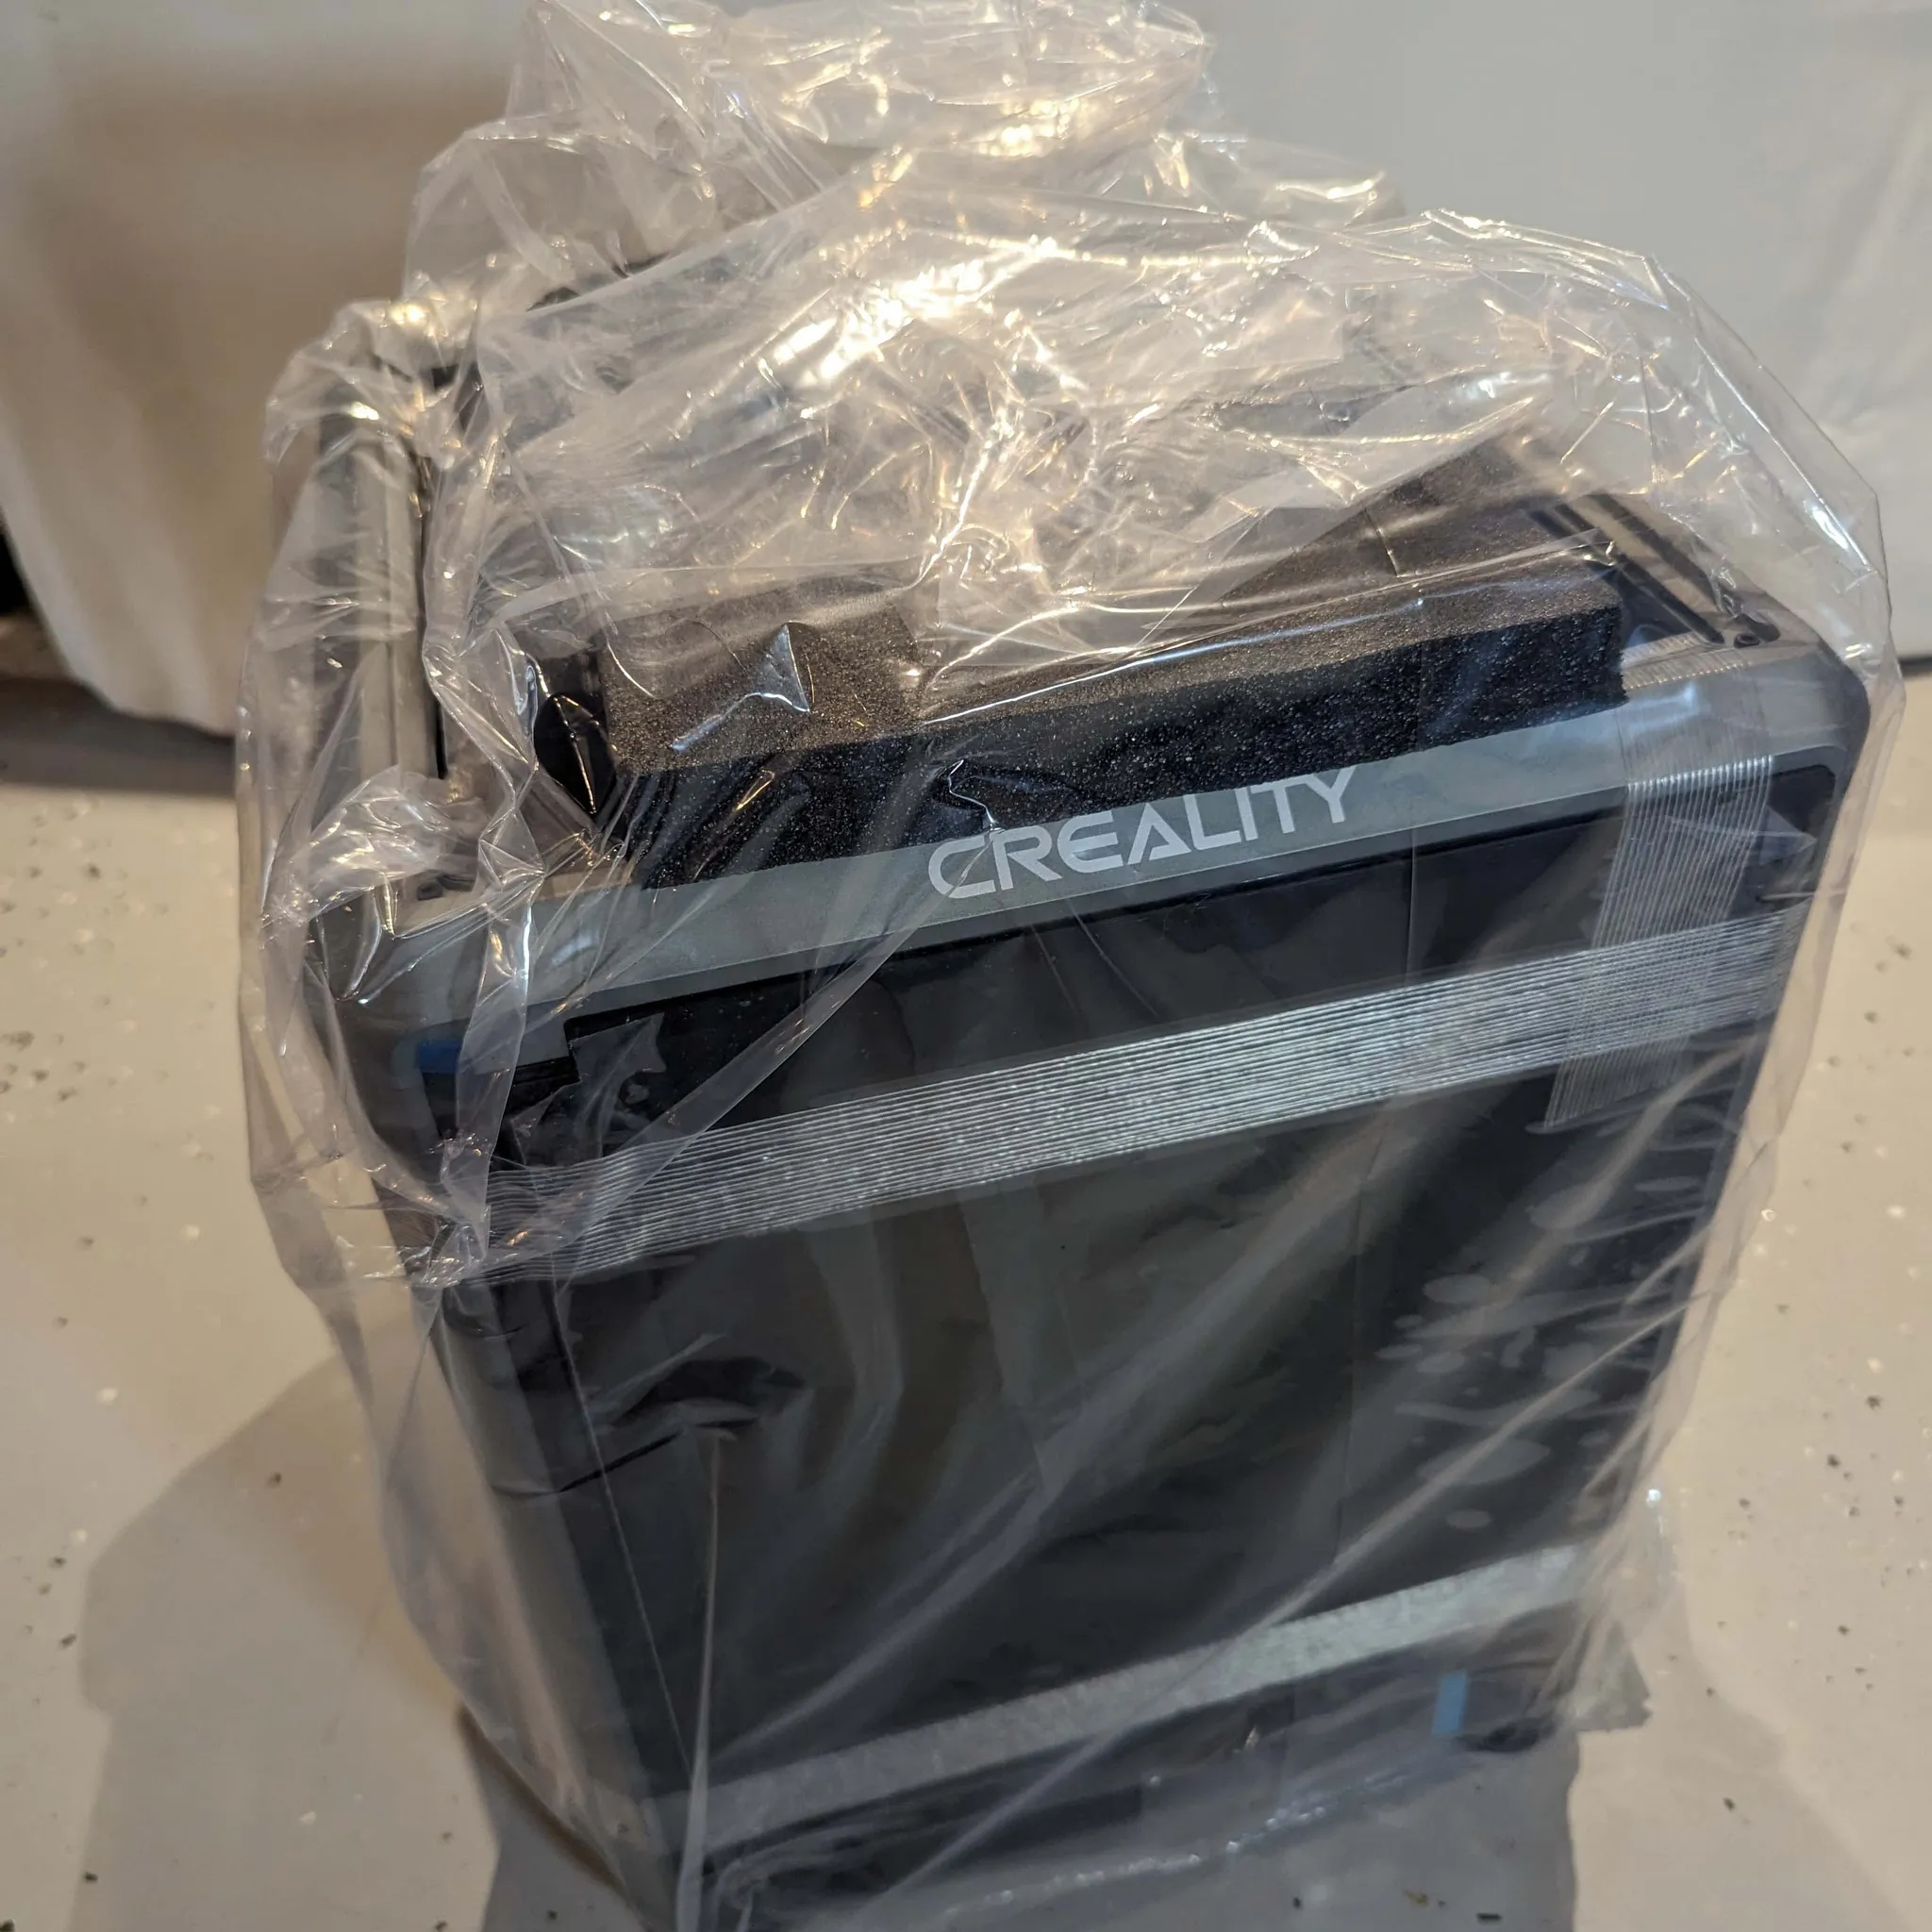
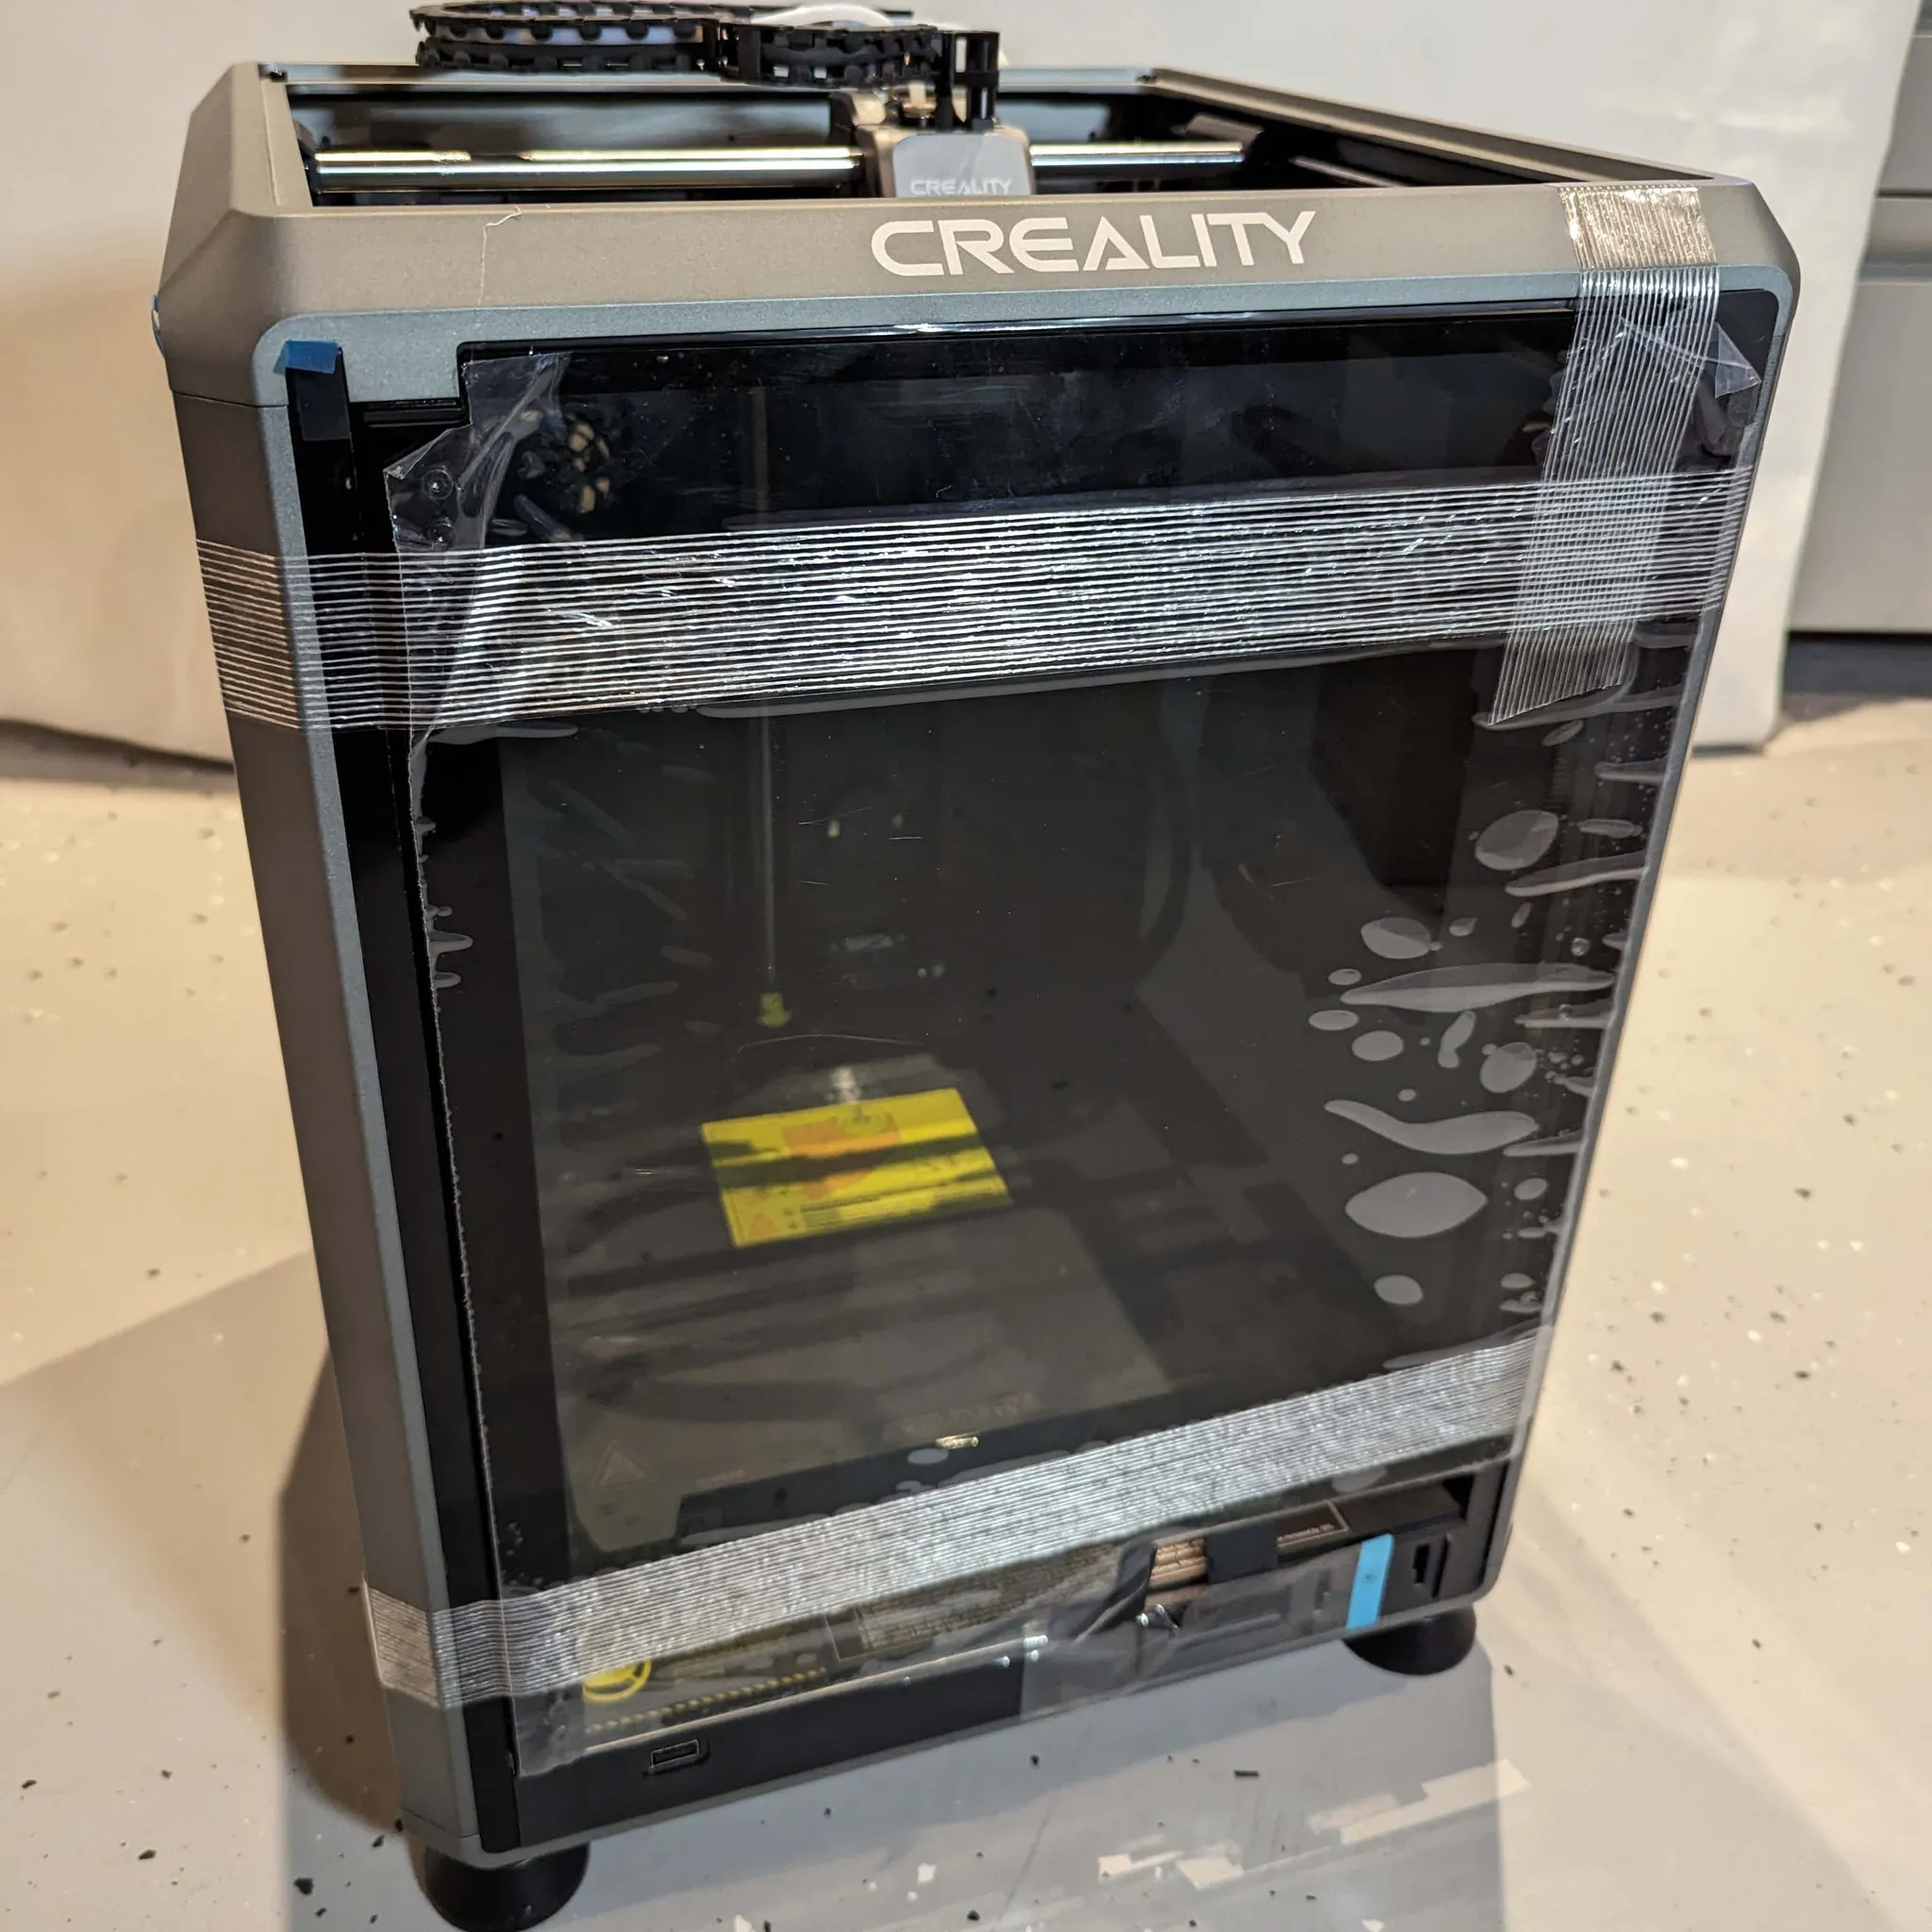
Unboxing
Assembly & Setup
Upon unboxing, your first step should be consulting the official user manual. The printer arrives mostly assembled; final steps include attaching the door handle, air filter cartridge, spool holder, and display. Critical safety checks include verifying the voltage selector and removing the bed’s transport screws, as detailed below.
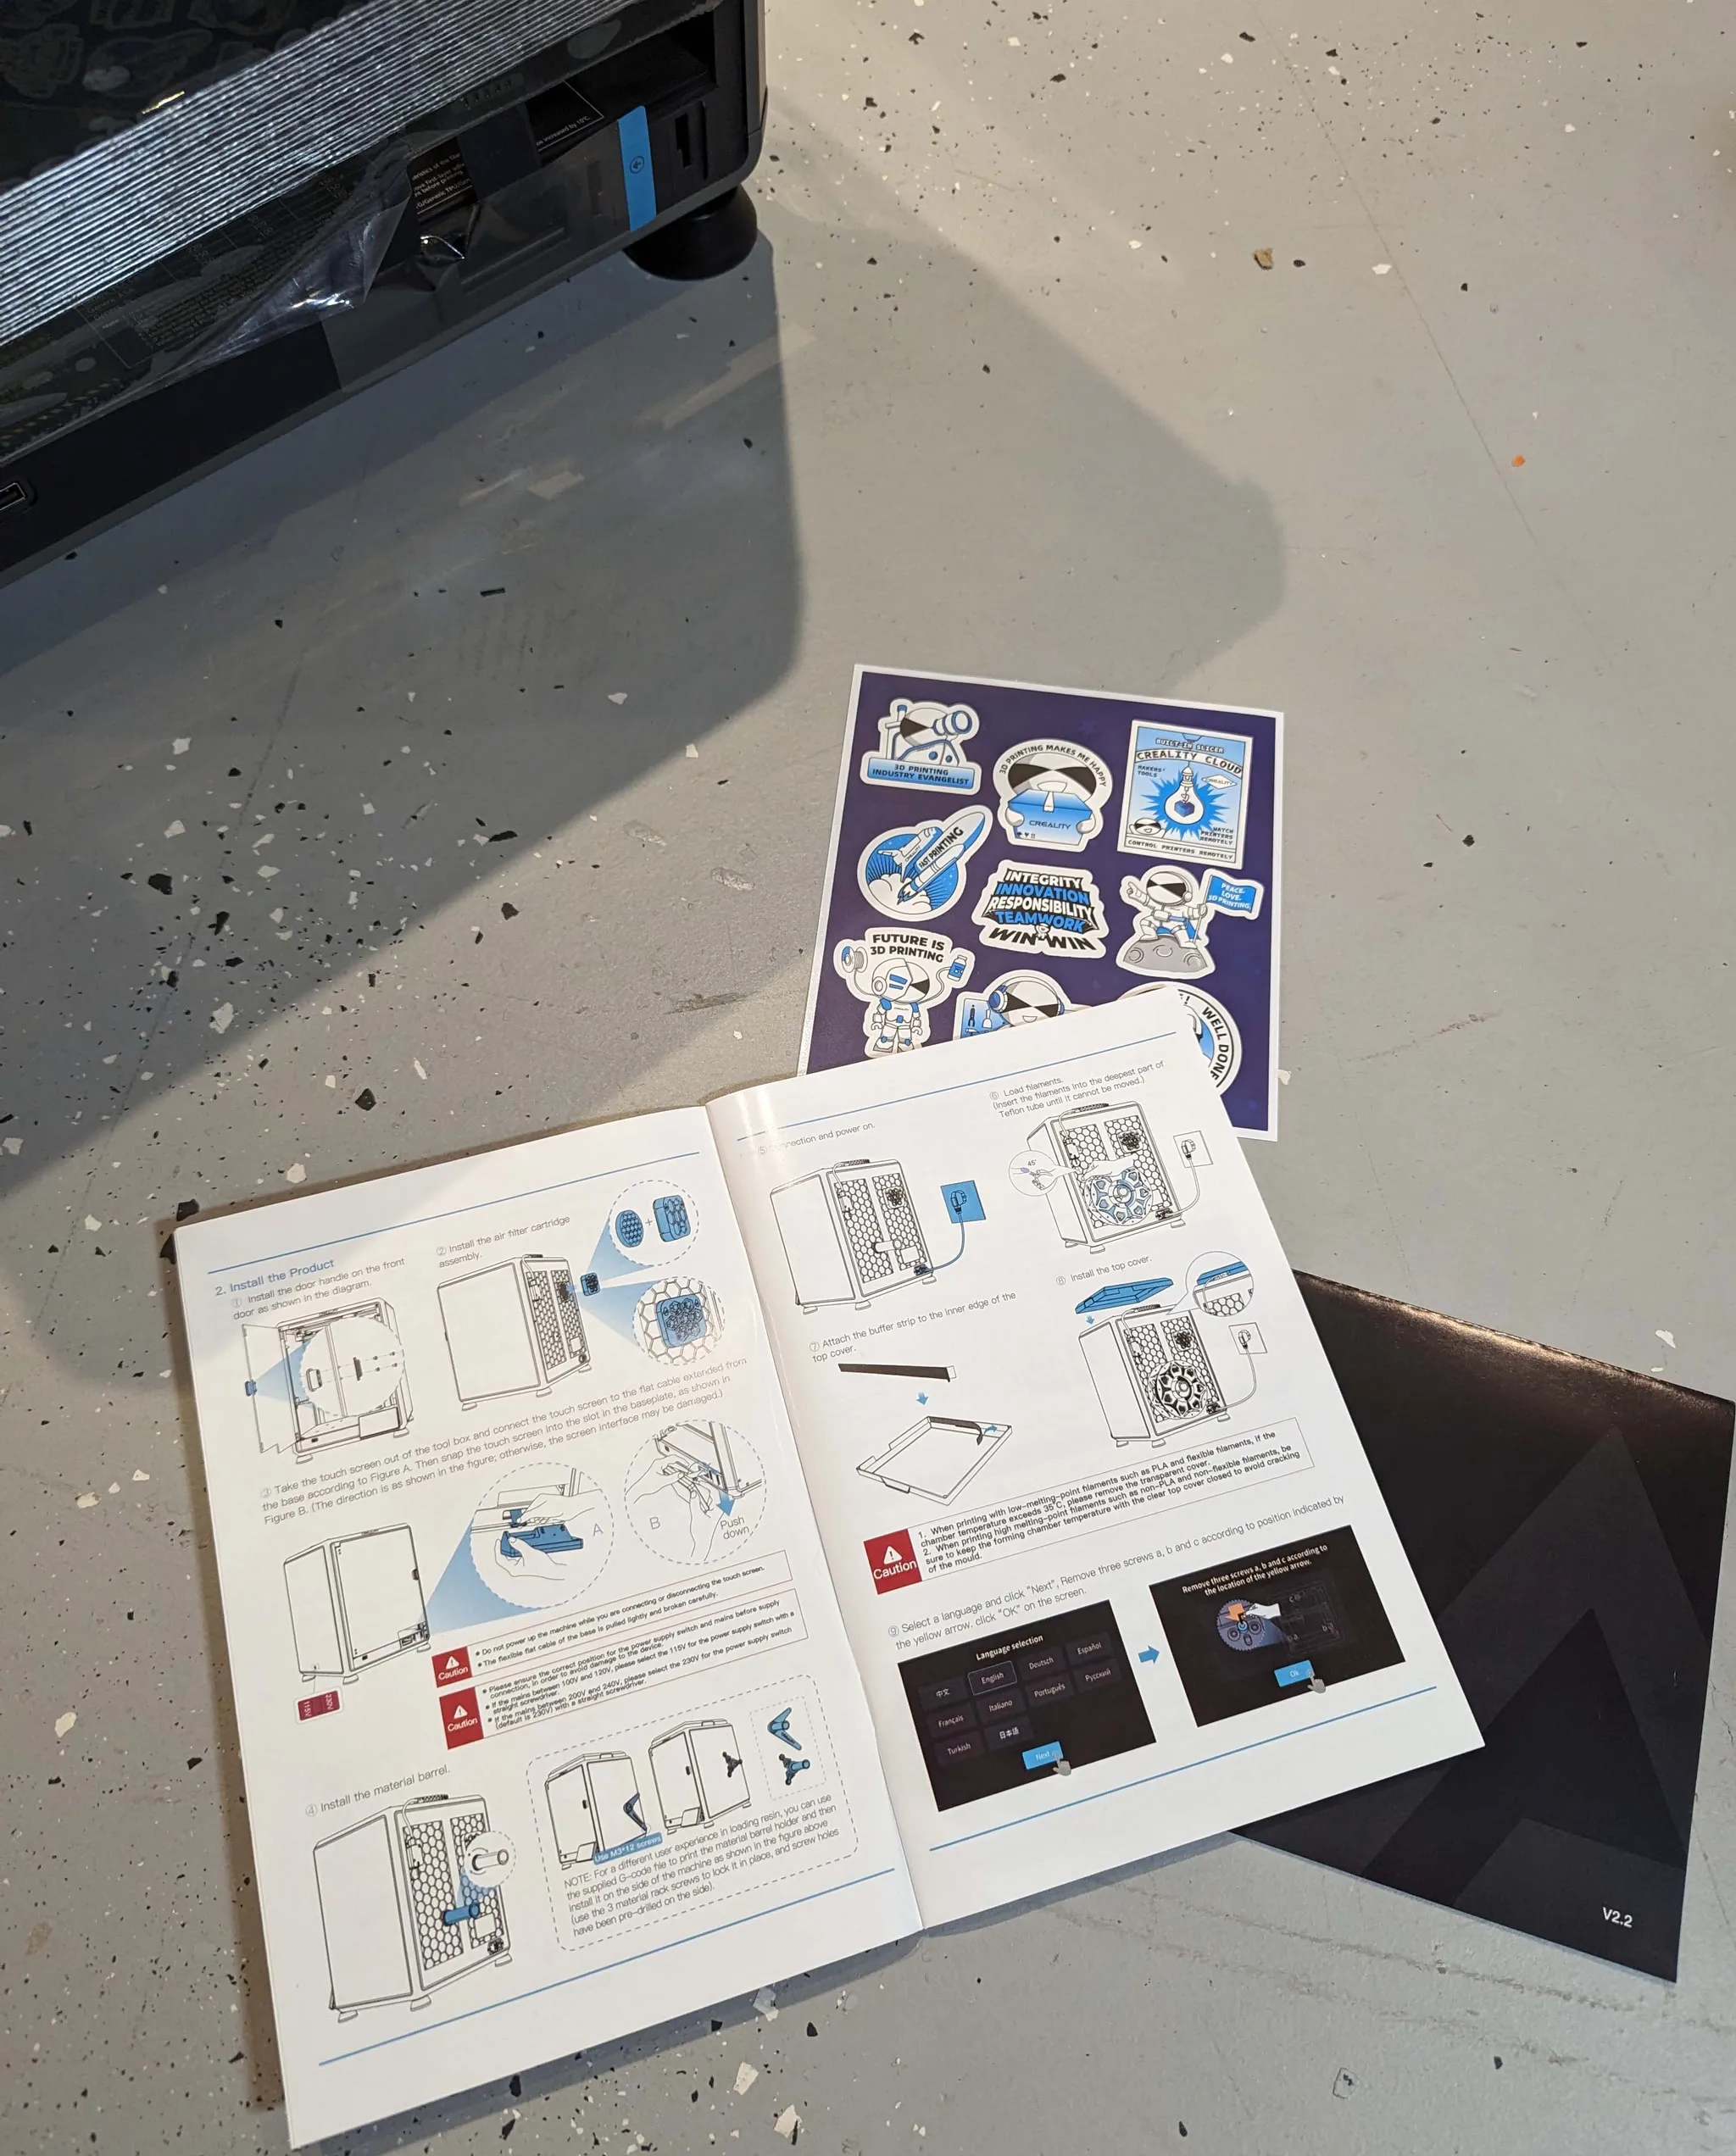
Install the door handle:
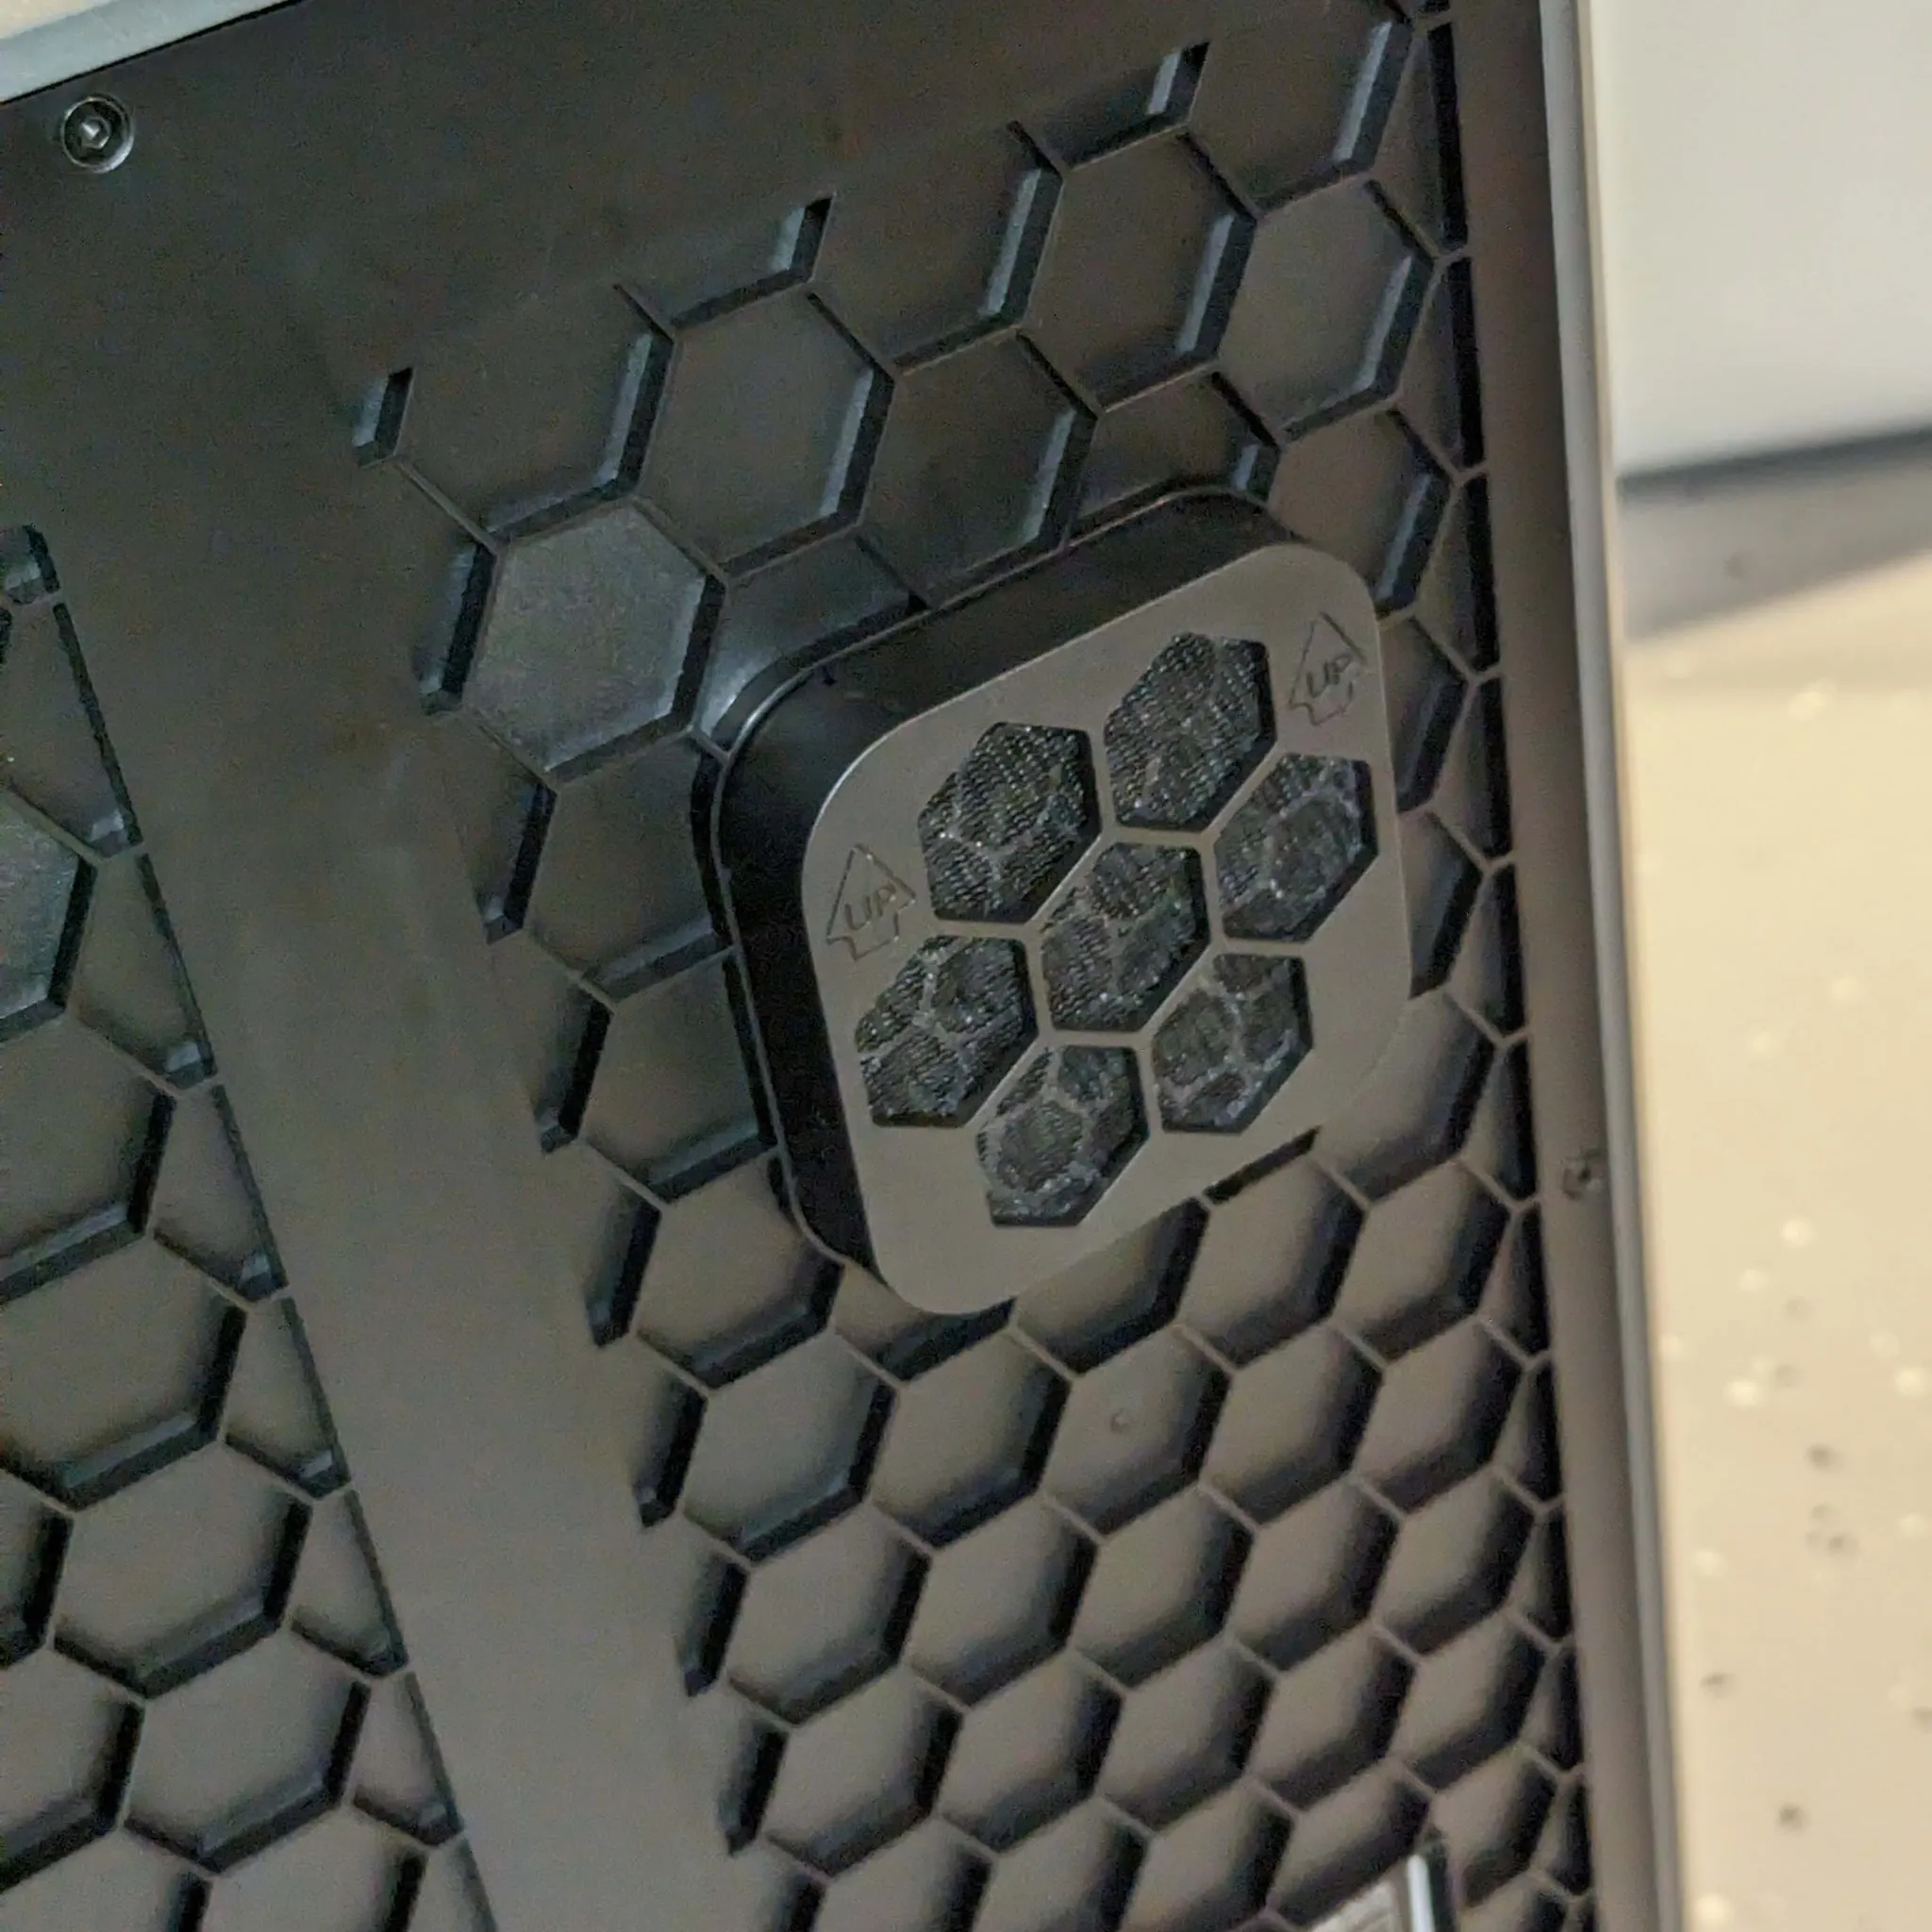
Install the air filter cartridge:
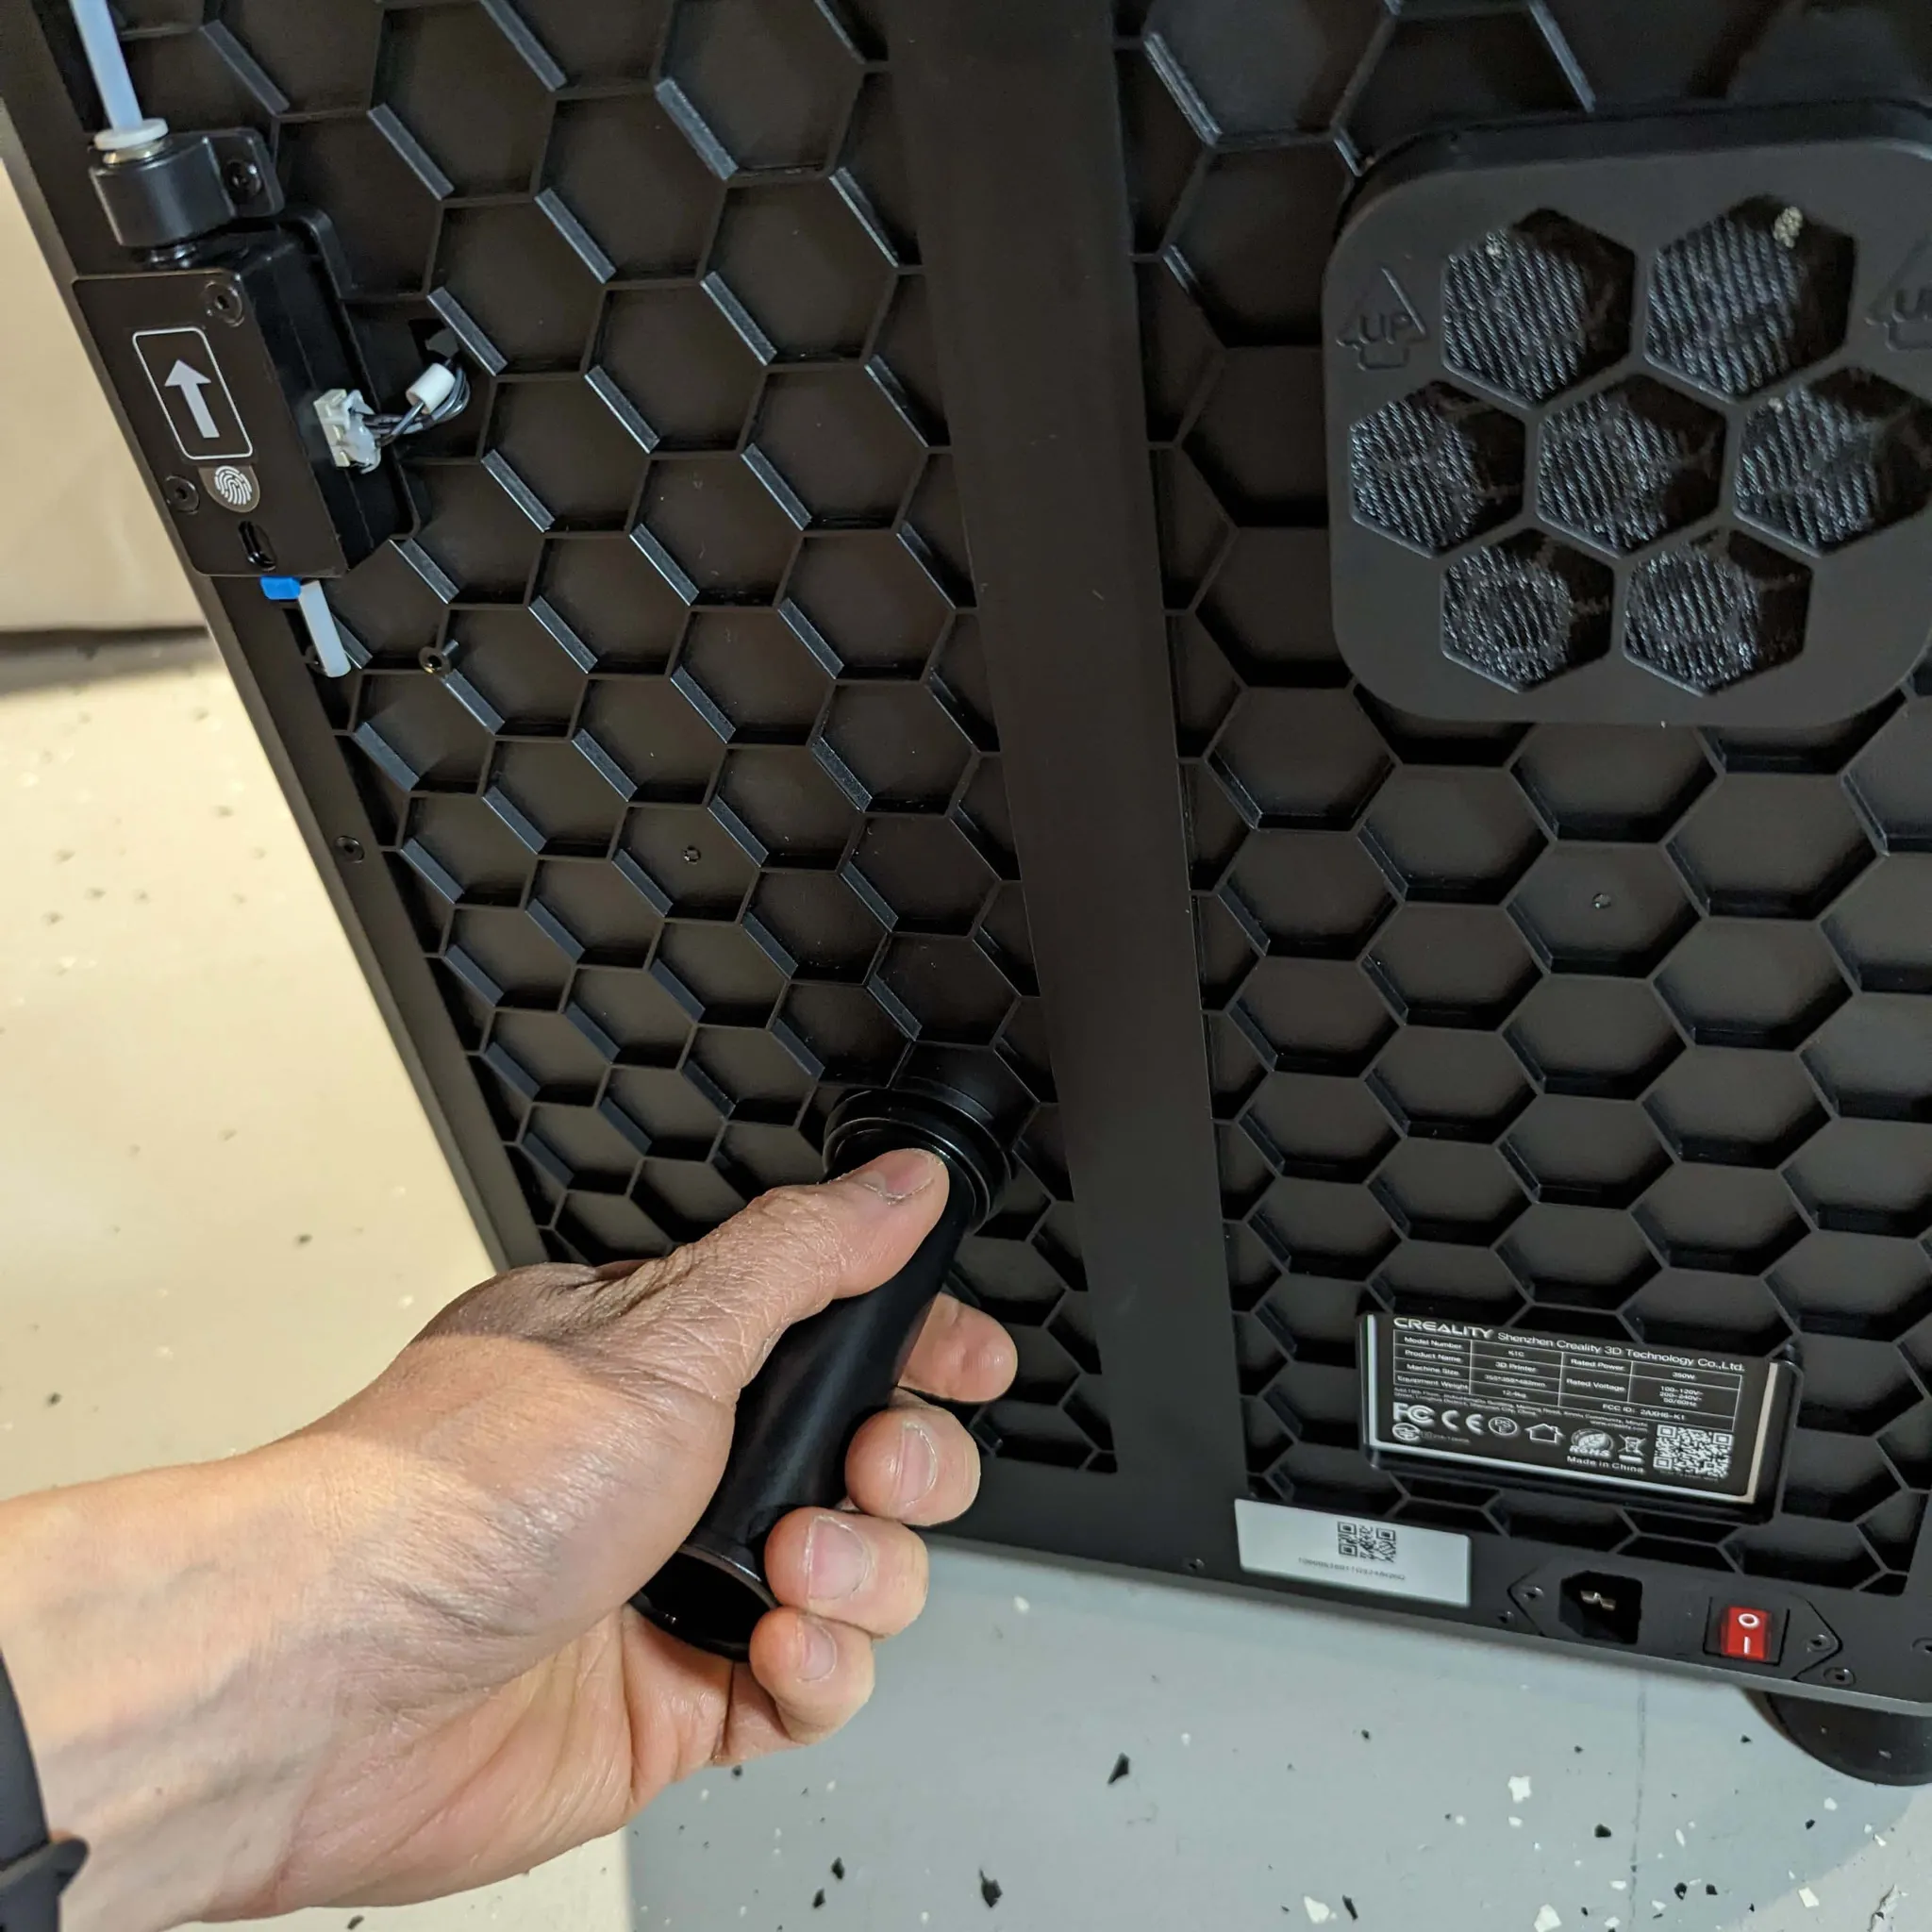
Install the spool holder:
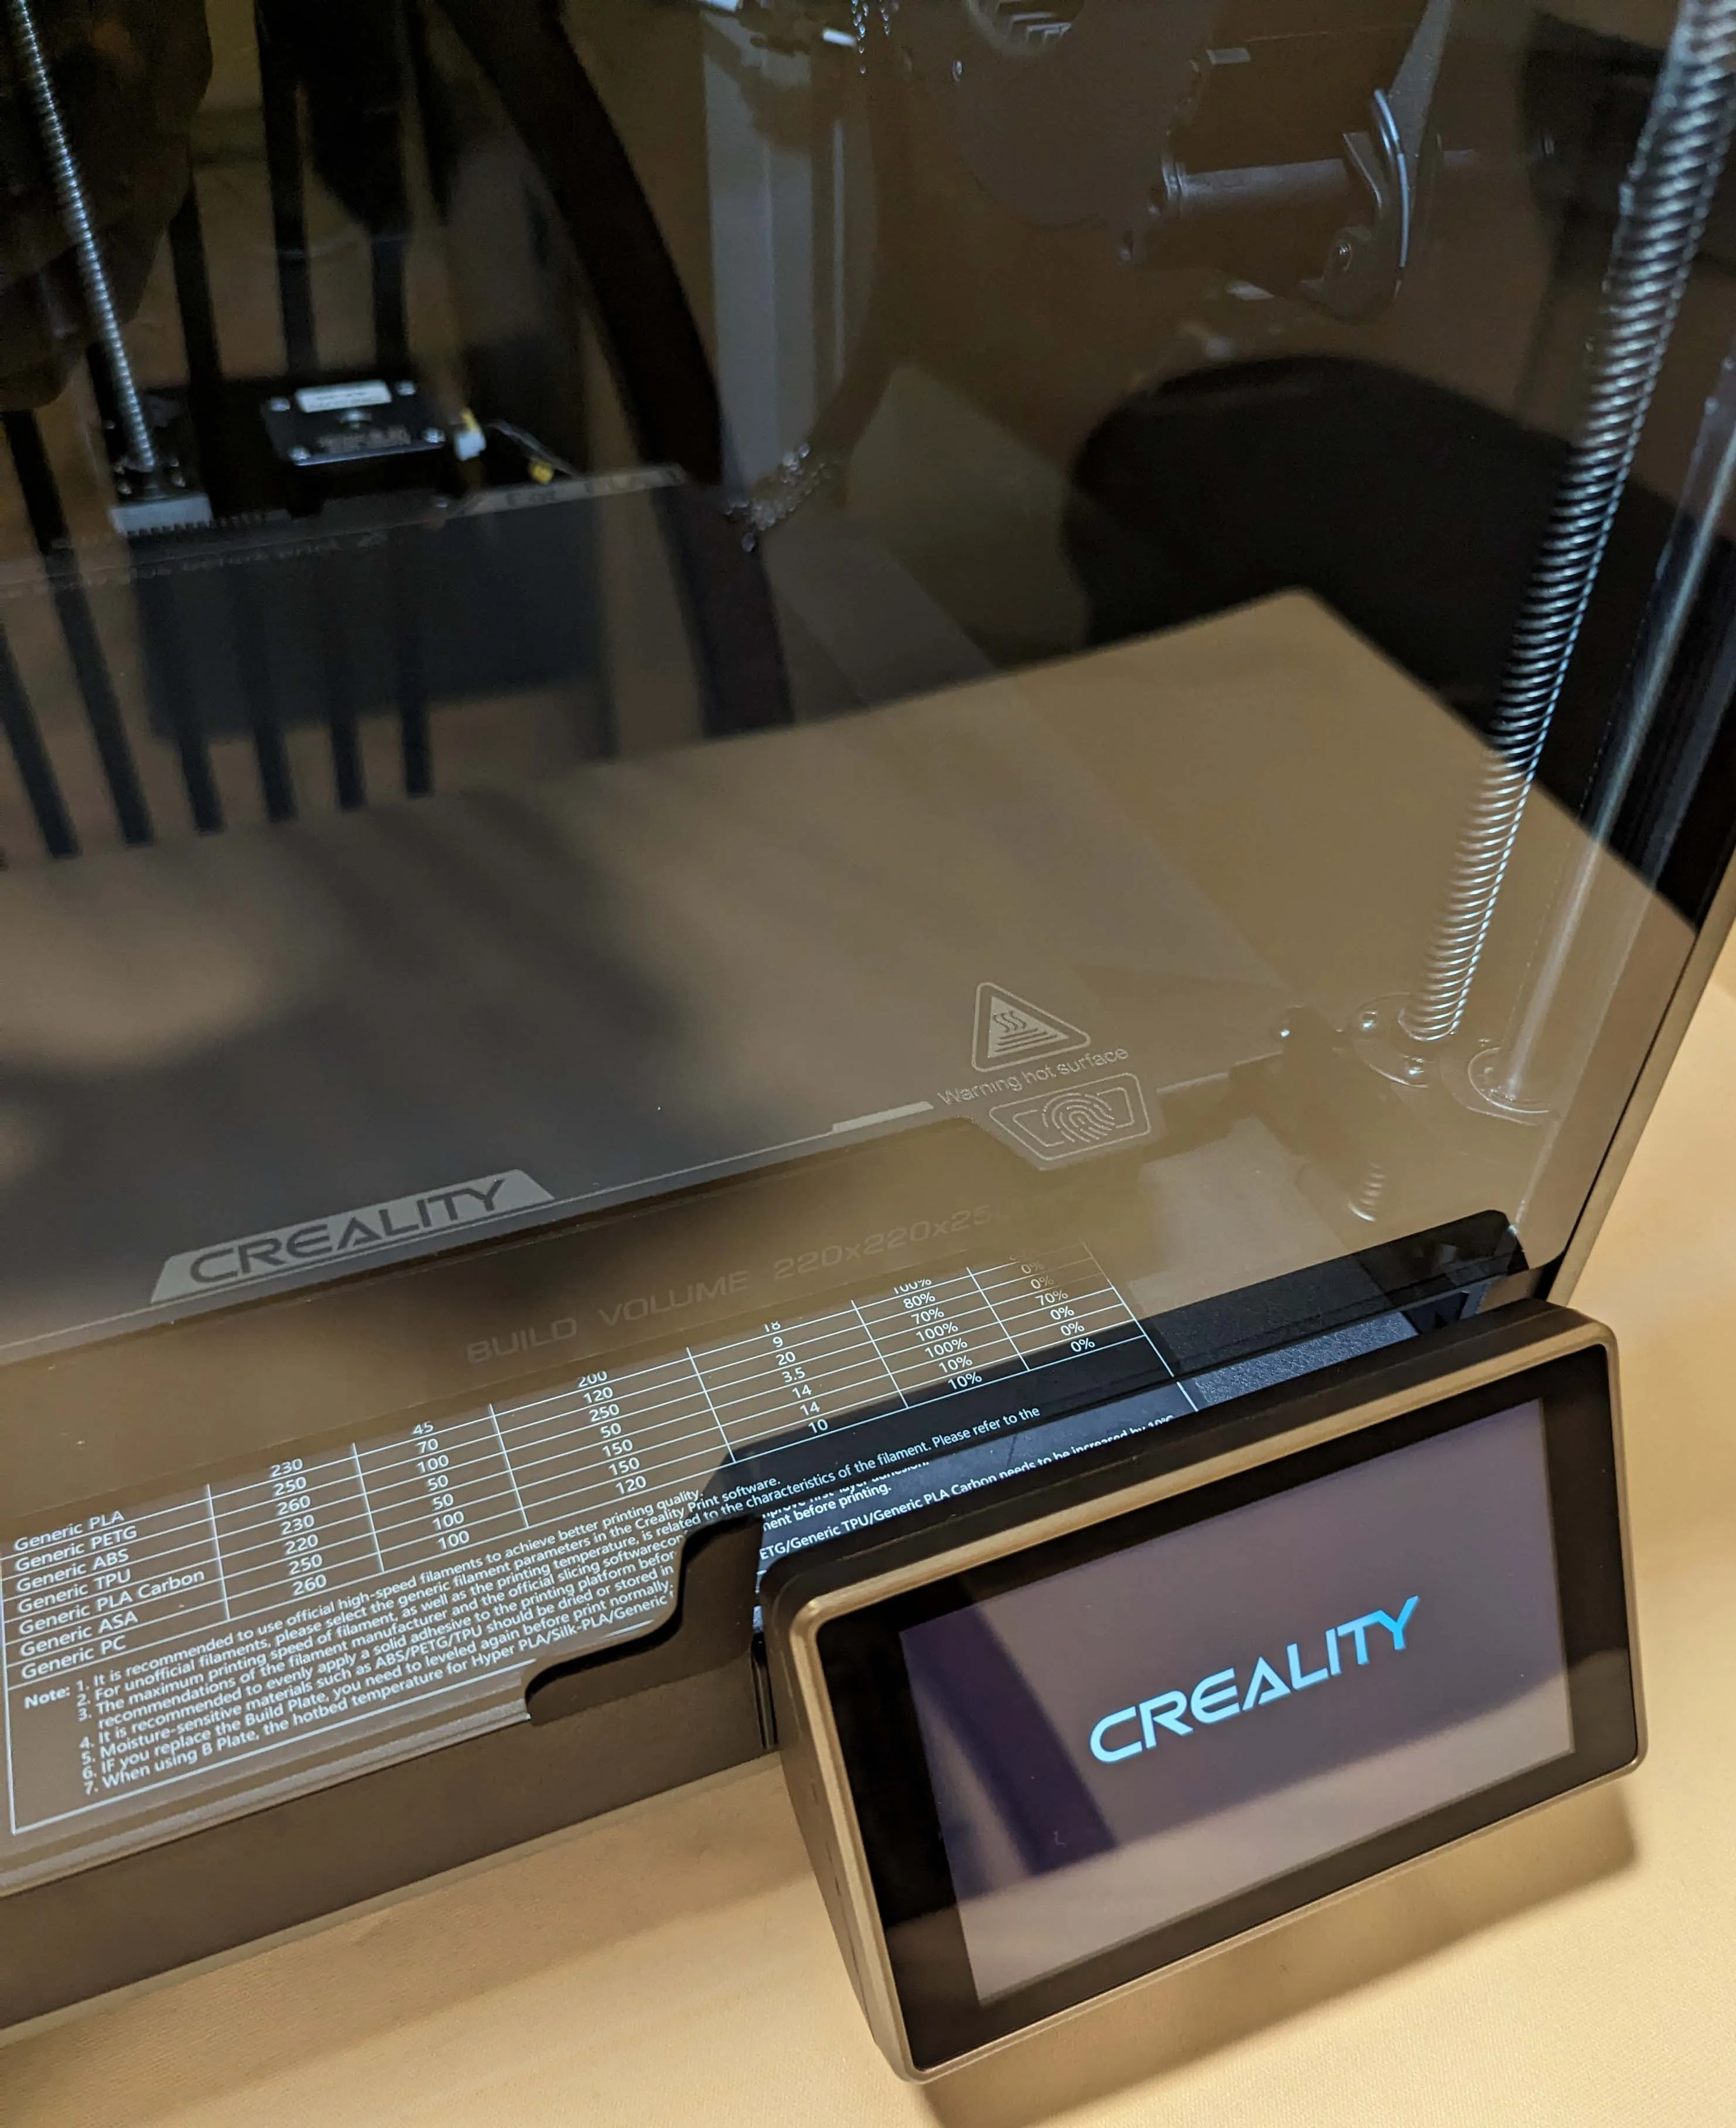
Install the Display:
Install the damping pad on the top cover:
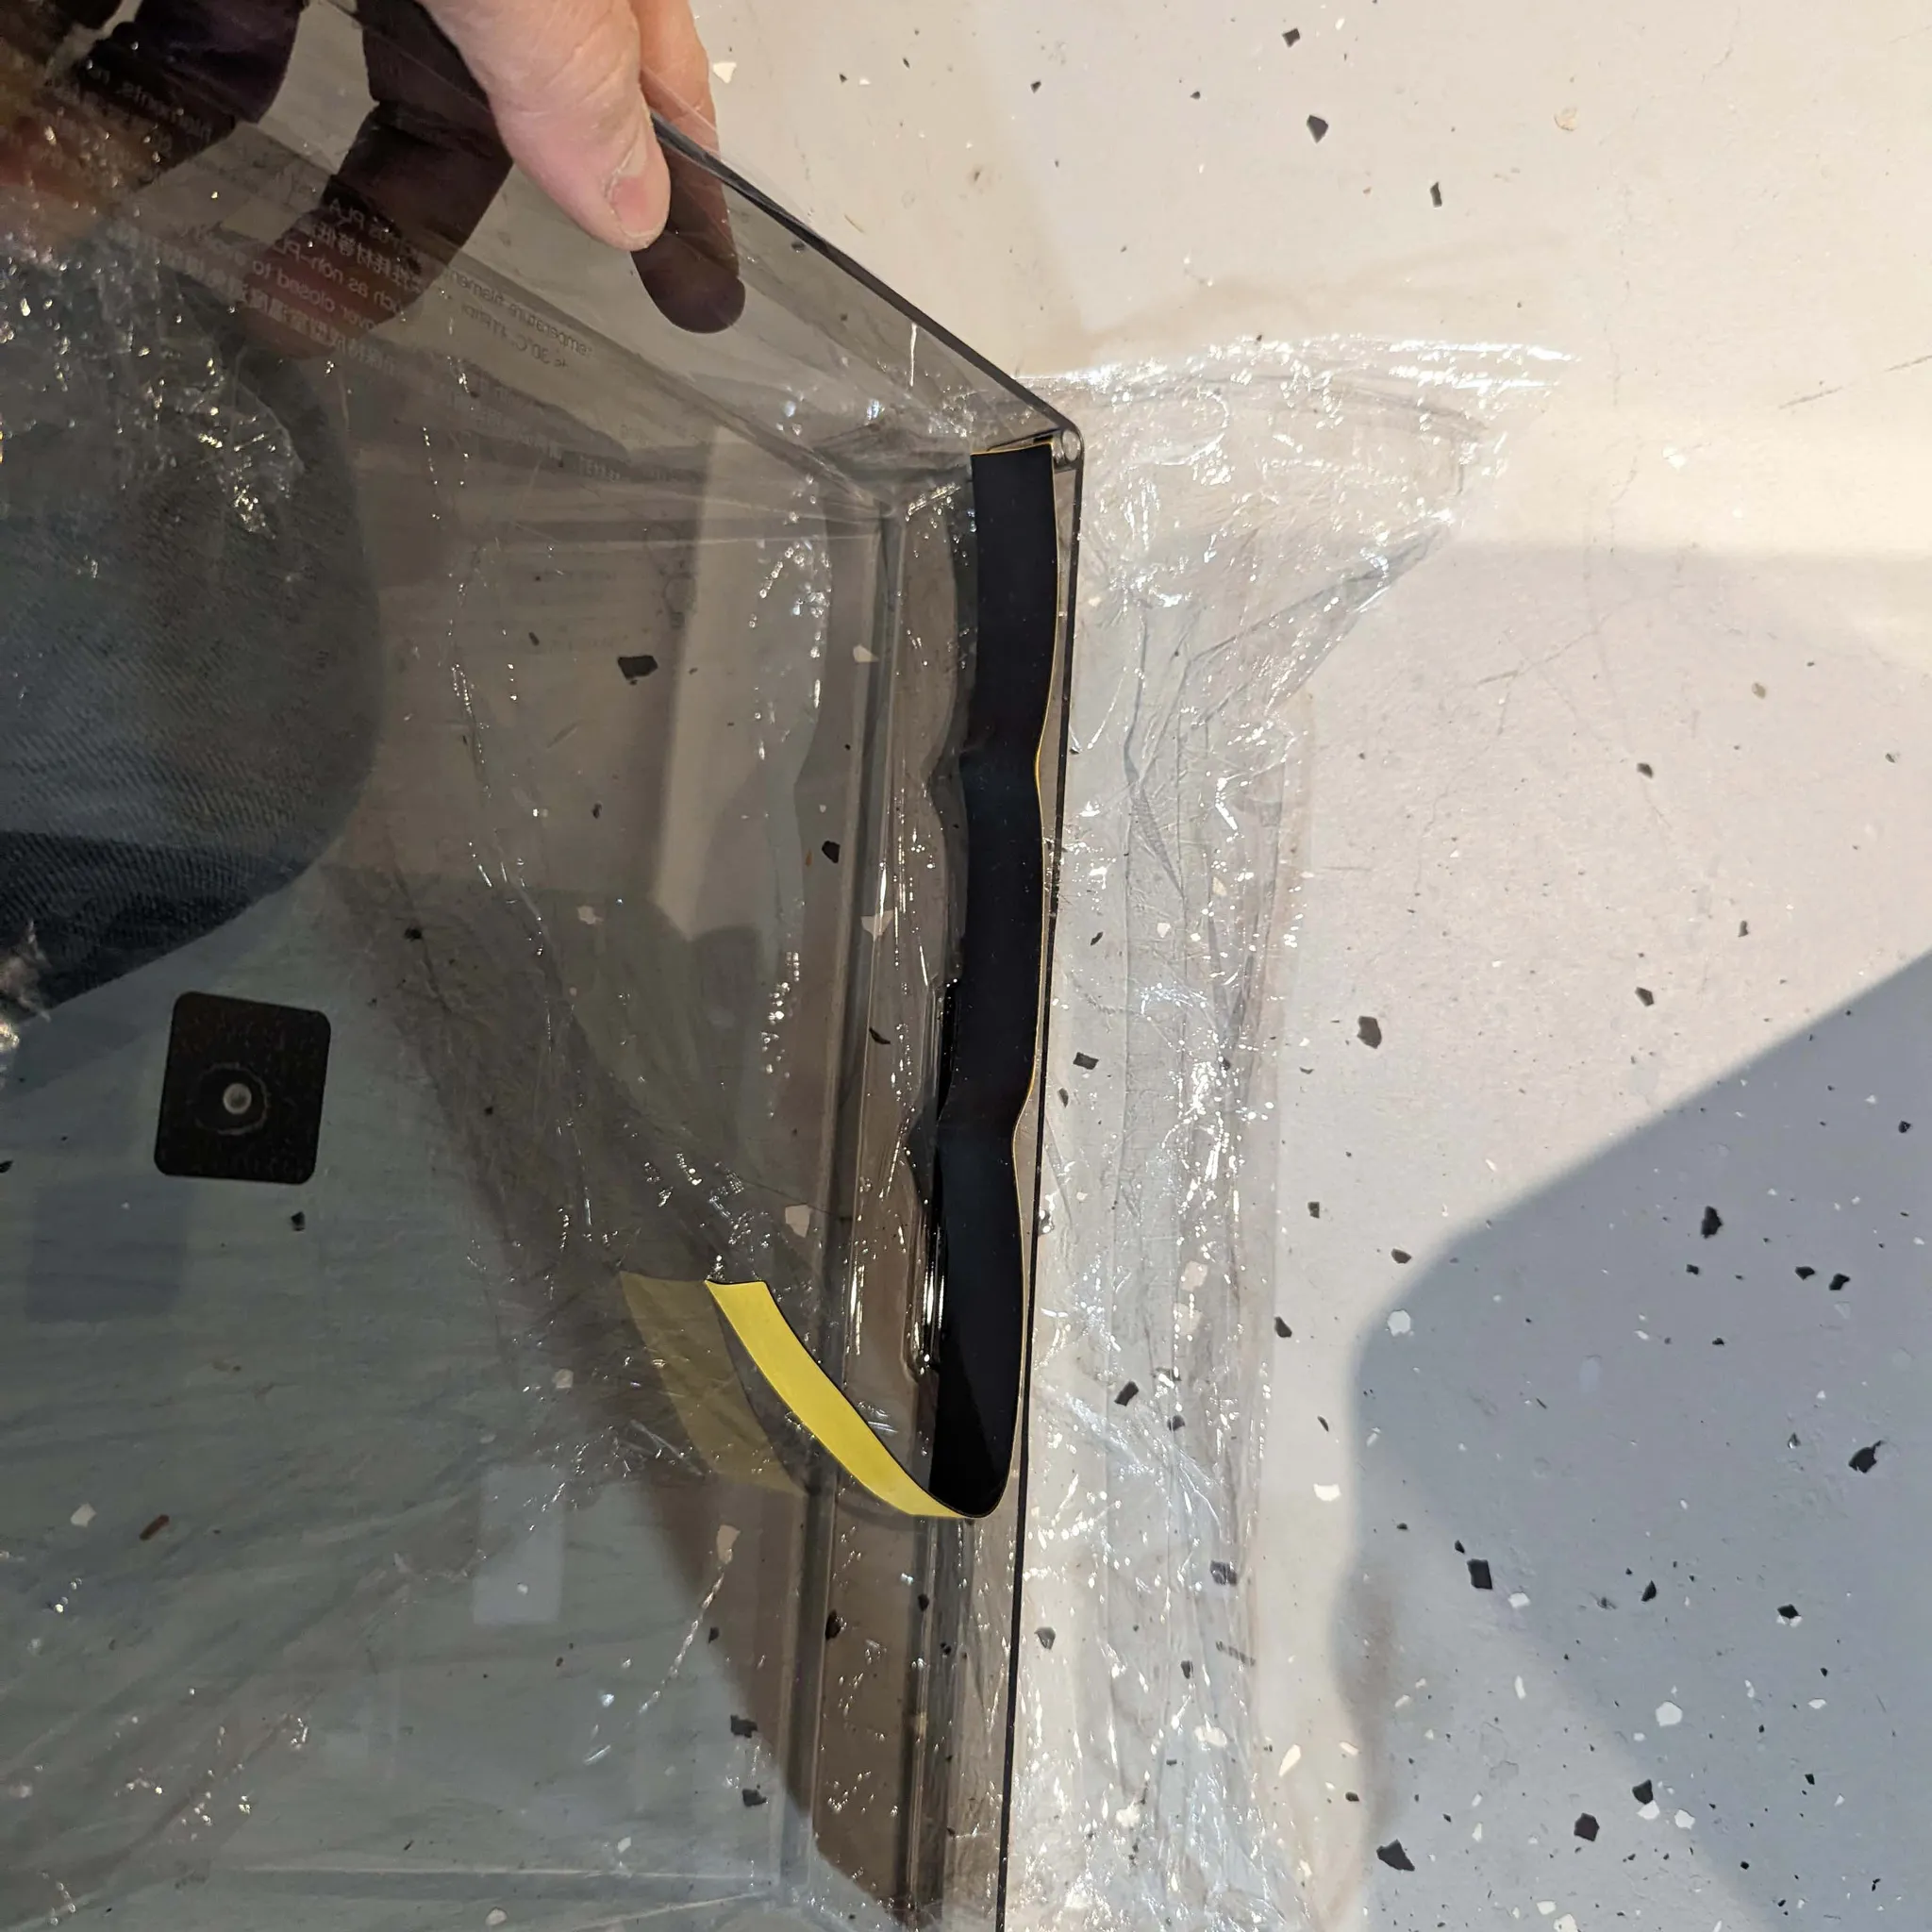
I believe the idea behind this is to prevent the cable chain from knocking off the top cover when it makes contact during quick toolhead movements to the left. However, I found that the top cover can still be knocked off during these rapid movements:
Calibration & Regional Settings
Before the initial power-on, ensure the power supply voltage switch is set correctly for your region (e.g., 110V for the US, 220V for Europe). Mine required a switch to 110V:

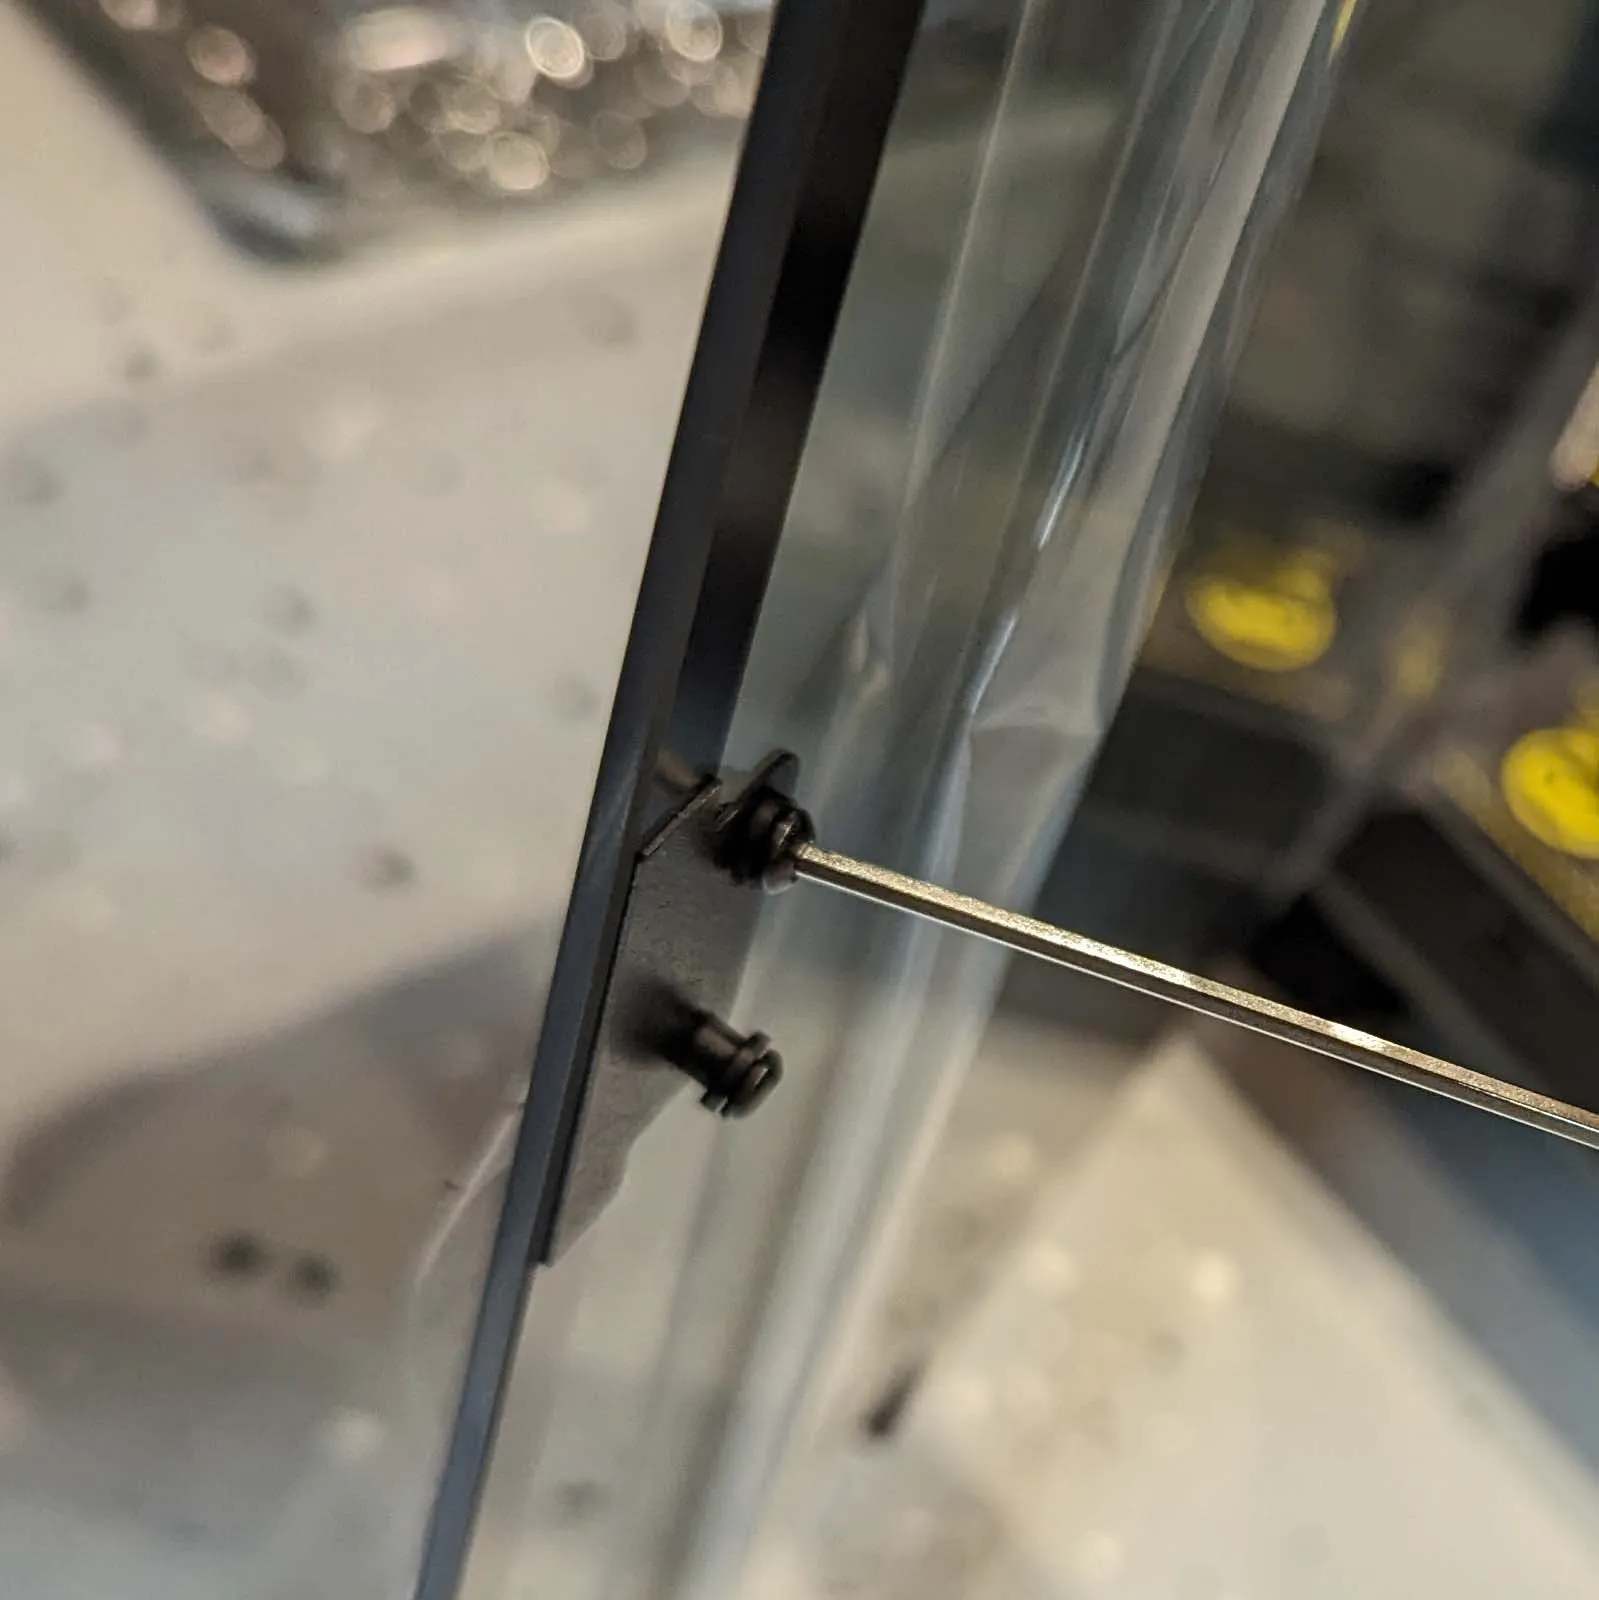
Next, remove the three silver screws securing the bed for transport:
![]()
![]()
The first time you power the machine on, it will walk you through the setup and auto-calibrate the machine. This process takes about 10 minutes and is very easy to follow.
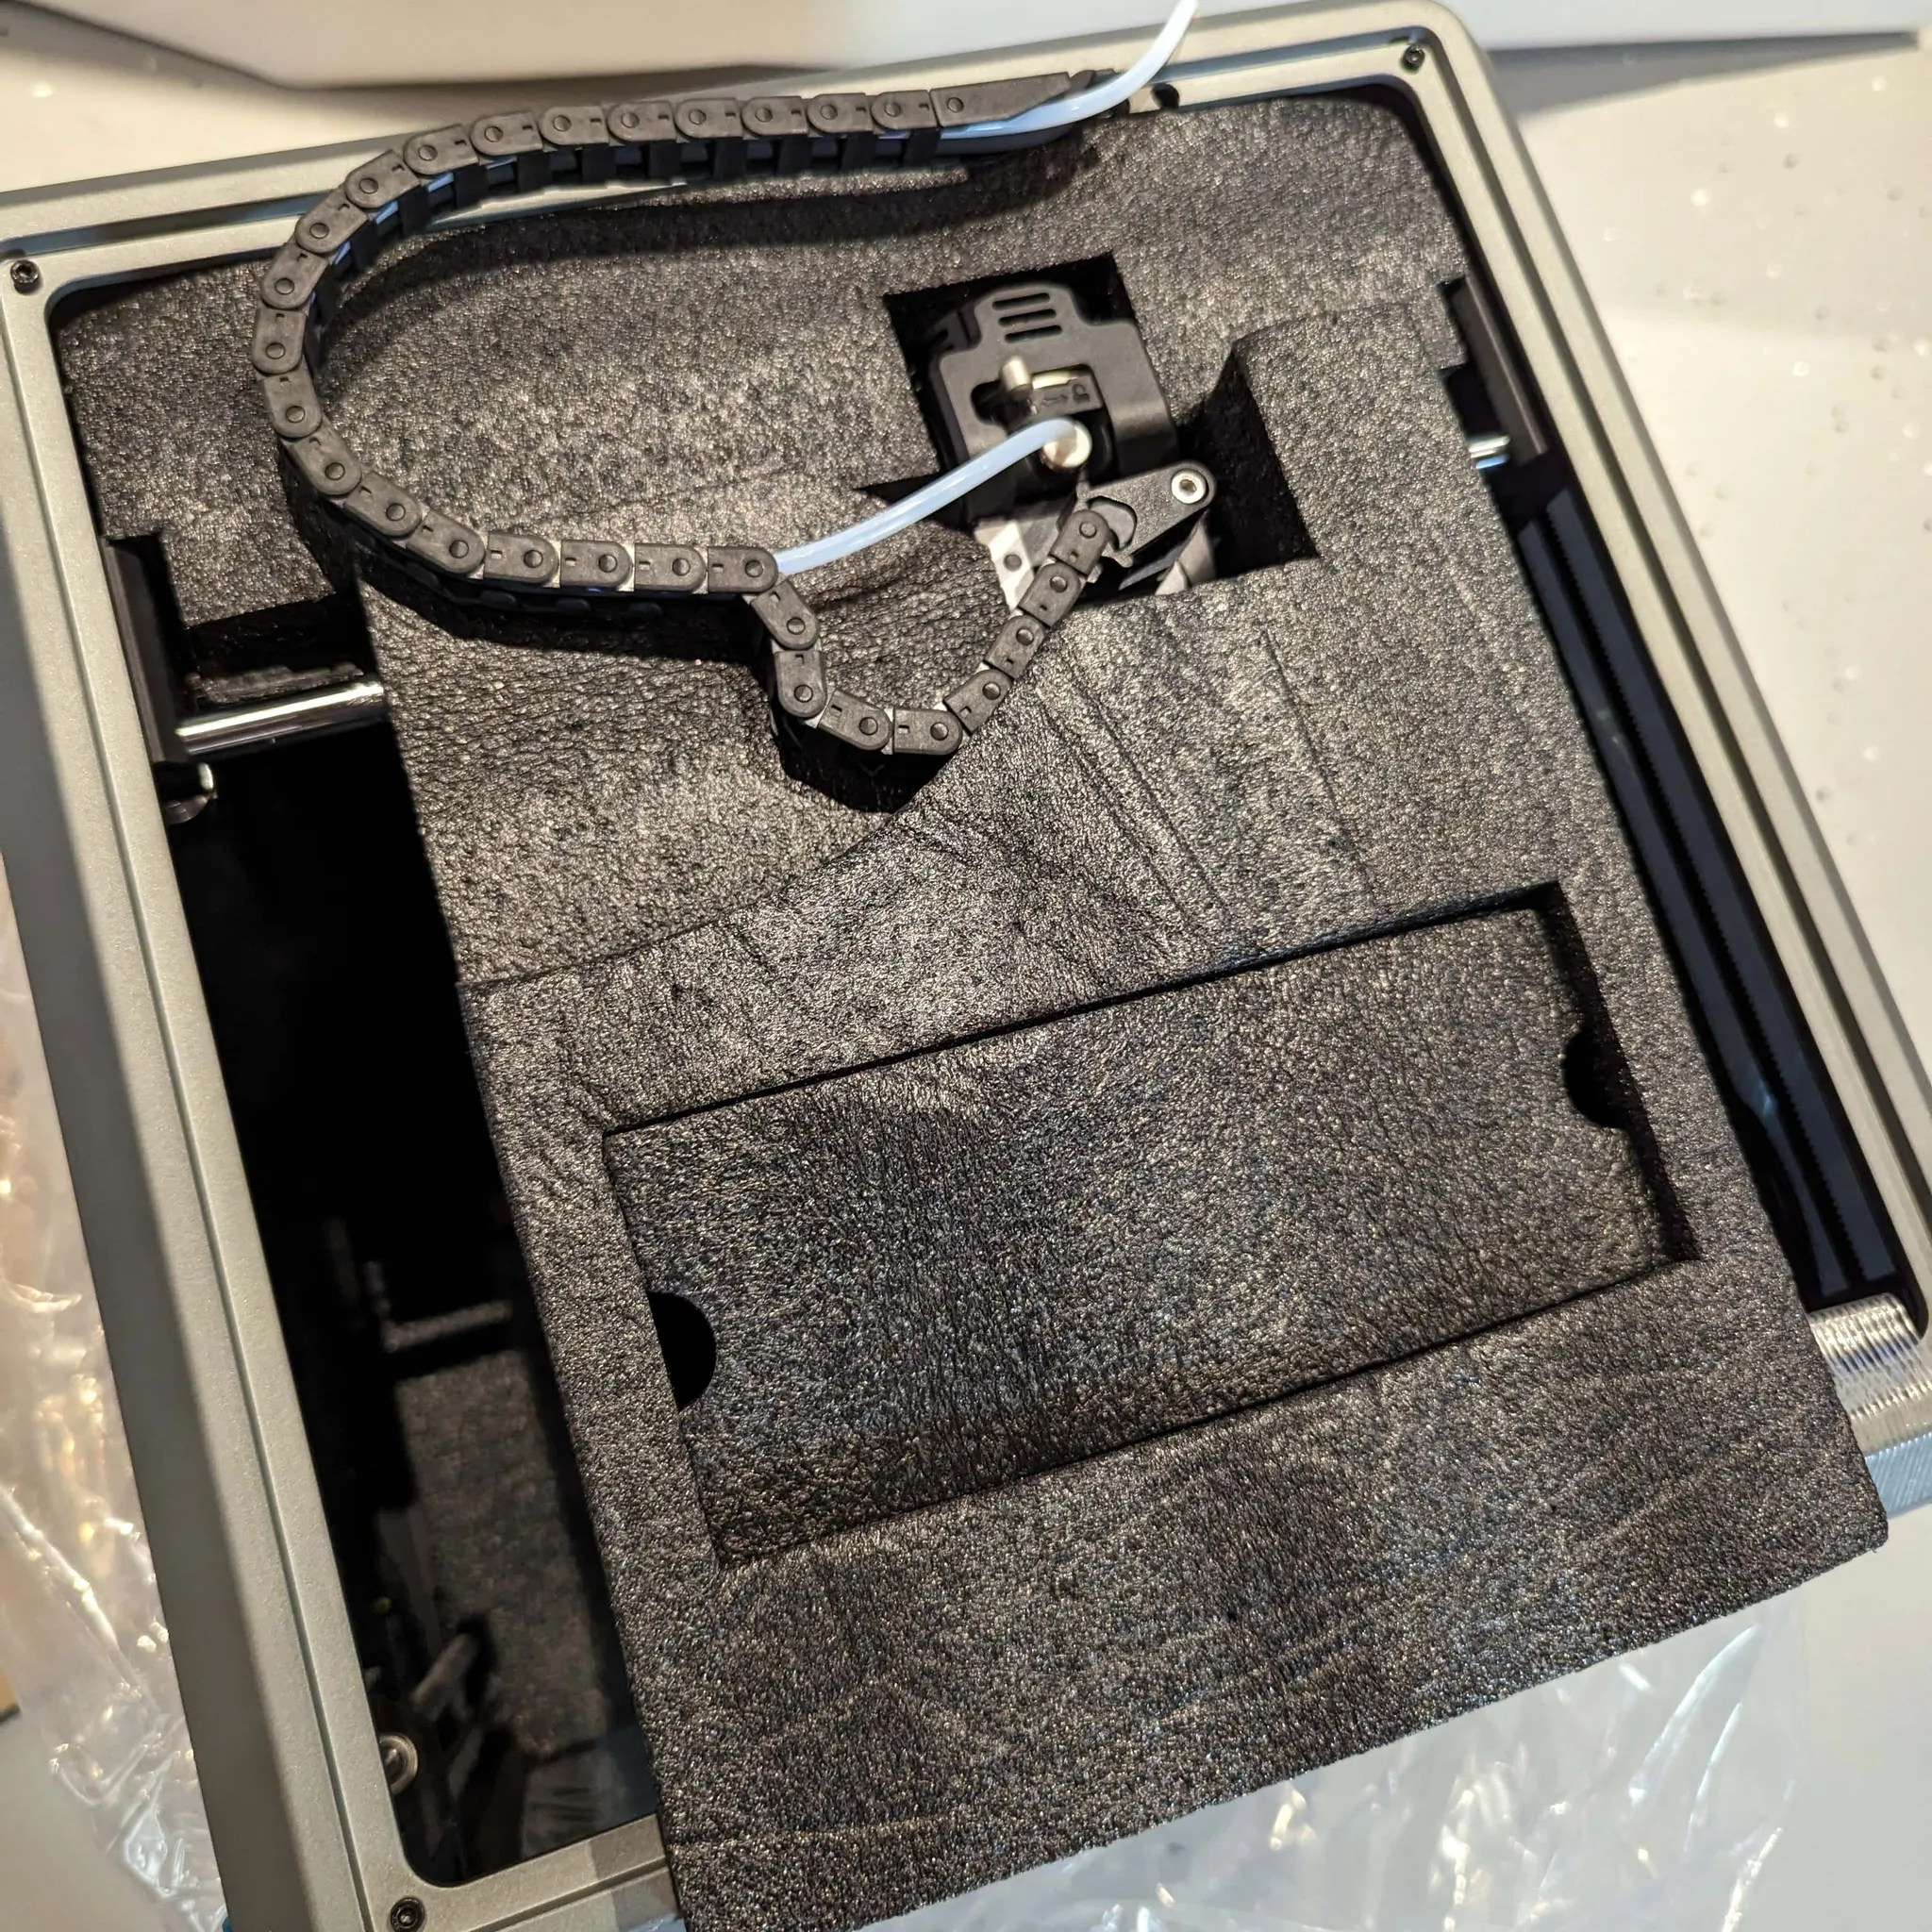
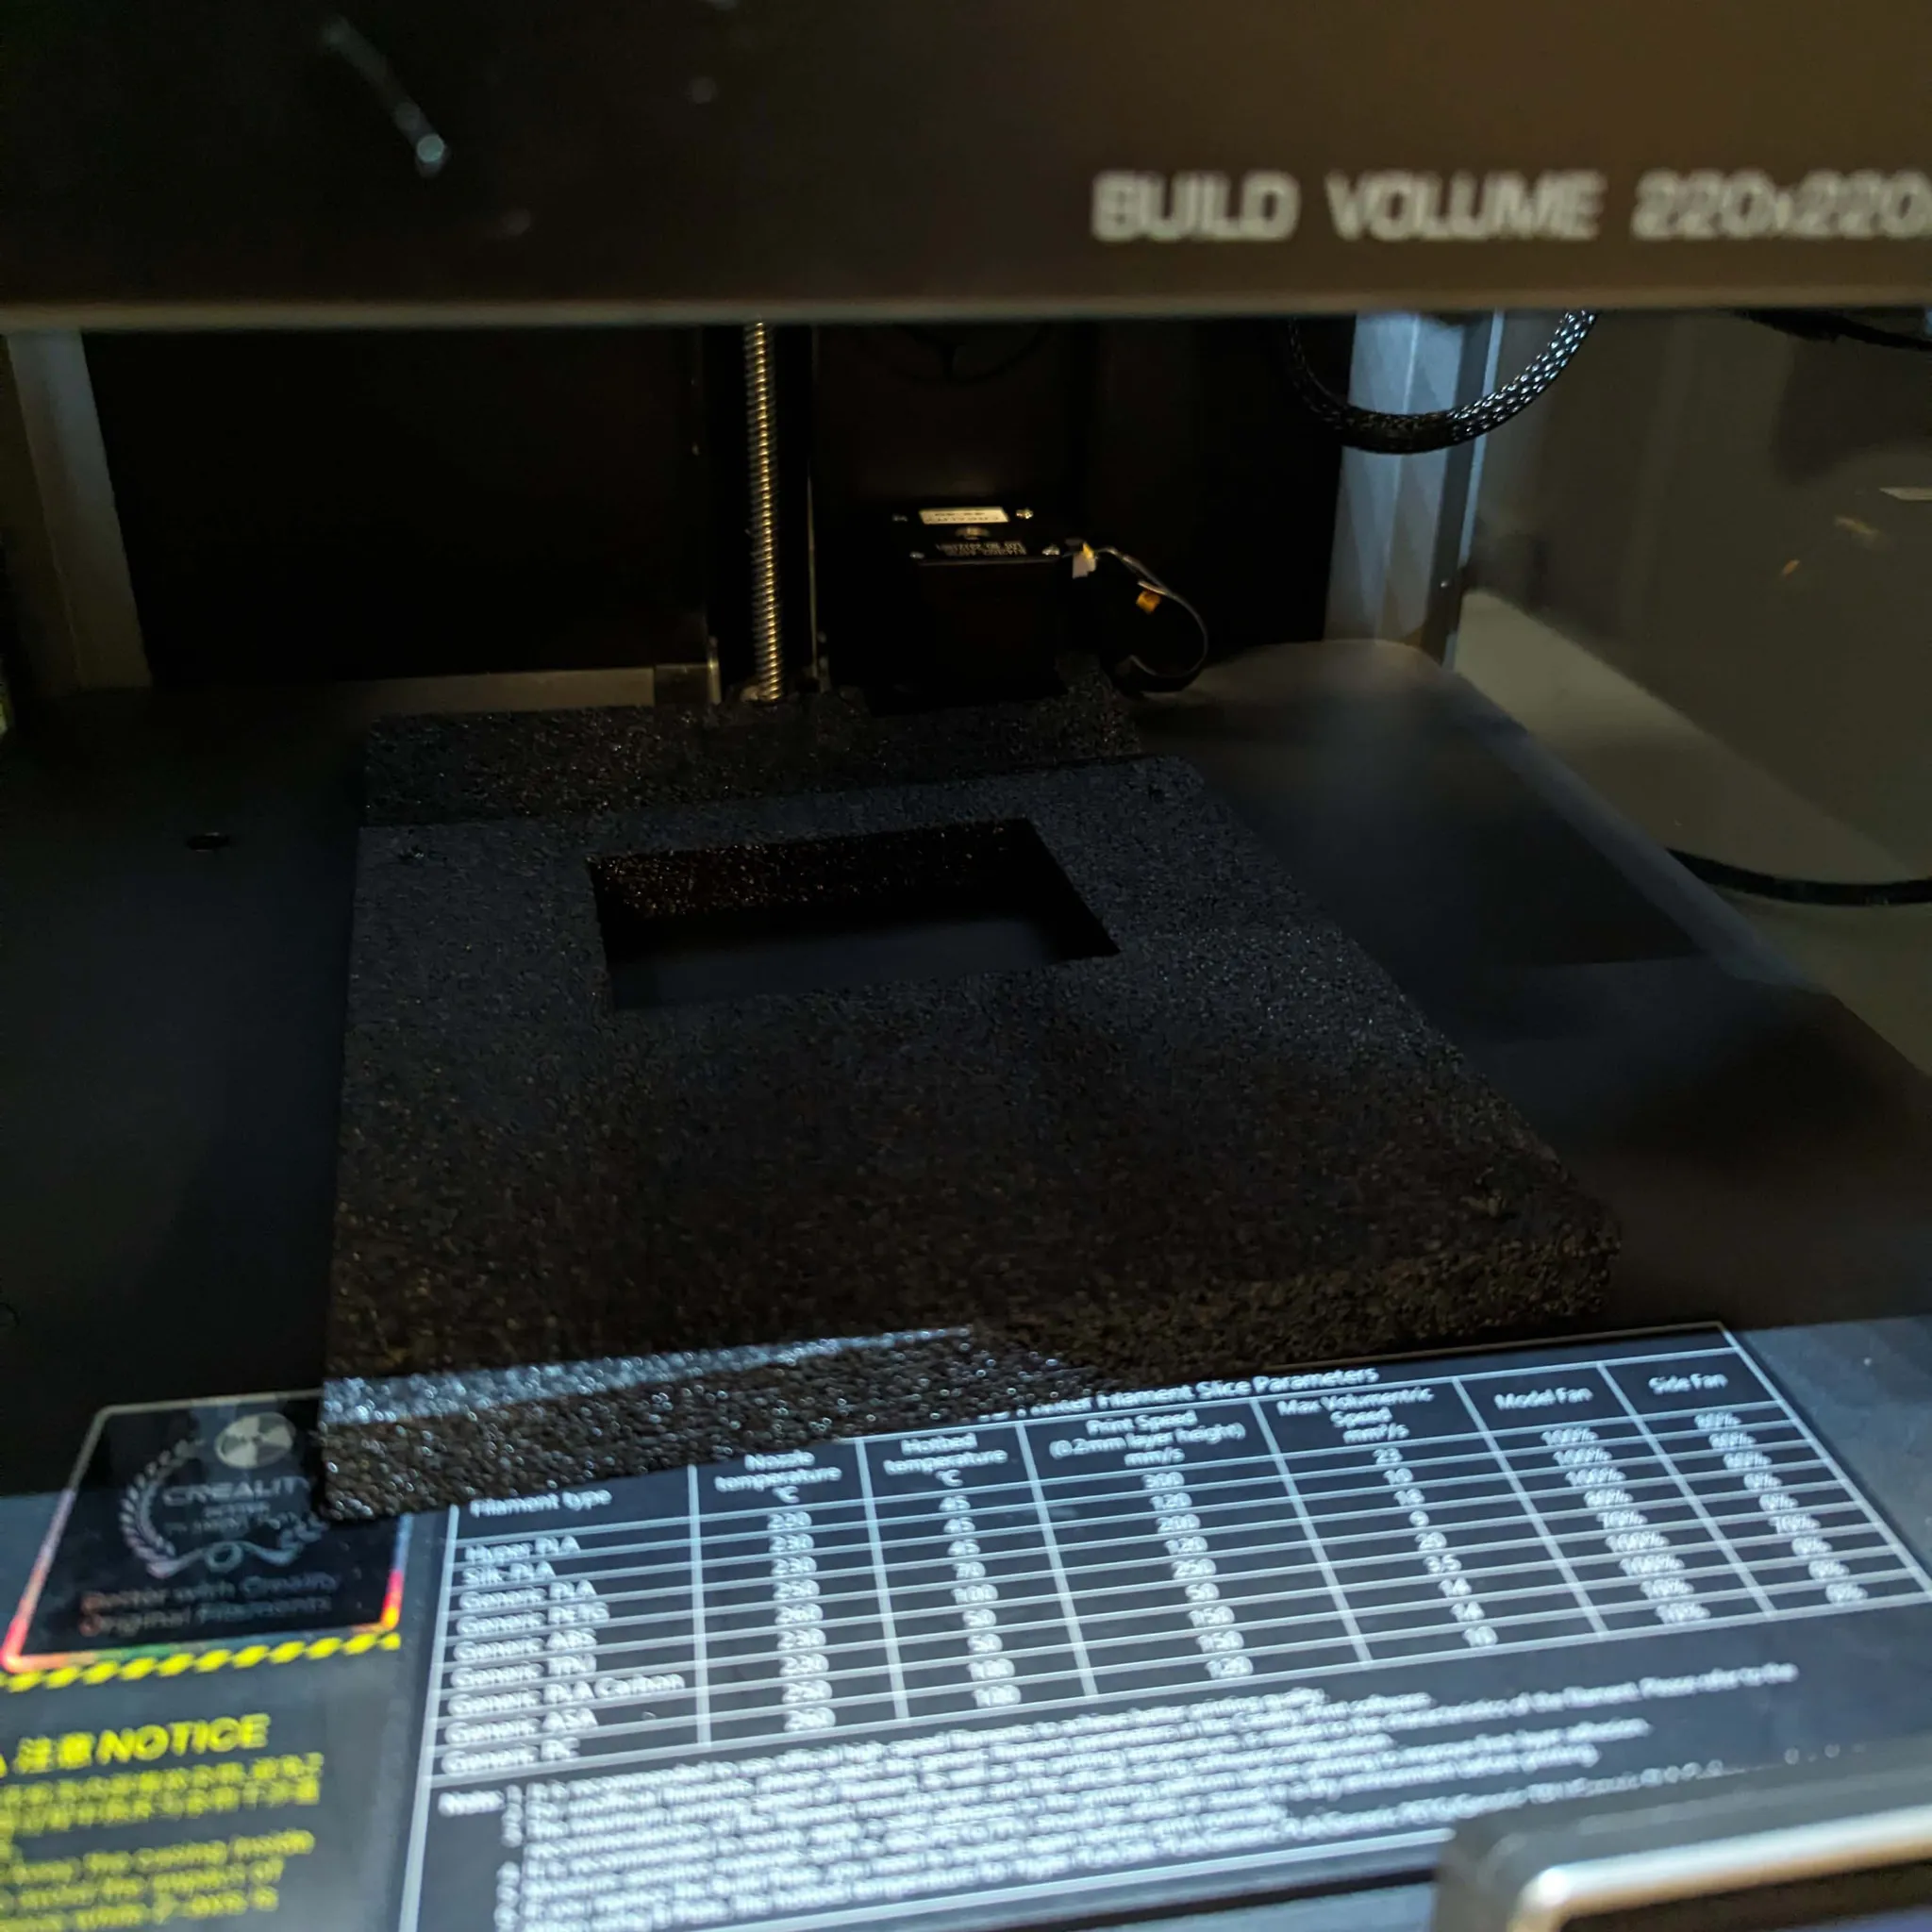
You’ll also want to remove this final piece of foam from underneath the bed once the bed raises during calibration:
Side-Mounted Spool Holder (Optional)
The K1C includes a rear-mounted spool holder by default, but the printer comes pre-loaded with files for side-mount brackets. This can be a significant ergonomic improvement. Observing the machine print its own upgrades is a testament to its speed:
To install the side mount, remove the three screws on the right side of the machine. Use the longer, unlabeled screws included in the box to secure the new mount, then transfer the spool holder dowel from the rear to the side.
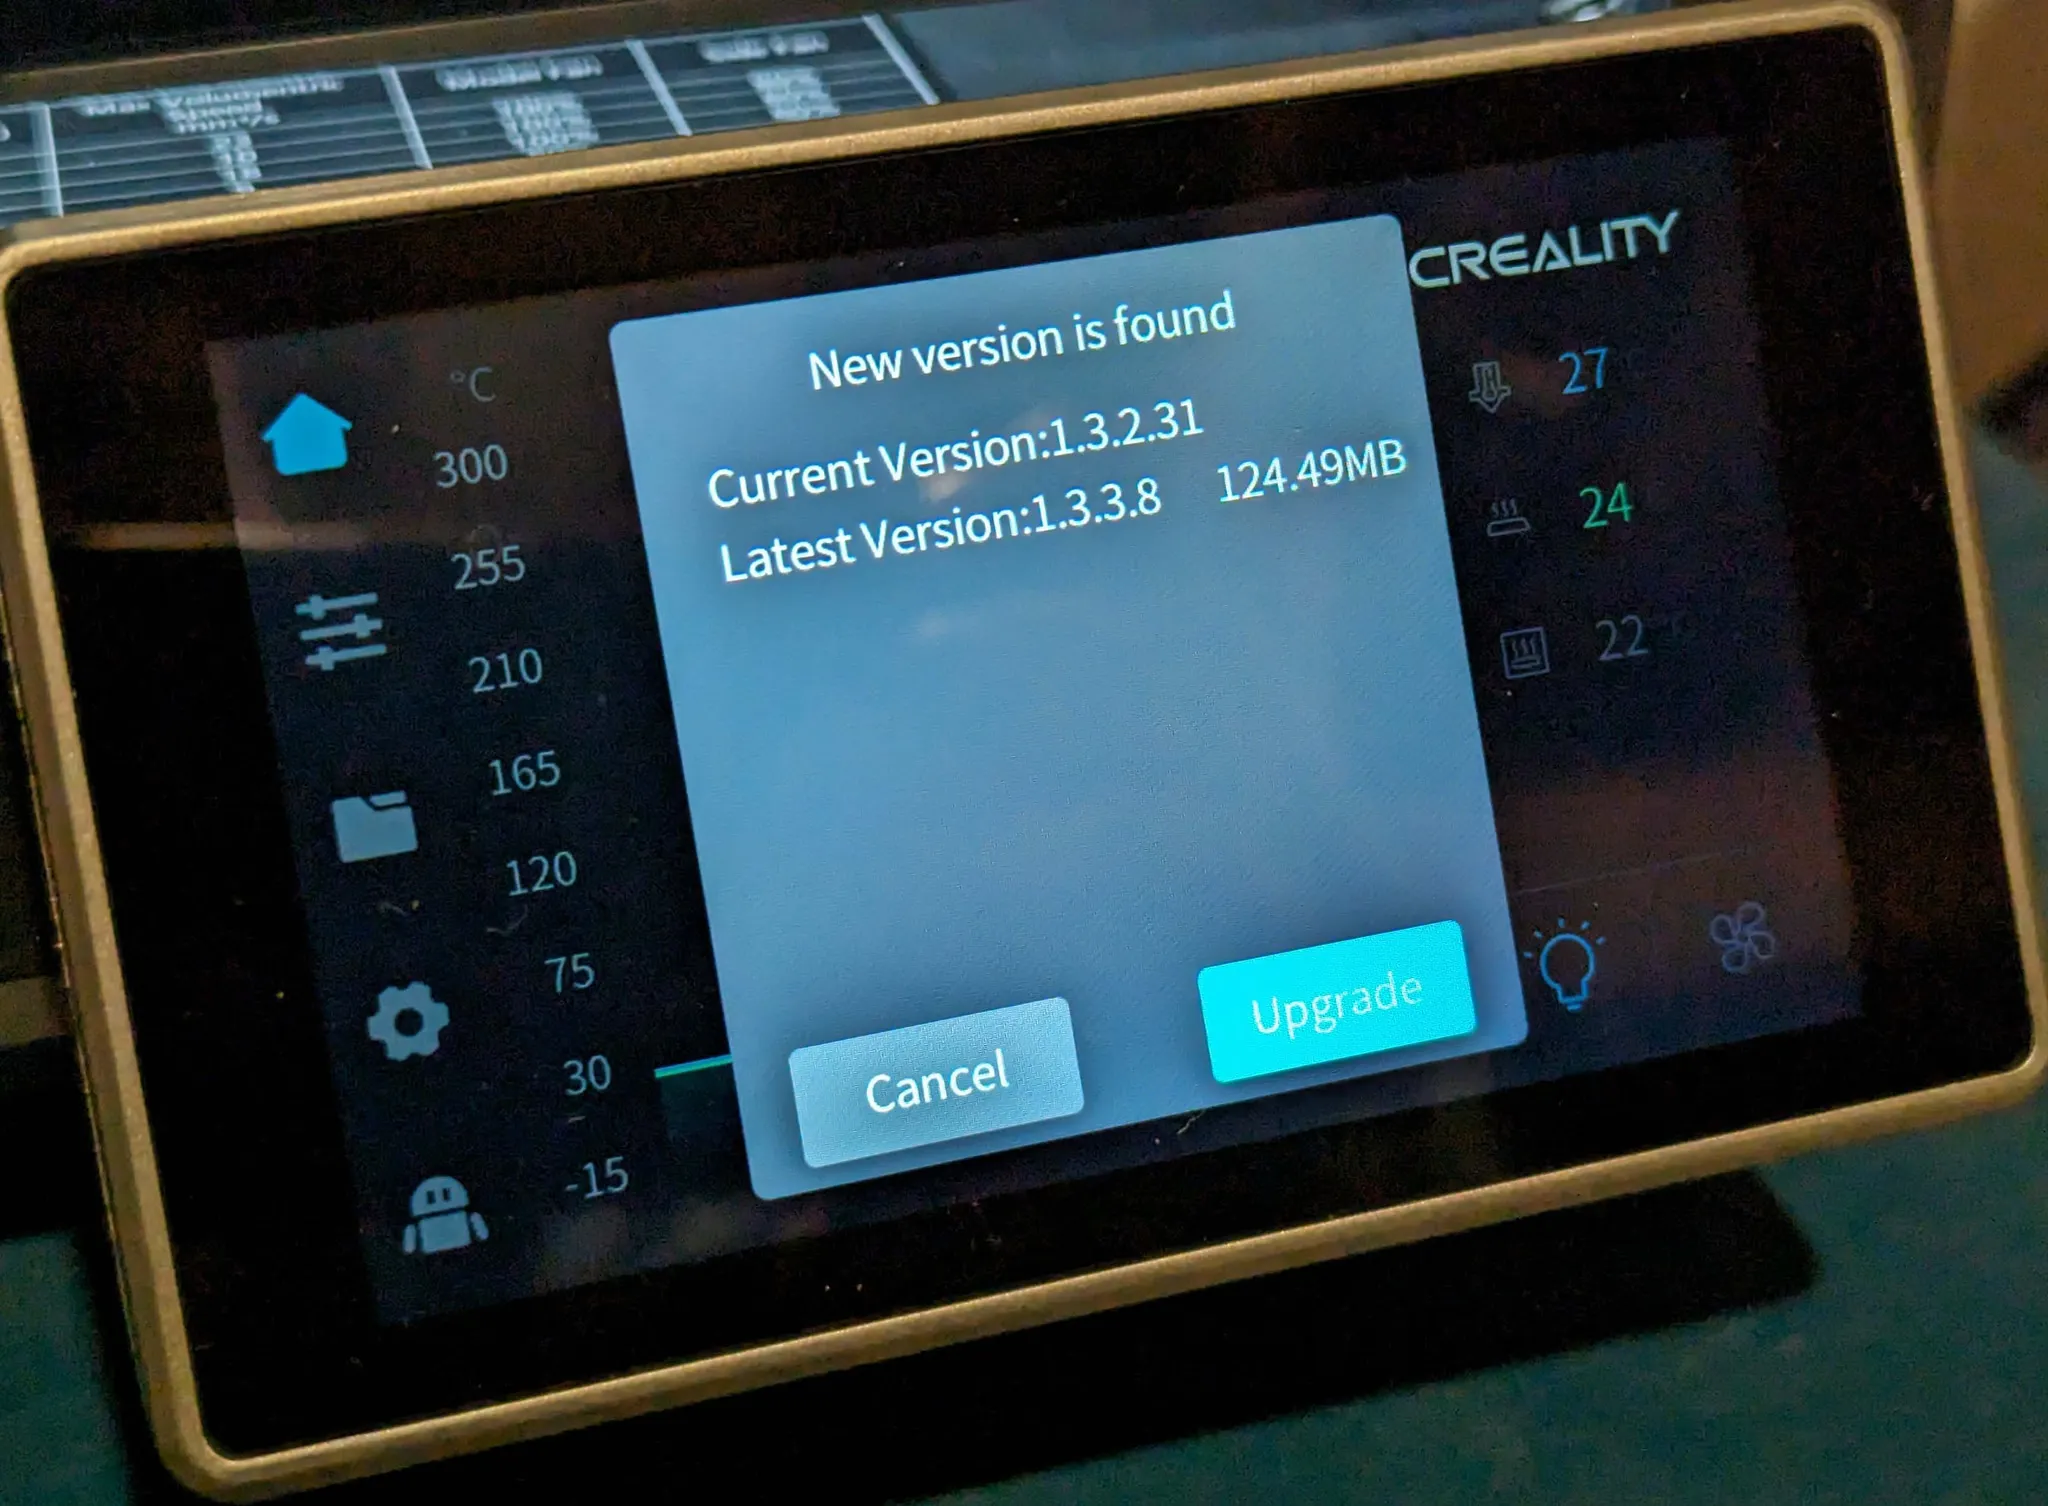
Firmware Update
While it’s optional, I suggest you upgrade the printer’s firmware, if it is not already up to date. To do so, download the latest firmware from the Creality Support Site and save it to a USB drive. Plug the USB drive into the printer and the printer will prompt you to update the firmware:
Once the upgrade is done, the printer will prompt you to re-run calibration:

Click both checkboxes:
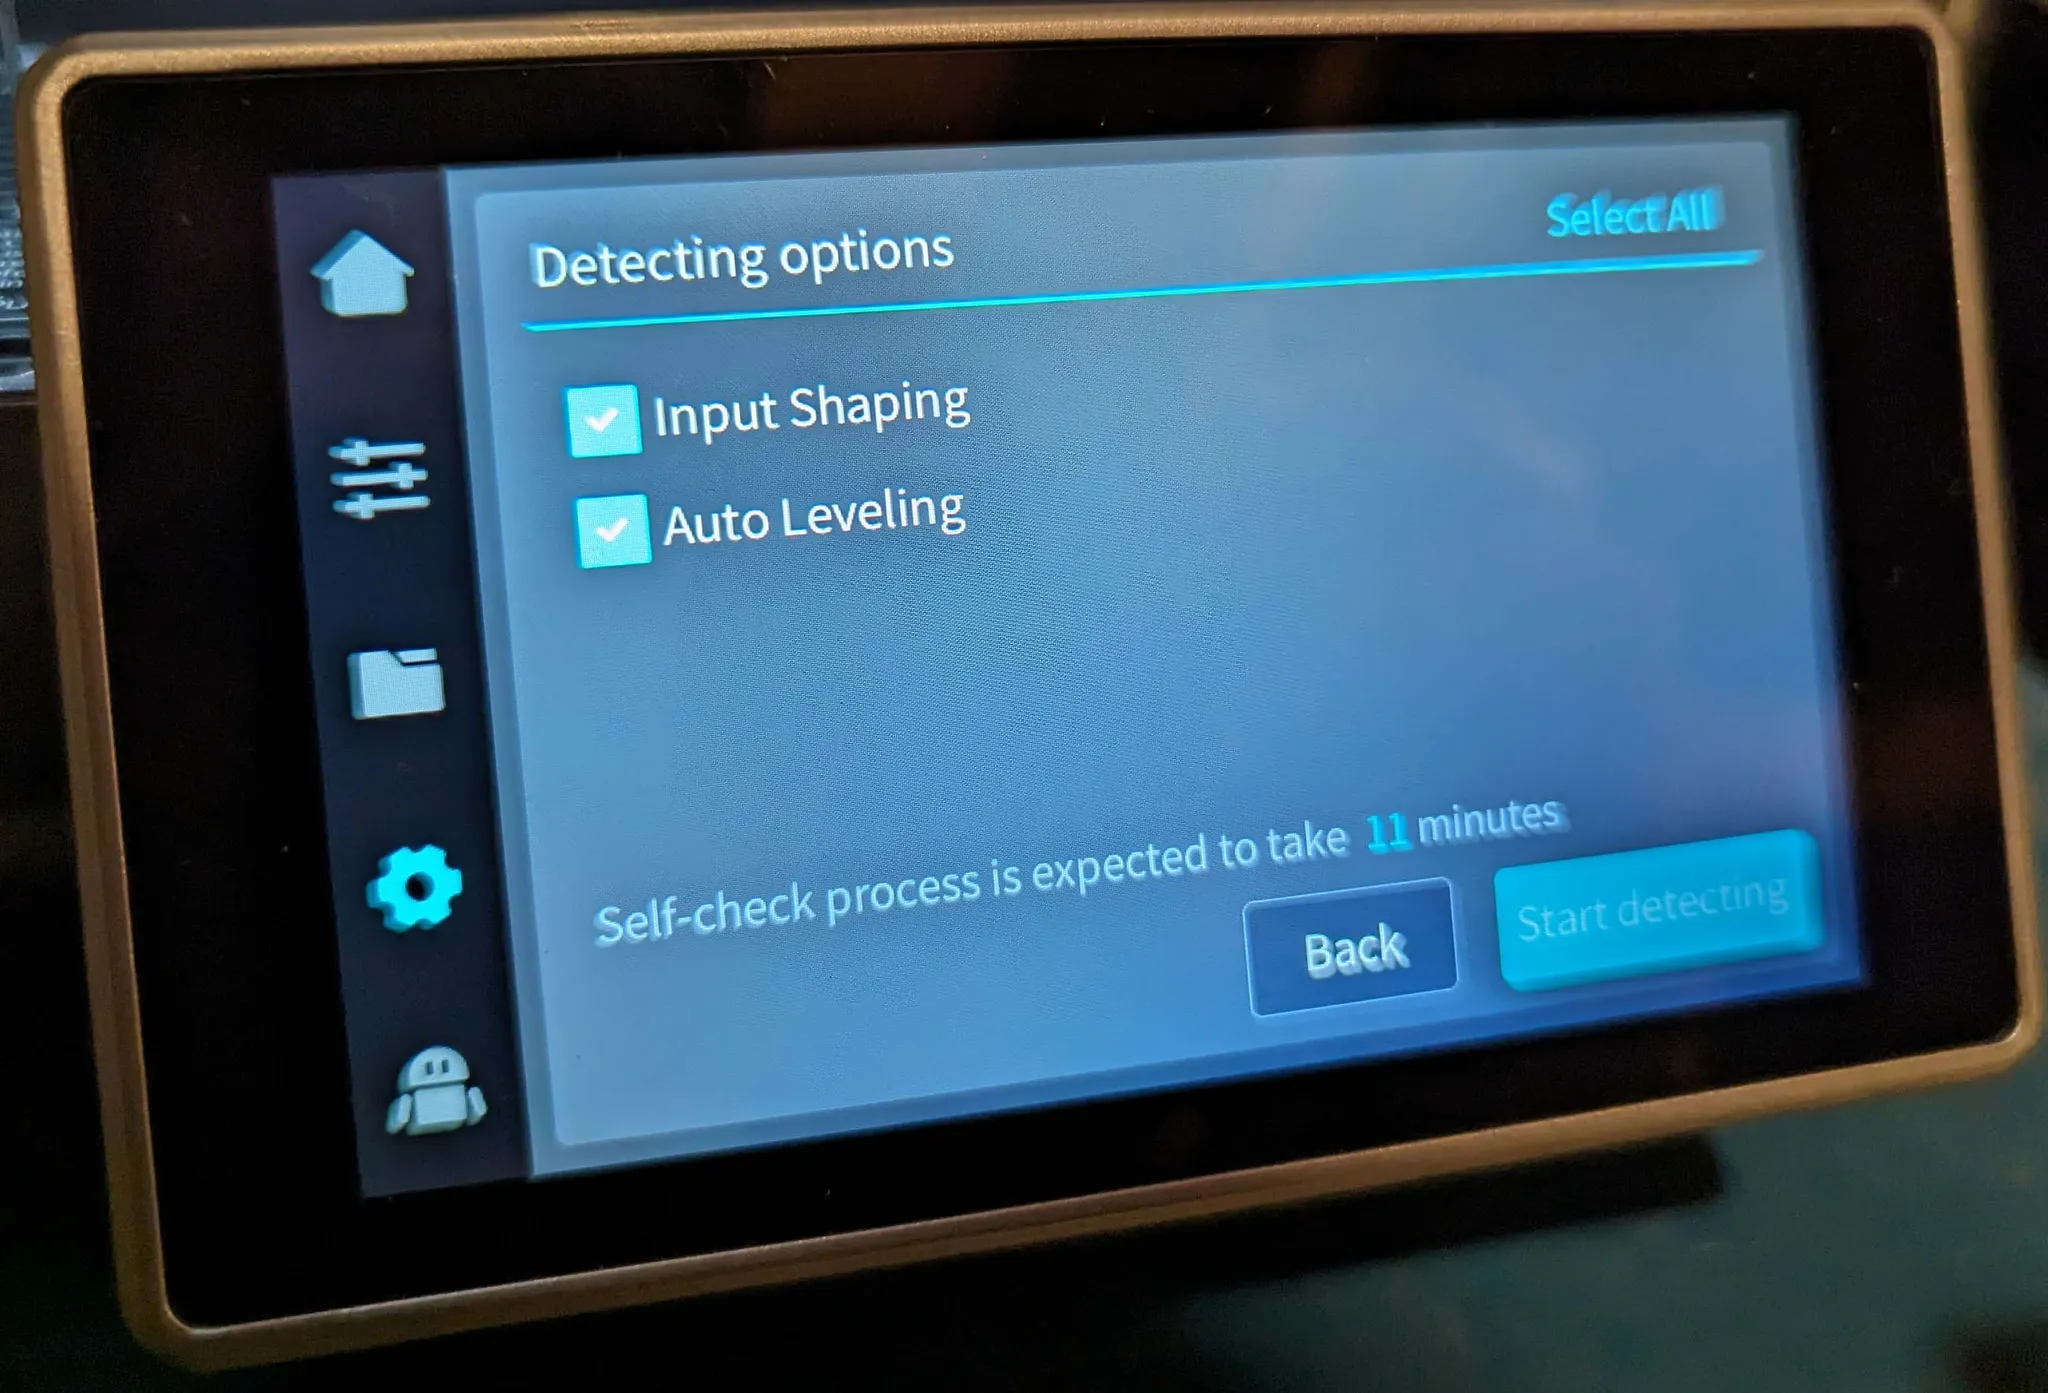
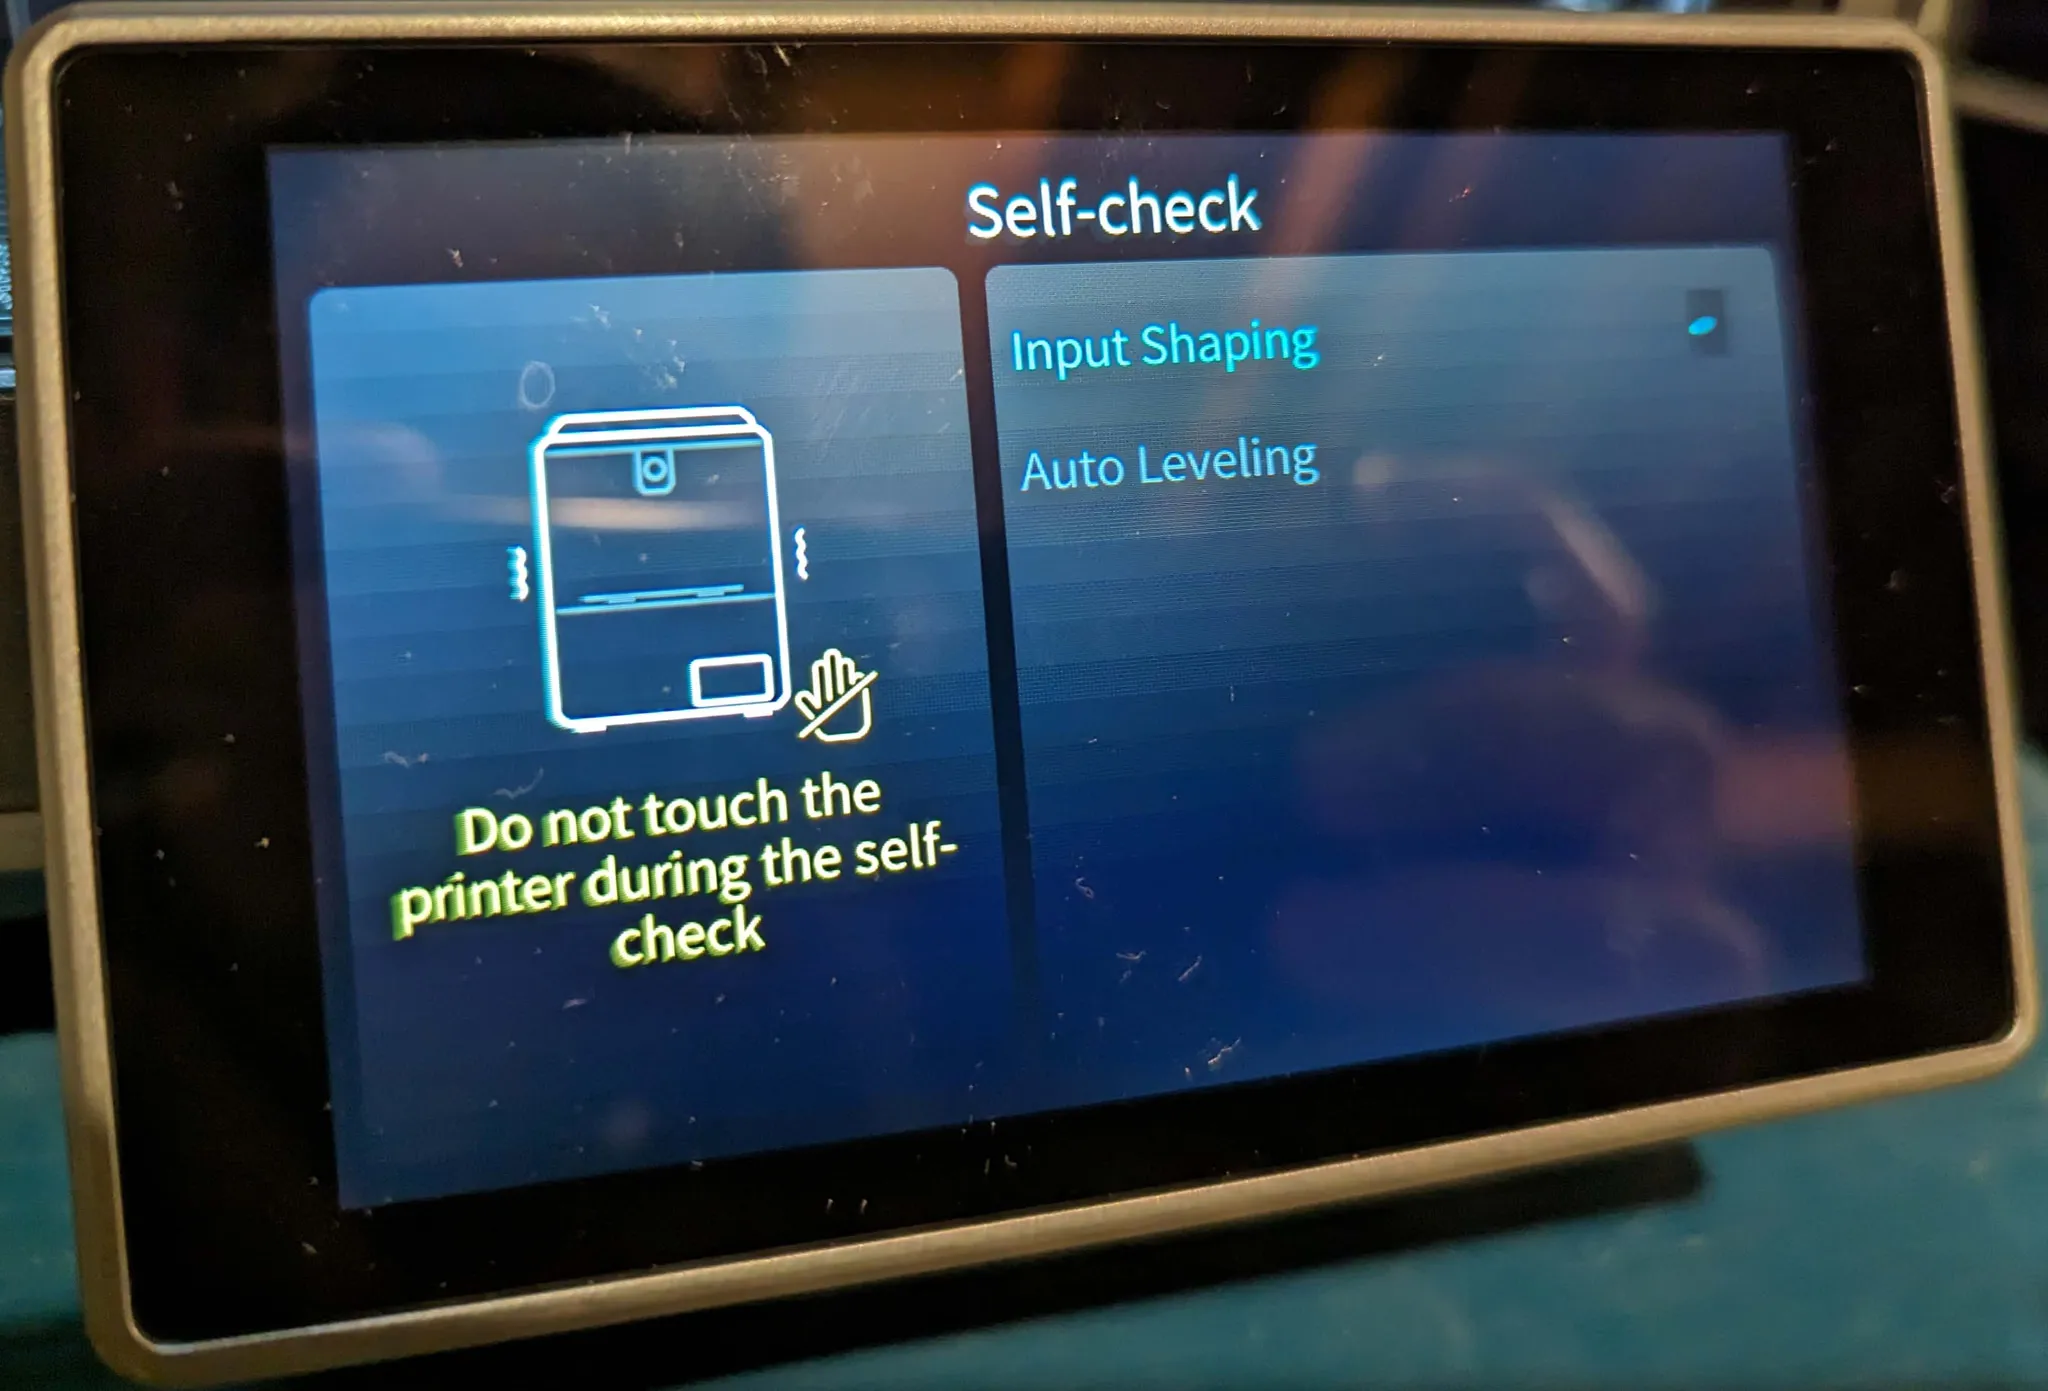
You can leave the printer to calibrate once it’s started:
Loading and Unloading Filament
While there is a filament load/unload feature, the buttons are labeled in a way that could be confusing for new users.
To unload filament in the machine, first click the Slider Button (left side, 2nd from top), then click the “Extrude/Retract” tab. Finally, click the “Retract” button. This will release the filament from the toolhead and allow you to pull the filament out of the feeder tube.
To load filament, cut a clean end at a 45-degree angle on the filament you’re loading. Bend the first inch or so of the filament straight. Push the filament up and into the feeding tube through the filament runout sensor and all the way to the toolhead until it cannot be fed any further. On the display, click the Slider button, then the “Extrude/Retract” tab. Then click “Extrude” to pull the filament the last few millimeters into the toolhead. Once you can see plastic coming out of the nozzle, you’re good to go.
Slicer
Creality provides their own slicer Creality Print, but I’ve been using Orca Slicer 2.0 lately as it includes the latest slicer features, such as the Scarf joint, Sandwich mode, and more.
Orca Slicer includes a profile for K1C, so you can get started right away. Simply type “K1C” into the search bar on the printer setup page.
I’ve been using the 0.16mm “Optimal” profile for most of my prints, but you can adjust the layer height, print speed, and other settings to suit your needs.
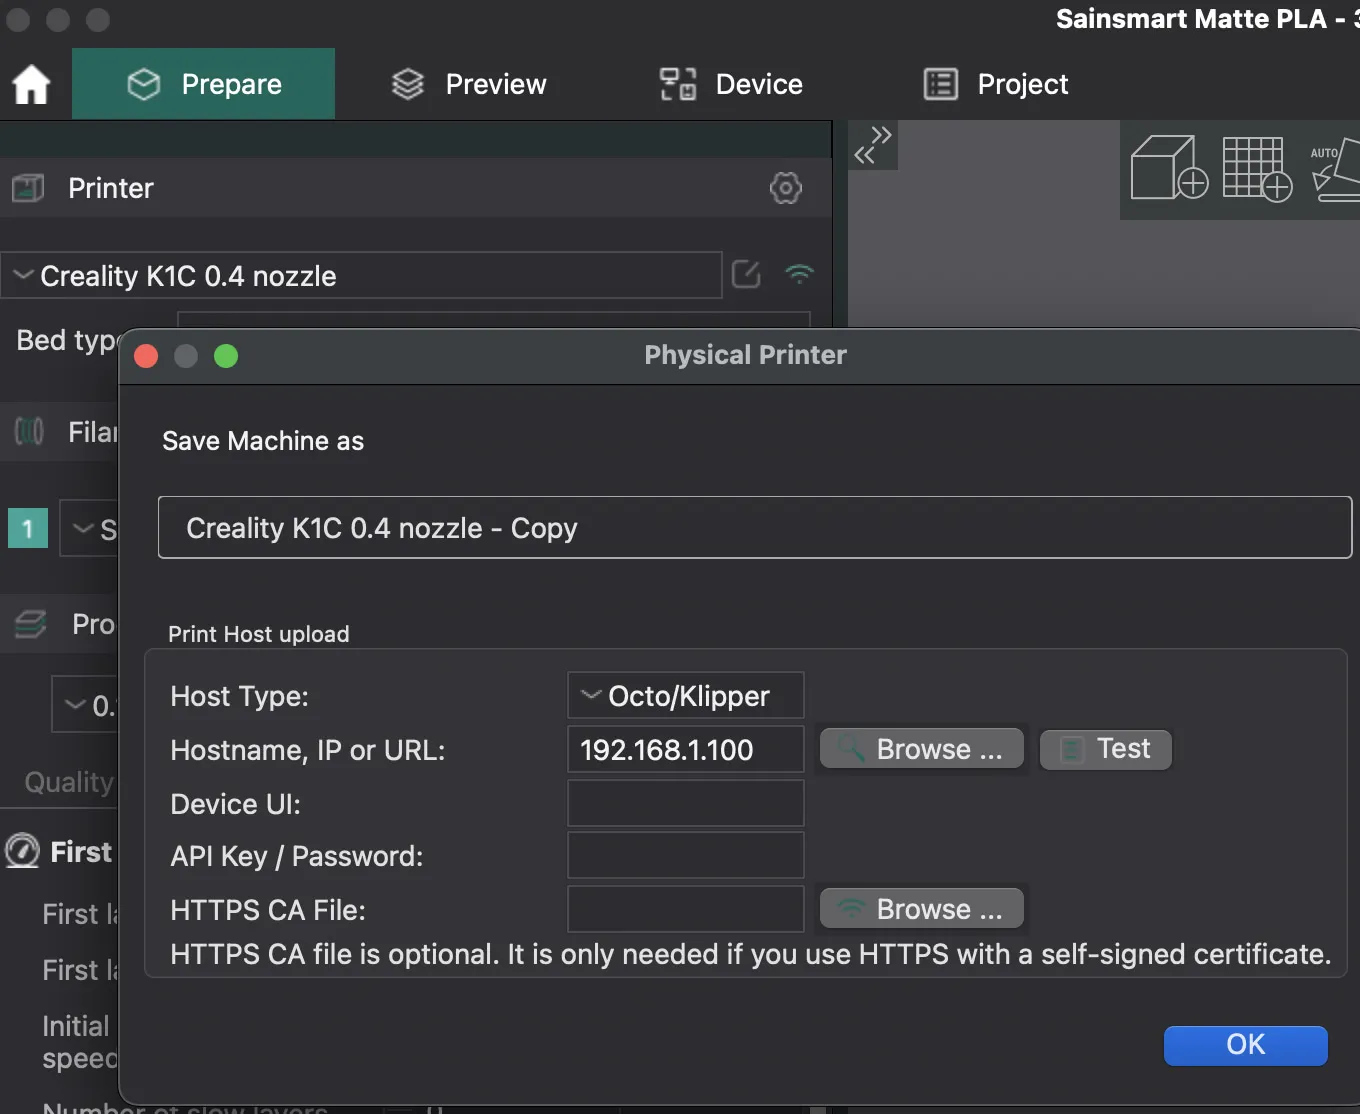
You can also add the physical printer to your Orca Slicer configuration, but you’ll need to Upgrade the Web Interface first. The IP address of the printer can be found under Settings -> Network on the printer’s display.
Advanced Interface Upgrades
While the K1C utilizes a custom Klipper implementation, its default front-end is proprietary. To enable direct uploads from Orca Slicer and gain more granular control, we can install Moonraker and Mainsail.
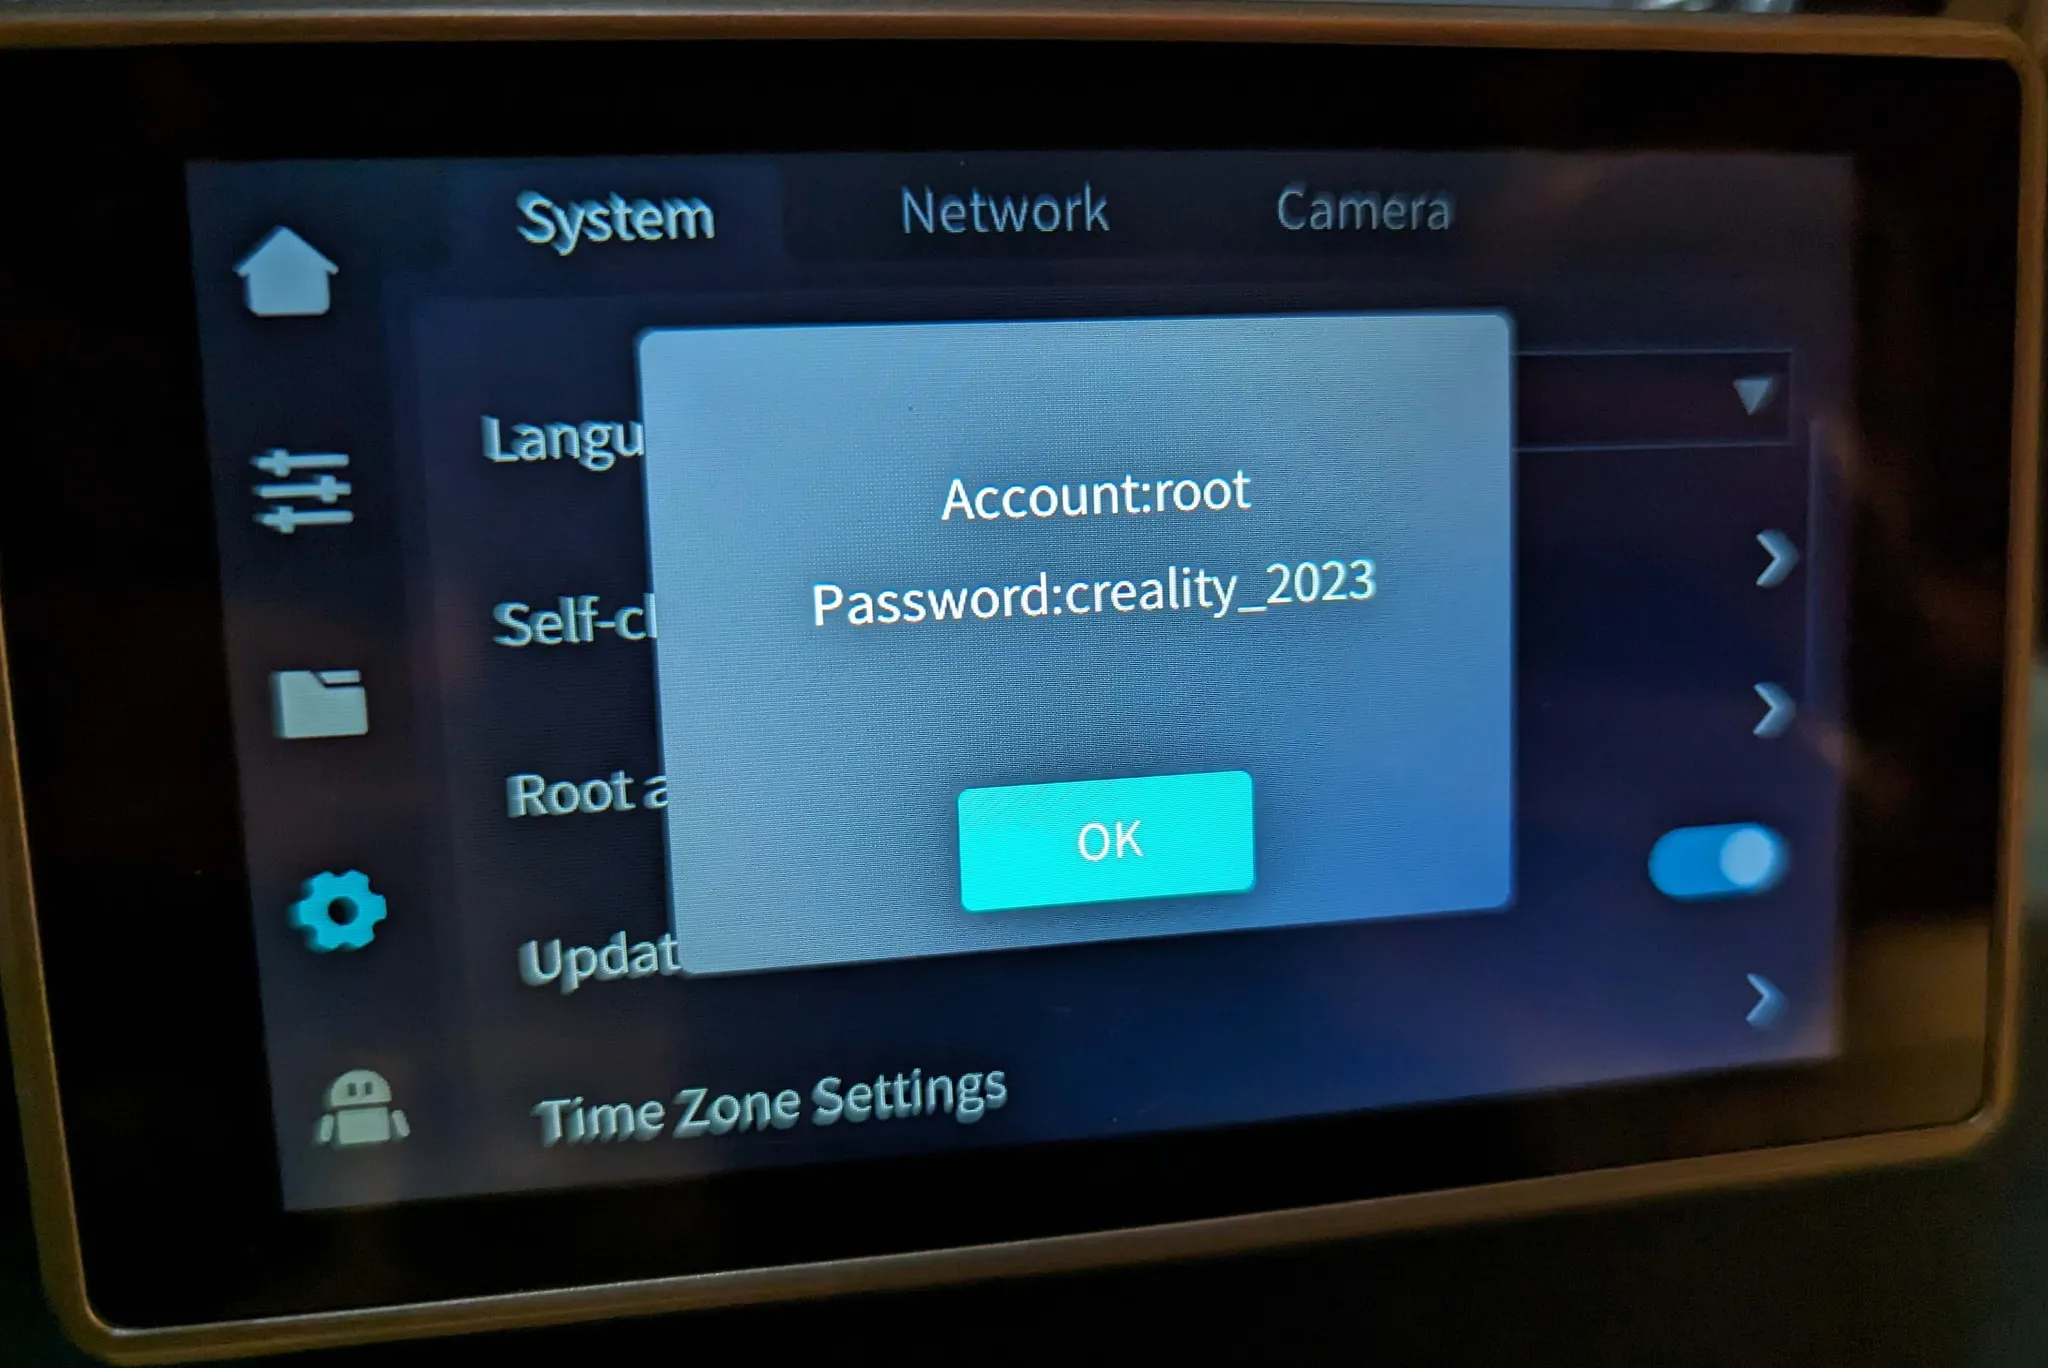
1. Enable Root Access: Navigate to the System Settings page on the printer’s display and select the Root Account information button. After acknowledging the warning, the root credentials (typically root / creality_2023) will be displayed.
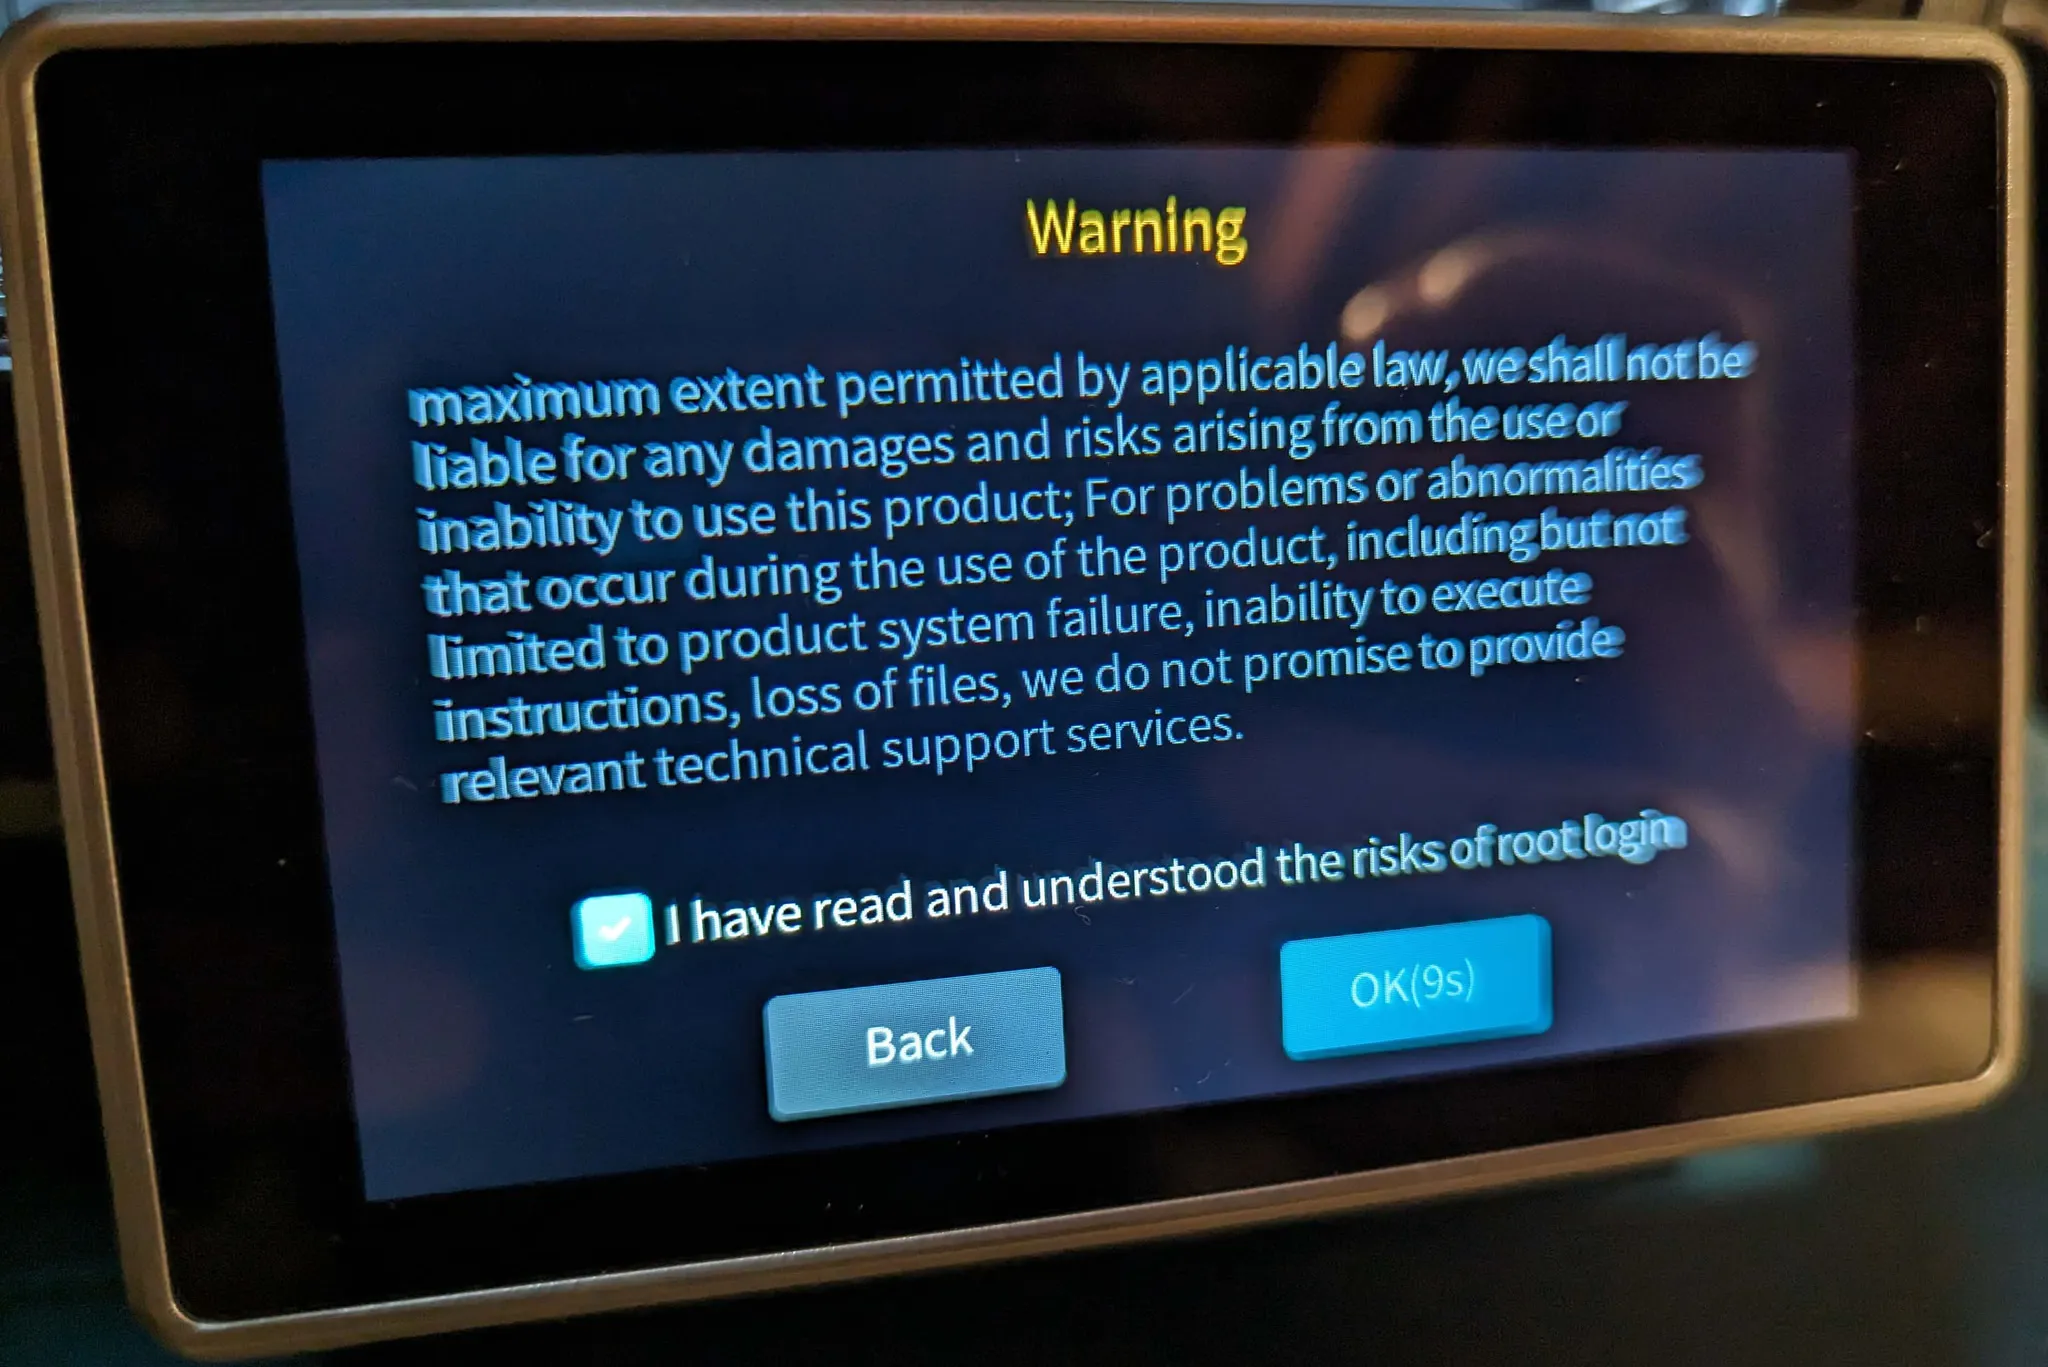
Then, the username and password will appear. On my printer the username was root and the password was creality_2023.
Now, find the IP address of your printer by looking under Settings -> Network. Open a terminal or follow the ssh guide to SSH into the printer. In the command below, replace 192.168.1.100 with the IP address of your printer:
ssh root@192.168.1.100Now, install the Creality Helper Script.
git clone https://github.com/Guilouz/Creality-Helper-Script.git /usr/data/helper-scriptThen run the helper script:
sh /usr/data/helper-script/helper.sh- First, backup the original Klipper configuration by pressing
4) [Backup & Restore] Menu, thenenter, then1) Backup Klipper configuration files, and confirm withy. This will backup the configuration files tobackup_config.tar.gz.
Note: that Moonraker and Nginx are required to be installed before any front end, such as Fluidd or Mainsail, can be installed.
-
Now install Moonraker and Nginx by pressing
1) Install Moonraker and Nginx, thenenter, then1) Install Moonraker and Nginx, and confirm withy. -
Now install Mainsail by pressing
3) Install Mainsail, thenenter, then confirm withy. -
Install any other things you might want, I’ve installed
5) Klipper Gcode Shell Command,10) Improved Shapers Calibration,11) Useful Macros,12) Save Z-Offset Macros,13) Screw Tilt Adjust Support,14) Virtual Pins,15) M600 Support,4) Entware, and17) Moonraker Timelapse.
 ┌──────────────────────────────────────────────────────────────┐
 │                    [ INFORMATIONS MENU ]                     │
 ├──────────────────────────────────────────────────────────────┤
 │                                                              │
 │ •ESSENTIALS:                                                 │
 │   ✓ Moonraker & Nginx                                        │
 │   ✗ Fluidd                                                   │
 │   ✓ Mainsail                                                 │
 │                                                              │
 │ •UTILITIES:                                                  │
 │   ✓ Entware                                                  │
 │   ✓ Klipper Gcode Shell Command                              │
 │                                                              │
 │ •IMPROVEMENTS:                                               │
 │   ✗ Klipper Adaptive Meshing & Purging                       │
 │   ✓ Buzzer Support                                           │
 │   ✗ Nozzle Cleaning Fan Control                              │
 │   ✗ Fans Control Macros                                      │
 │   ✓ Improved Shapers Calibrations                            │
 │   ✓ Useful Macros                                            │
 │   ✓ Save Z-Offset Macros                                     │
 │   ✓ Screws Tilt Adjust Support                               │
 │   ✓ Virtual Pins Support                                     │
 │   ✓ M600 Support                                             │
 │   ✗ Git Backup                                               │
 │                                                              │
 │ •CAMERA:                                                     │
 │   ✓ Moonraker Timelapse                                      │
 │   ✗ Camera Settings Control                                  │
 │                                                              │
 │ •REMOTE ACCESS:                                              │
 │   ✗ OctoEverywhere                                           │
 │   ✗ Obico                                                    │
 │   ✗ GuppyFLO                                                 │
 │   ✗ Mobileraker Companion                                    │
 │   ✗ OctoApp Companion                                        │
 │   ✗ SimplyPrint                                              │
 │                                                              │
 │ •CUSTOMIZATION:                                              │
 │   ✗ Custom Boot Display                                      │
 │   ✗ Creality Web Interface                                   │
 │   ✗ Guppy Screen                                             │
 │   ✗ Creality Dynamic Logos for Fluidd                        │
 │                                                              │
 ├──────────────────────────────────────────────────────────────┤
 │                                                              │
 │  b) Back to [Main Menu]                                      │
 │  q) Exit                                                     │
 │                                                              │
 │                                                        5.3.0 │
 └──────────────────────────────────────────────────────────────┘
n Make the Mainsail interface the default interface now by going to the main menu and choosing 2) Customize then 3) Remove Creality Web Interface
- Finally, reboot the printer by pressing
qto exit the helper script and typerebootand pressenterin the ssh terminal.
Now, you can access mainsail by opening the local IP address of the printer in your web browser.
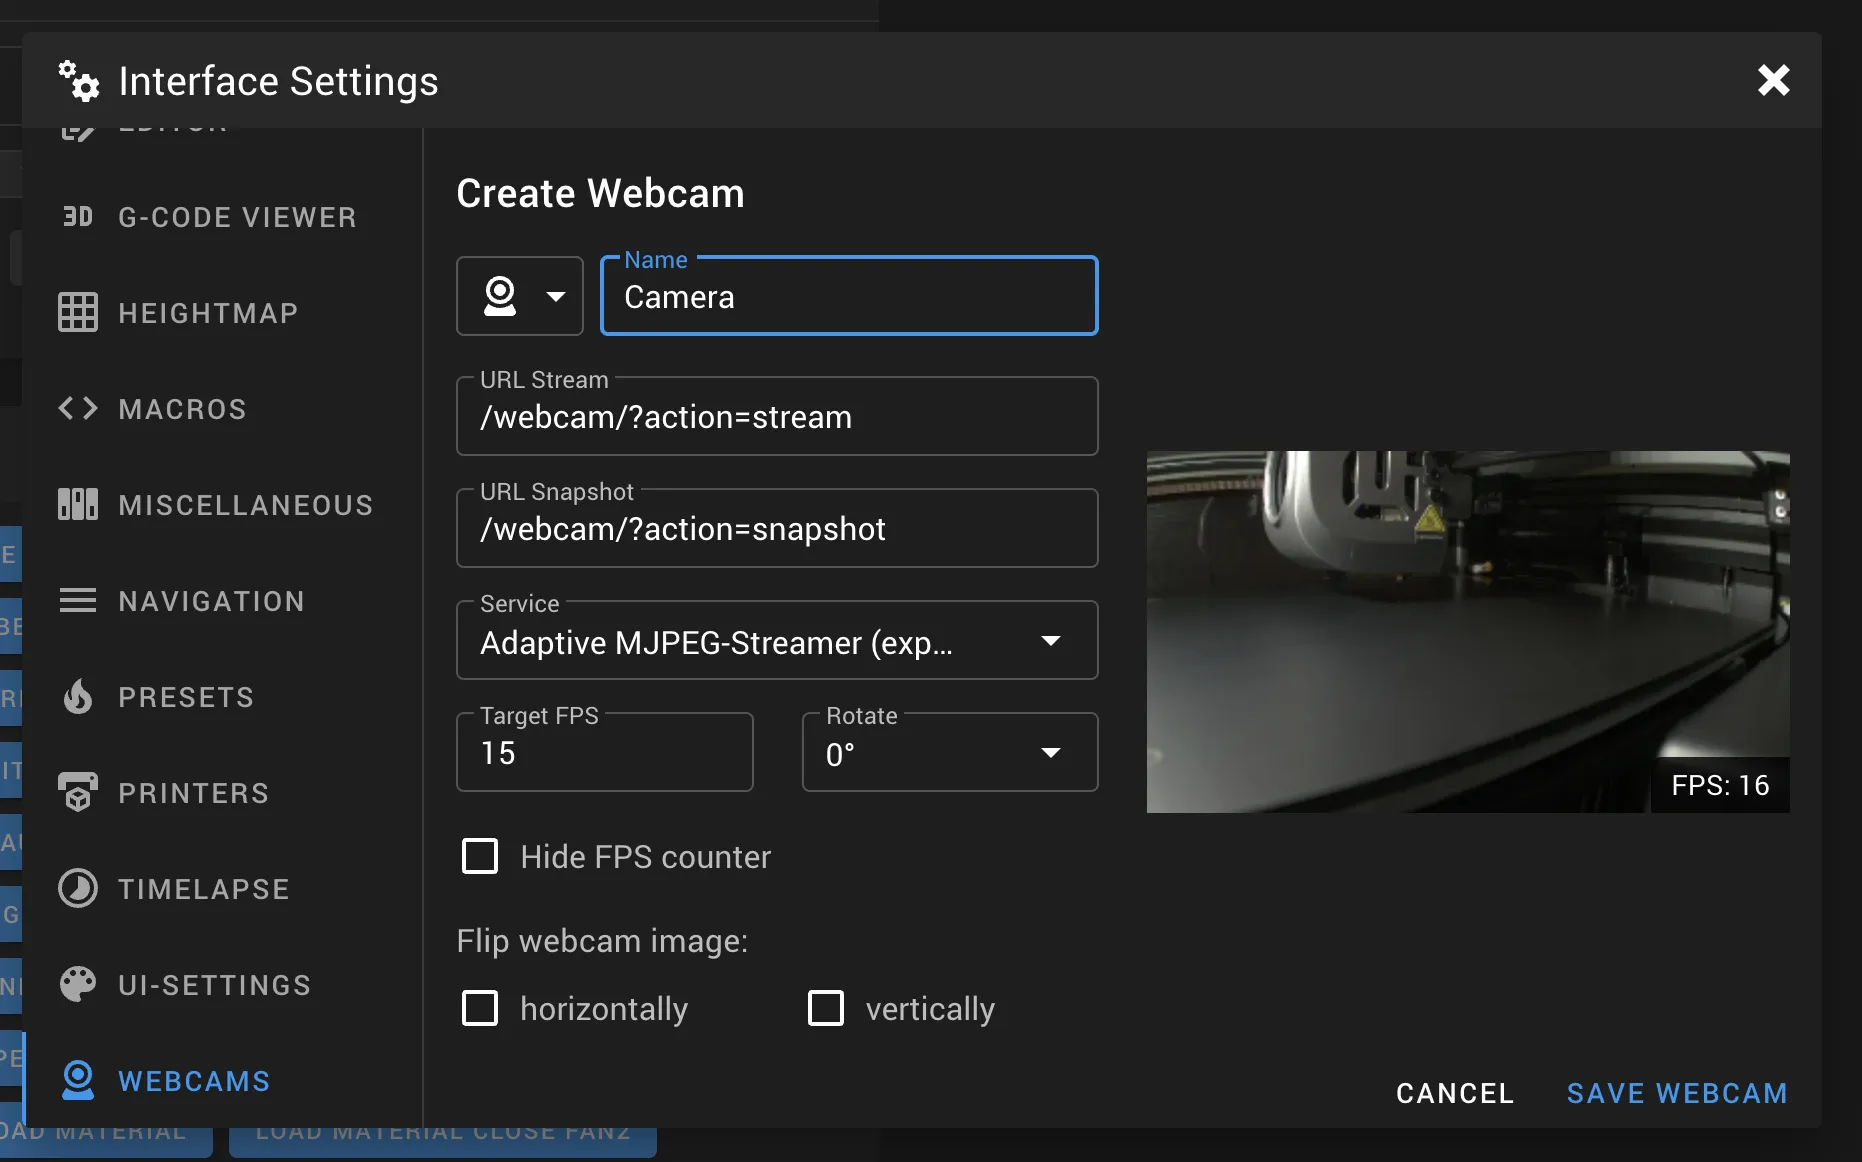
You’ll need to configure the camera in the Mainsail GUI by pressing the gear icons on the top right navigation bar, go to the INTERFACE settings and configure the camera settings like this:
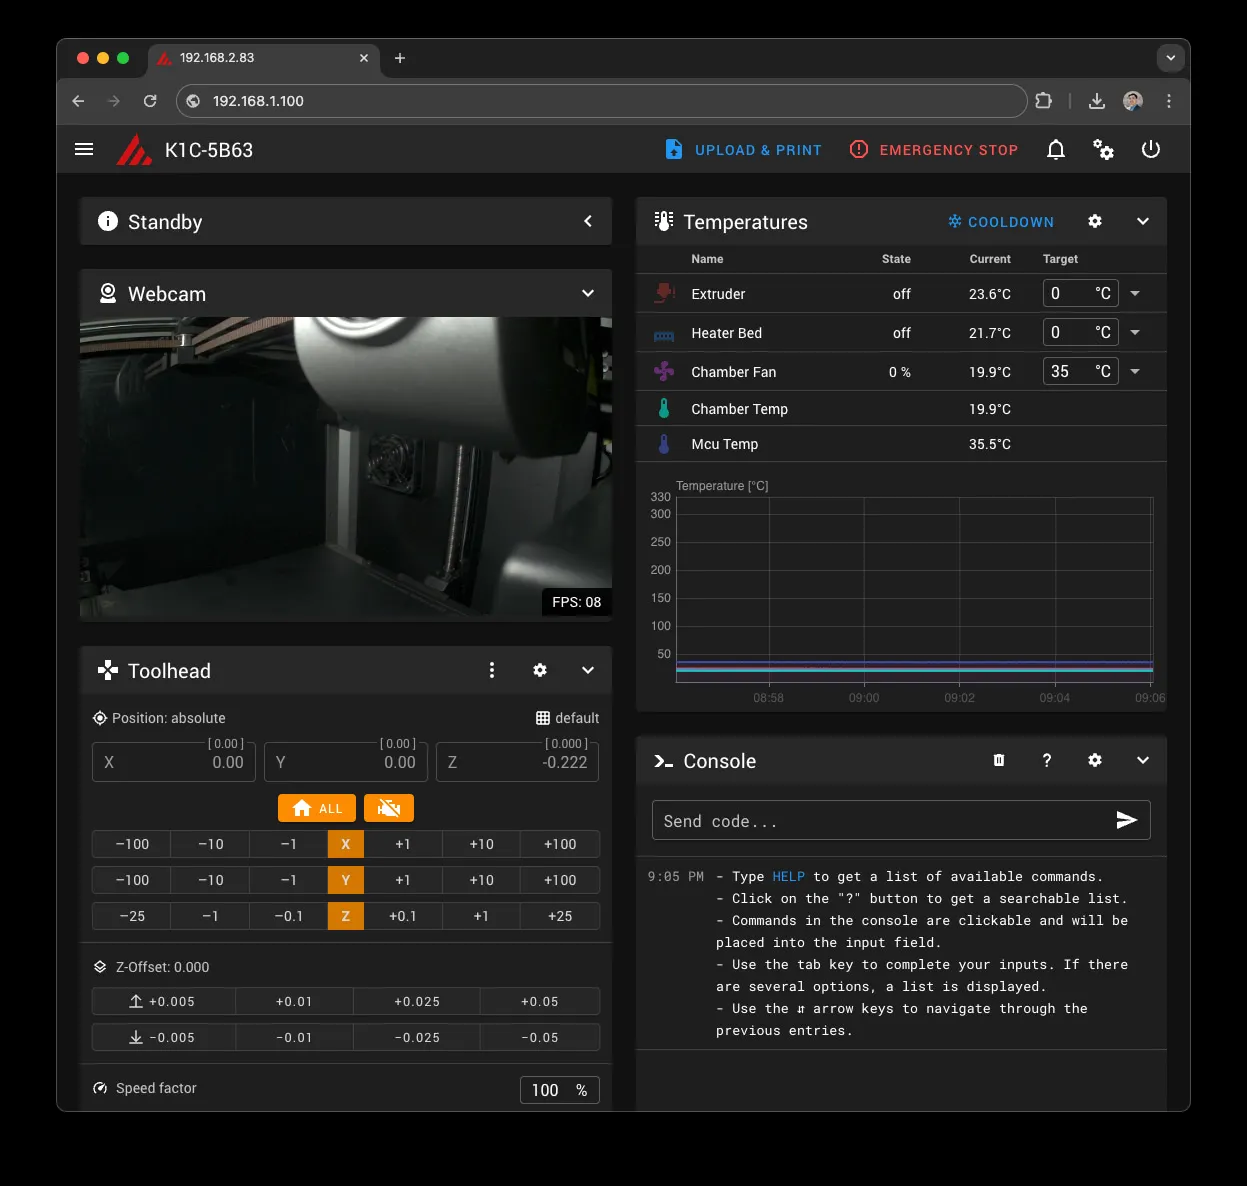
Once everything is configured, your new printer web interface will look like this:
Running Improved Shaper Calibration
After installing the improved shaper calibration tool, it can be run by pressing the INPUT_SHAPER_CALIBRATION macro in the Mainsail interface. This will run a series of tests to determine the best shaper settings for your printer.
Alternatively, you can run the BELTS_SHAPER_CALIBRATION to see the resulting plots.
Summary
The Creality K1C represents a high-value entry into the world of enclosed CoreXY printing. It delivers impressive out-of-the-box speeds and solid hardware reliability. While it currently lacks a native multi-material ecosystem comparable to Bambu Lab, its open software architecture and competitive price point make it an attractive choice for power users who prefer custom slicer profiles and refined web interfaces. Retailing for significantly less than comparable competitors, the K1C is a balanced choice for speed and versatility.
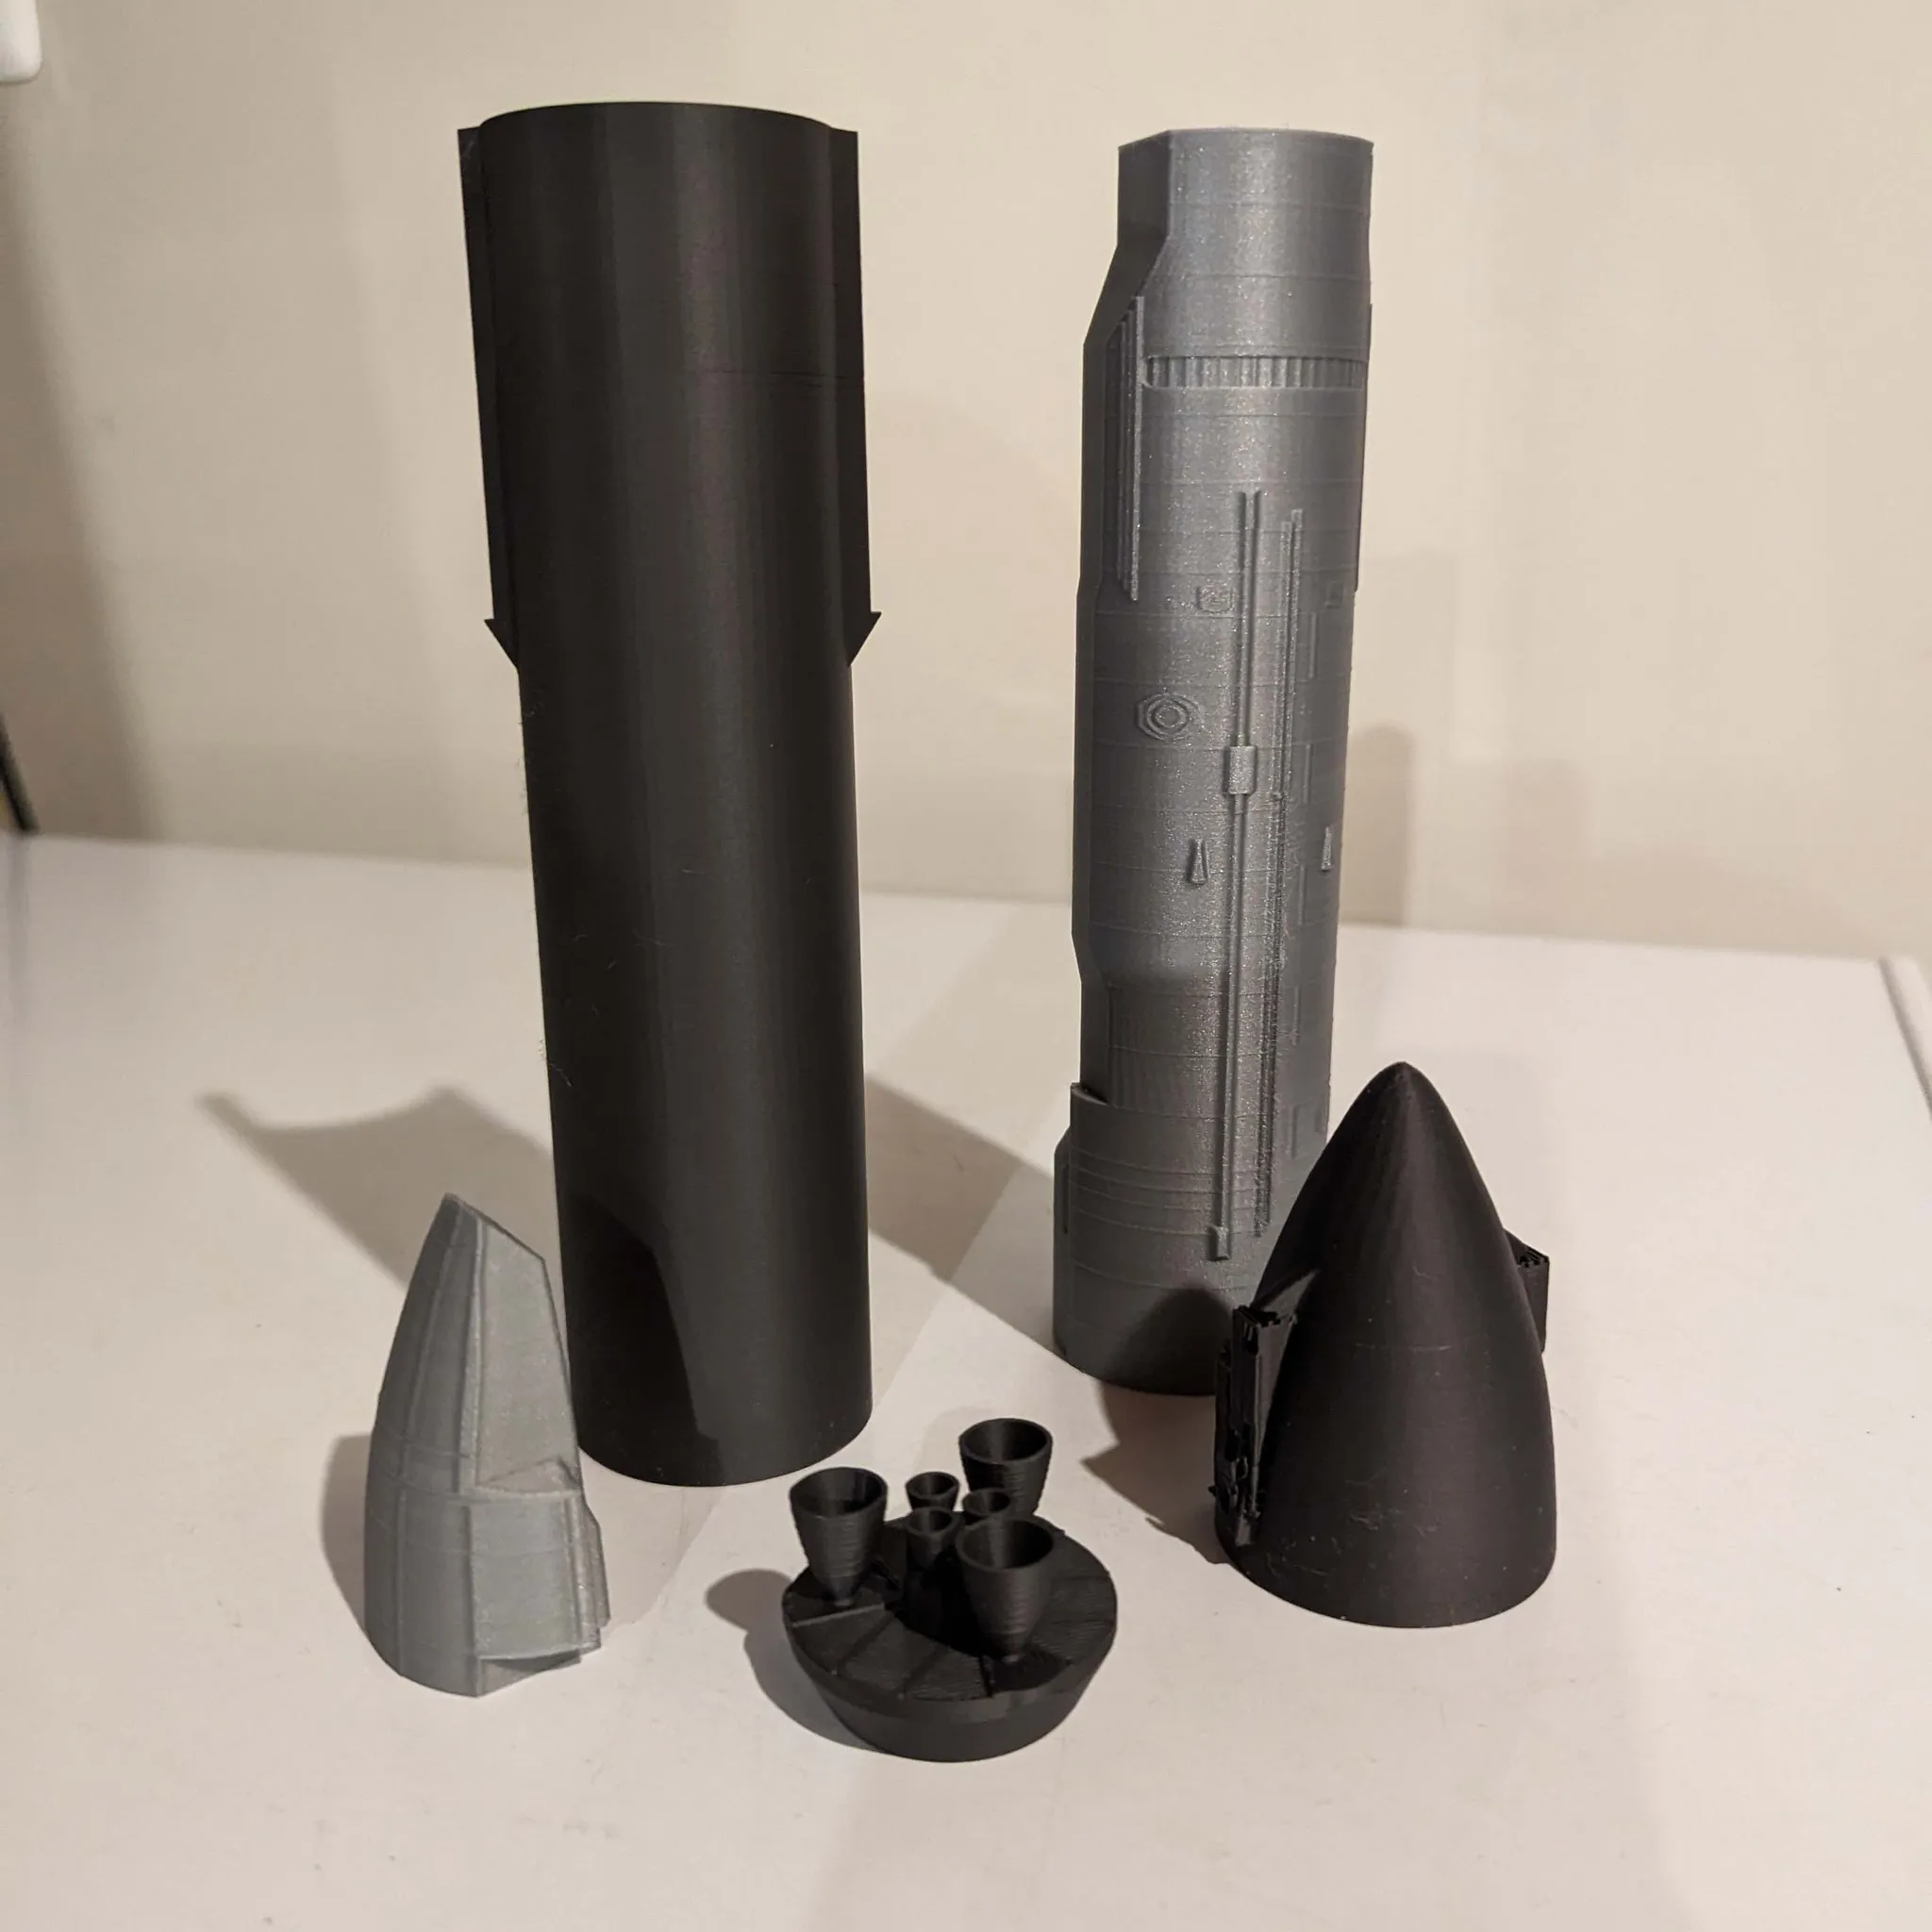
Example Prints
Here’s a SpaceX Starship model printed K1C. Note that the printer resolution and finish are great. The thin lines are part of the model.
The black parts are printed in SainSmart’s high speed PLA:
And here is a timelapse of the silver parts, printed in Coex’s Metallic Silver PLA:
Here are the finished parts: