Flashing Kiss 24a ESCs with DSHOT firmware via BetaFlight Passthrough
This guide assumes you have a flight controller running BetaFlight connected to KISS 24A ESCs. Alternatively, you can use a USB-UART converter to program the ESCs.
Download the latest ESC firmware from here: https://github.com/flyduino/kissesc-firmware/releases
Pre 1.02 Firmware
If your ESCs have firmware older than 1.02, you’ll need to go through the extra steps of flashing the bootloader as follows:
Install the Arduino IDE if you don’t have it already: https://www.arduino.cc/en/Main/Software
Download and install the STM8 flasher from STM: http://www.st.com/en/development-tools/flasher-stm8.html
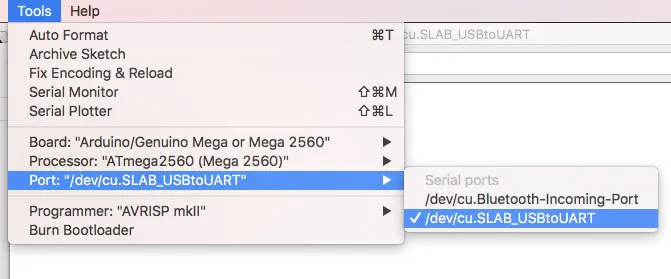
Choose the right port in the Arduino IDE.
Open the serial console, set the line endings to NL and CR, and set the BAUD to 115200. Then type info and hit enter. You’ll see something like this:
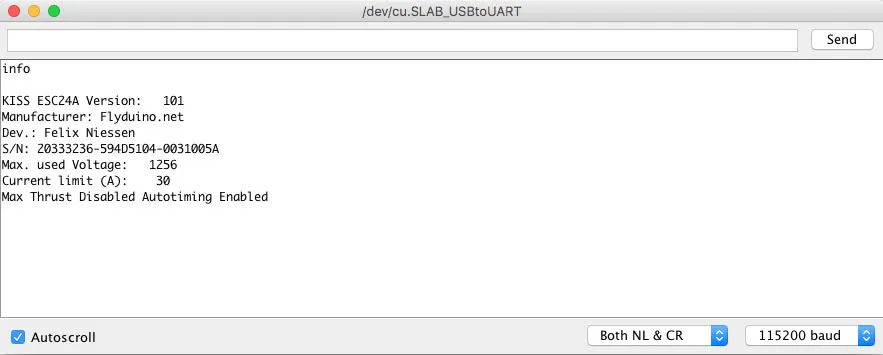
Copy the serial number, paste it into this website (http://ultraesc.de/hexGen/index.php), and hit download.
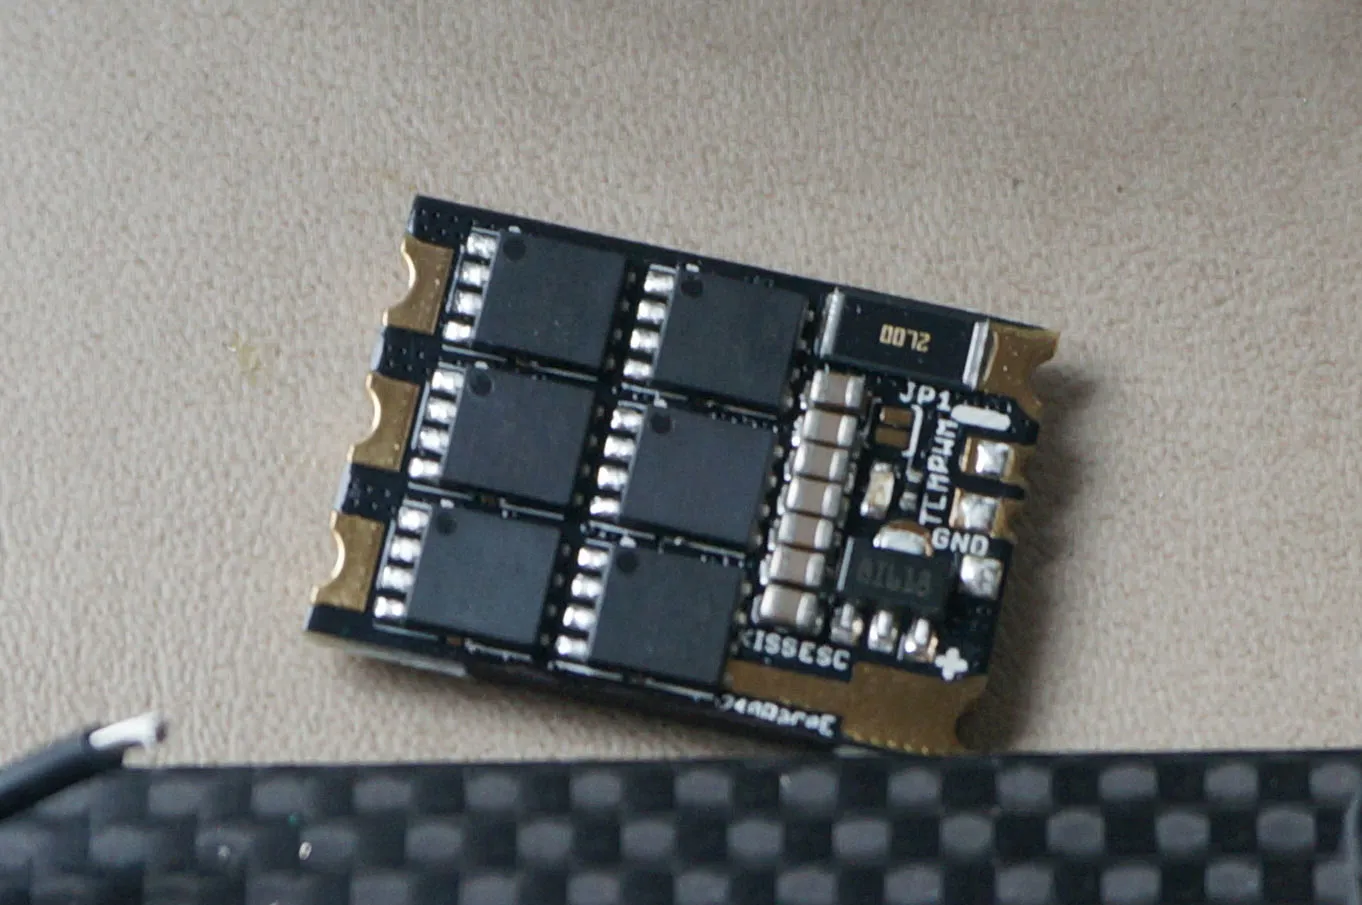
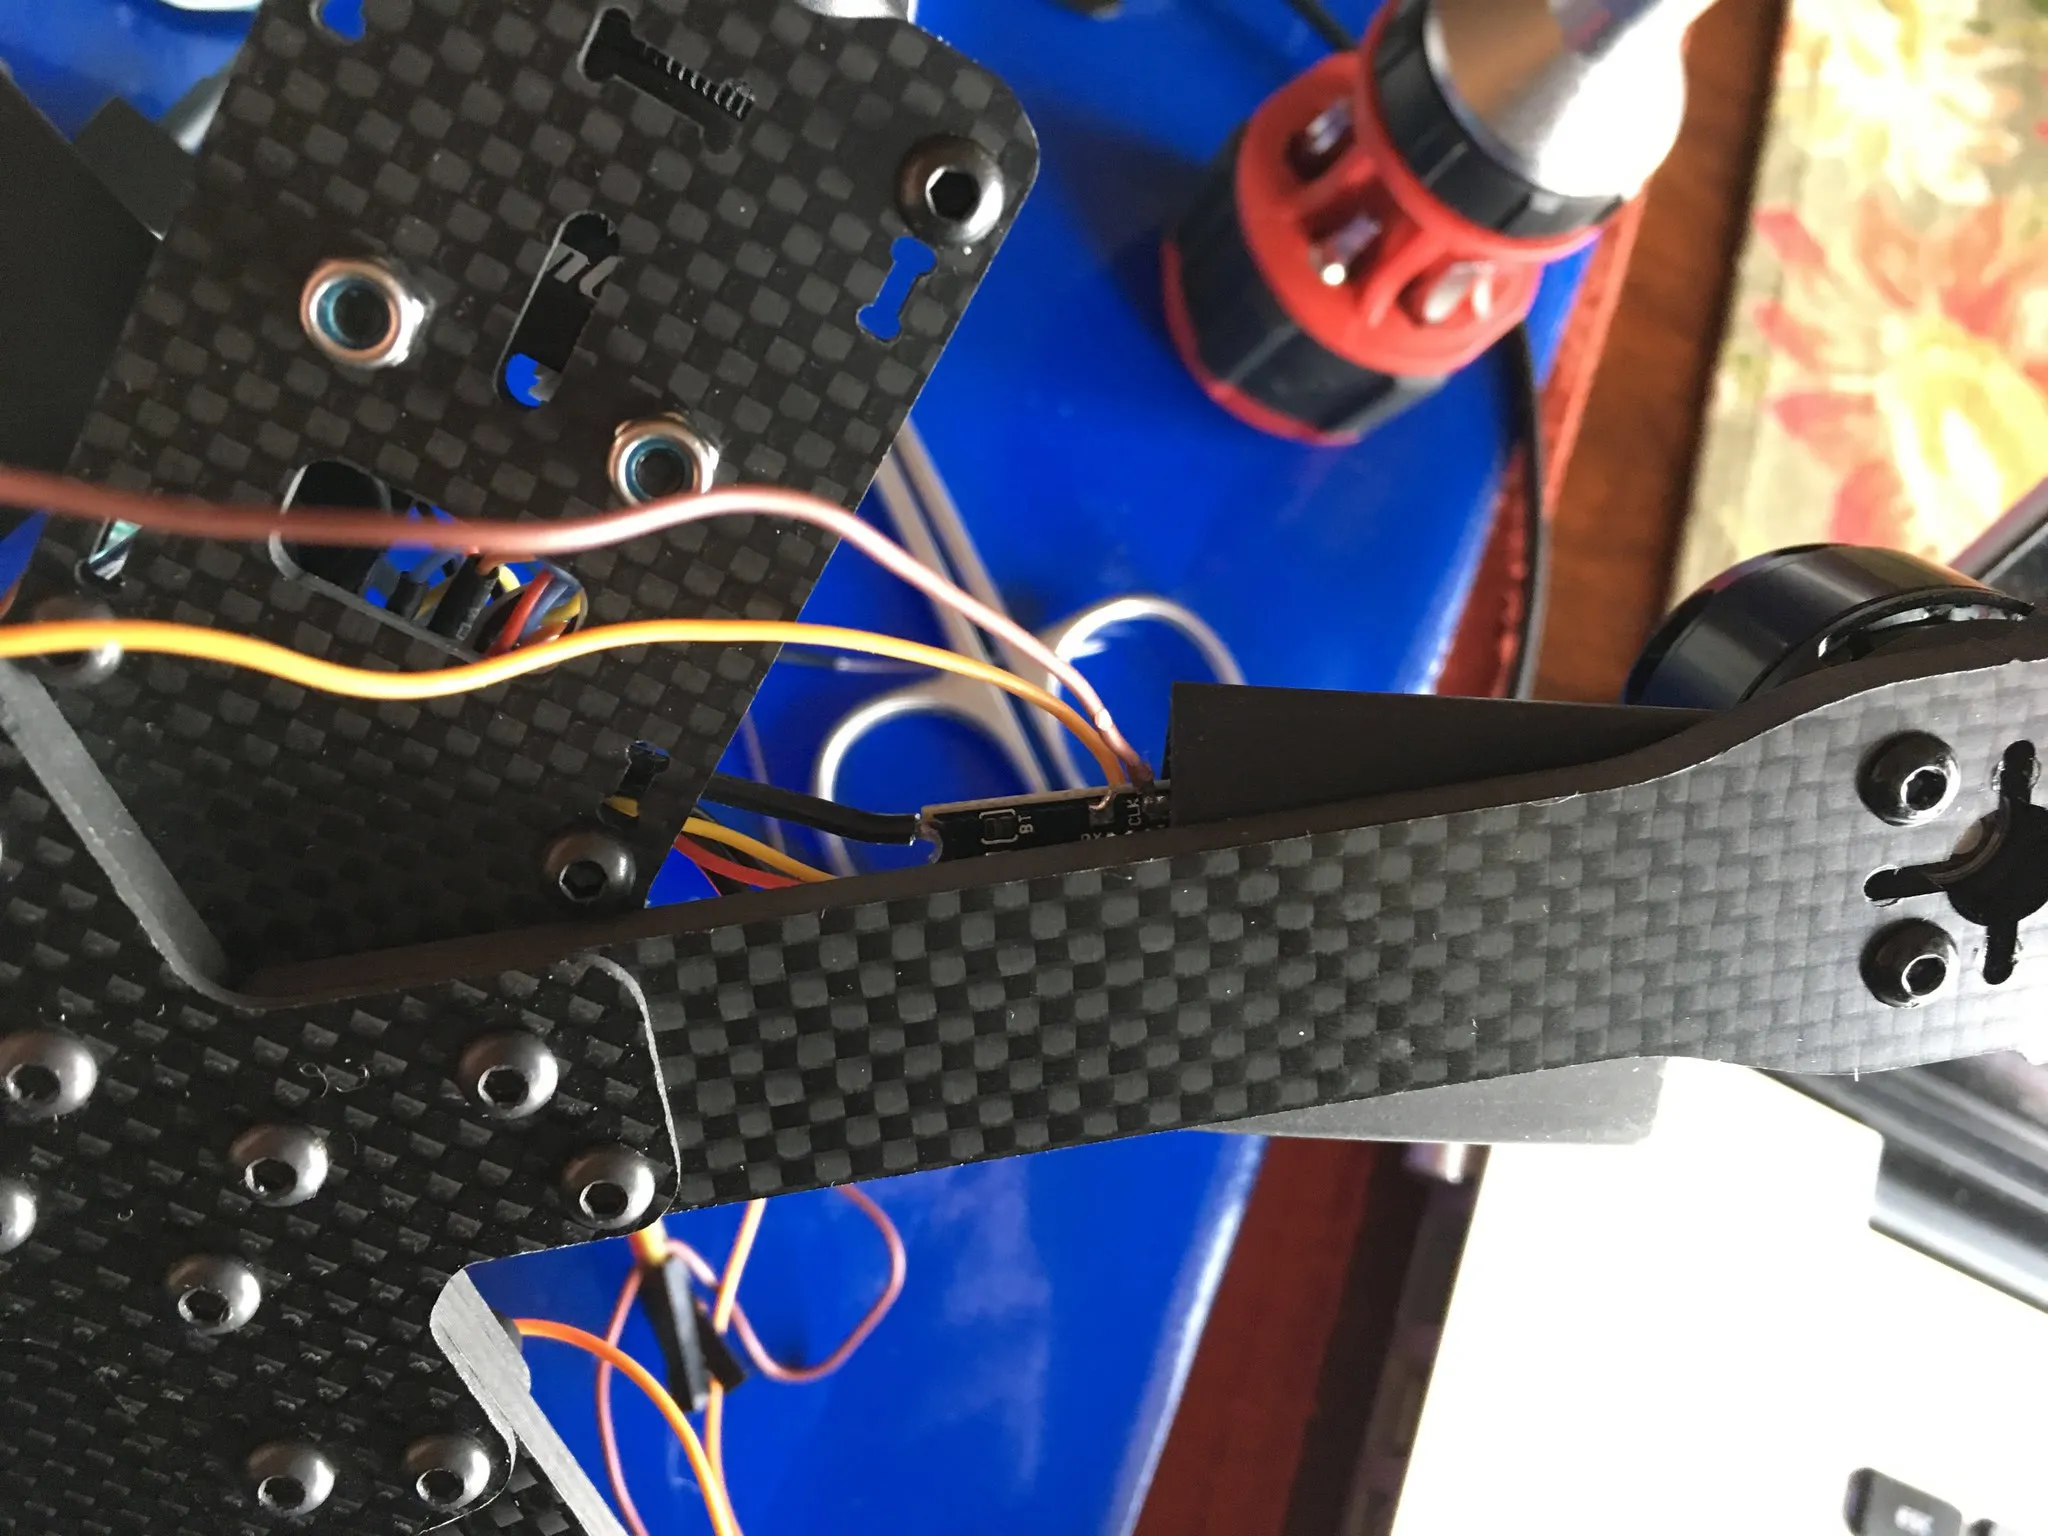
Solder some leads to the TX and RX pads and short the boot jumper on the ESC. Connect the UART ground to the ESC ground, the UART TX to the ESC RX pin, and the UART RX to the ESC TX pin. Finally, connect the battery to the ESC.
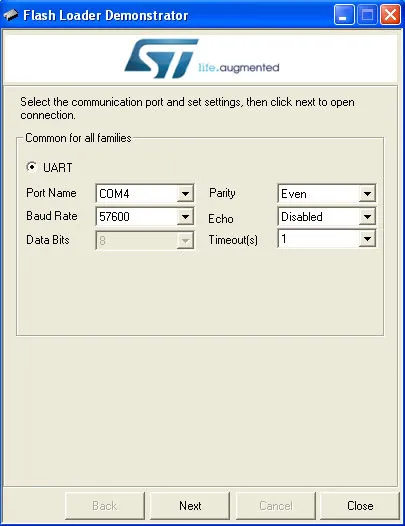
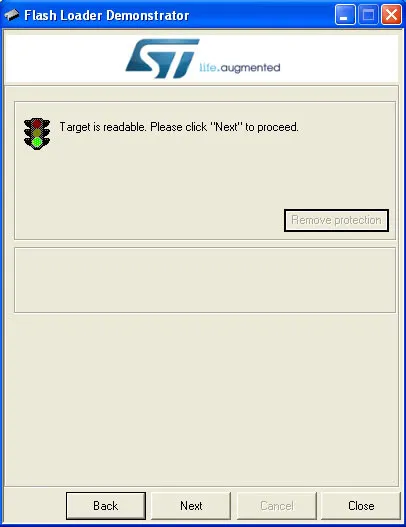
Open the STM8 Flash Demonstrator GUI. Set the following settings and hit “Next”:
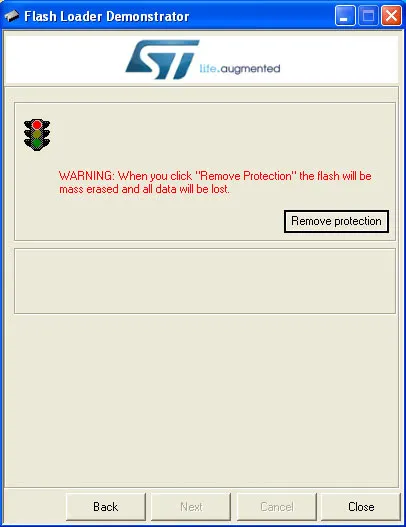
Choose “Remove Protection”.
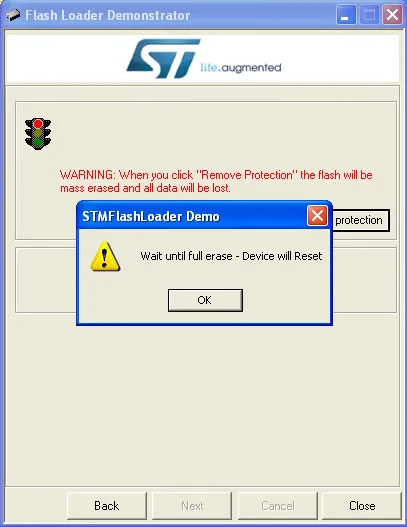
Then hit “OK”.
Note: This will erase your ESC. If you do this before reading the serial and downloading the correct hex, you’ll need to flash the Spam Serial Number hex using the Flash Loader Demonstrator to retrieve the serial number and download the correct firmware.
Hit “Next”.
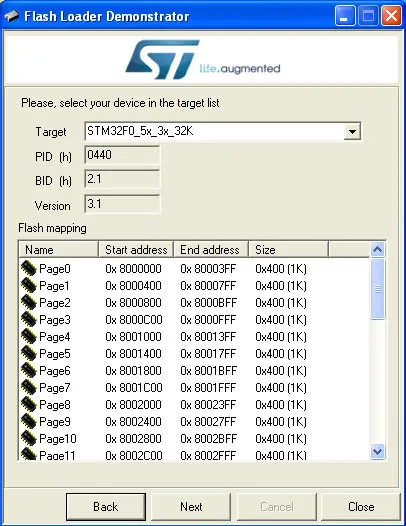
Choose the right target, if not already selected, and hit “Next”.
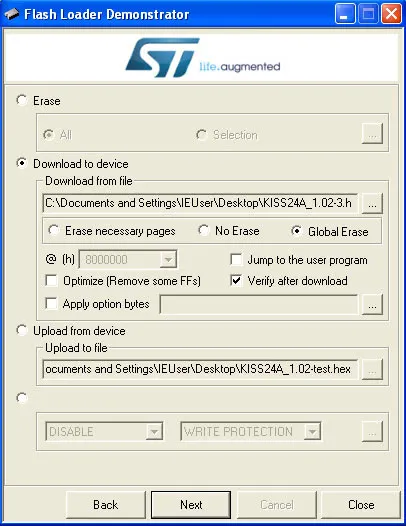
Choose “Download” and pick the hex file you downloaded (or the spam serial number hex if you need to find the serial but erased the ESC by accident). Choose “Global Erase” and “Verify”, then hit “Next”.
It will flash, then verify:
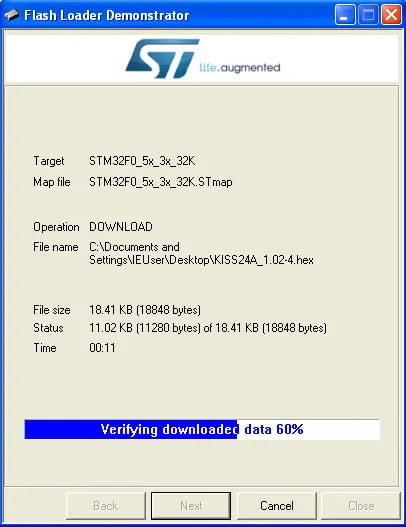
This is what it looks like when it’s been flashed successfully:
Now remove the short on the boot jumper.
Upgrading from 1.02 Onward
Once your ESCs have 1.02 installed, you can use passthrough programming in BetaFlight and the KISS ESC Flashloader to upgrade your ESCs.
Download the latest firmware from here: http://kiss.flyduino.net/download/kiss-esc24a-re-firmware-v1-11/
Download and install the latest BetaFlight Configurator from: https://github.com/betaflight/betaflight-configurator/releases
Download and install the KISS ESC Flashloader as an unpacked Chrome extension: https://www.dropbox.com/s/s46g87op7rg6r4e/flashloader.zip?dl=1
Using BetaFlight Passthrough
Connect your ESCs to your flight controller like normal.
Open the BetaFlight configurator and run escprog ki 255 in the CLI.
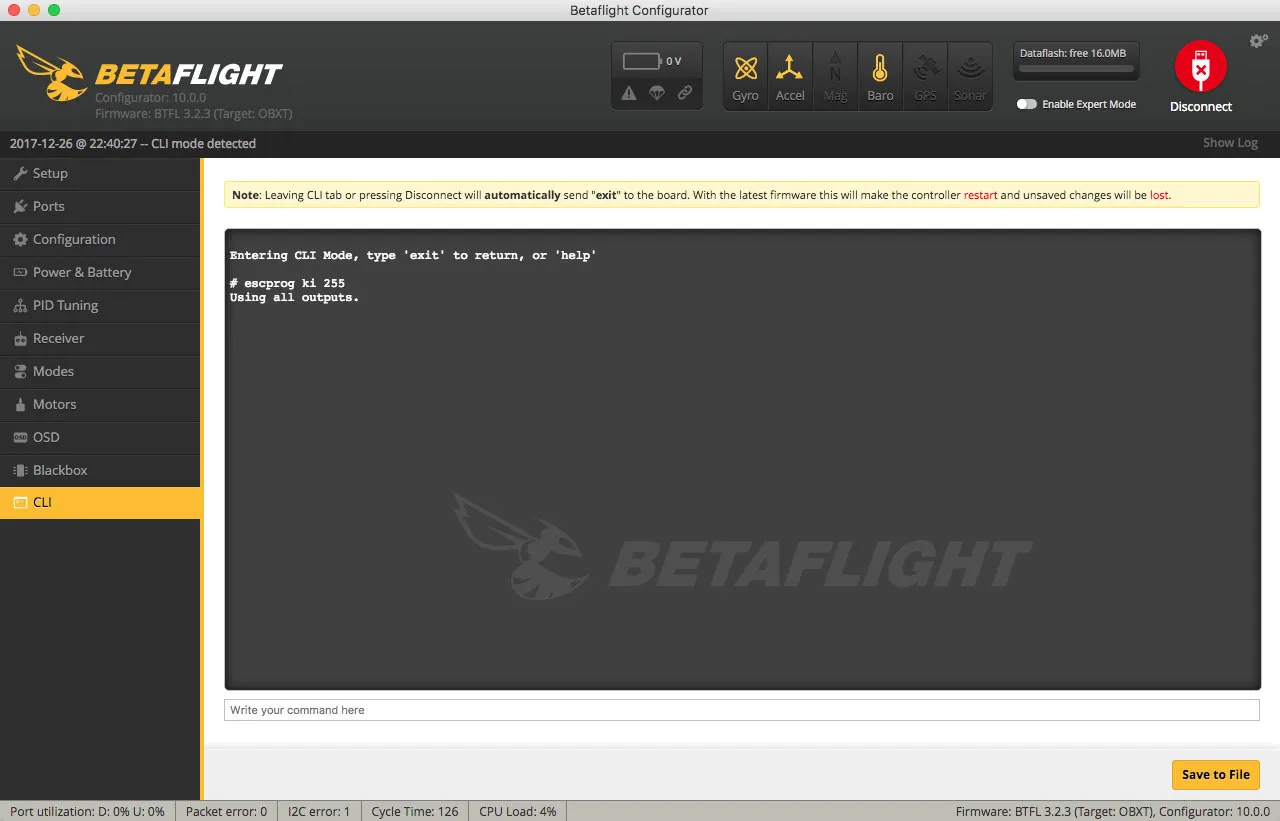
You’ll see:
Entering CLI Mode, type 'exit' to return, or 'help'

# escprog ki 255
Using all outputs.
Hit disconnect in the BetaFlight Configurator and head to Flashing an Update.
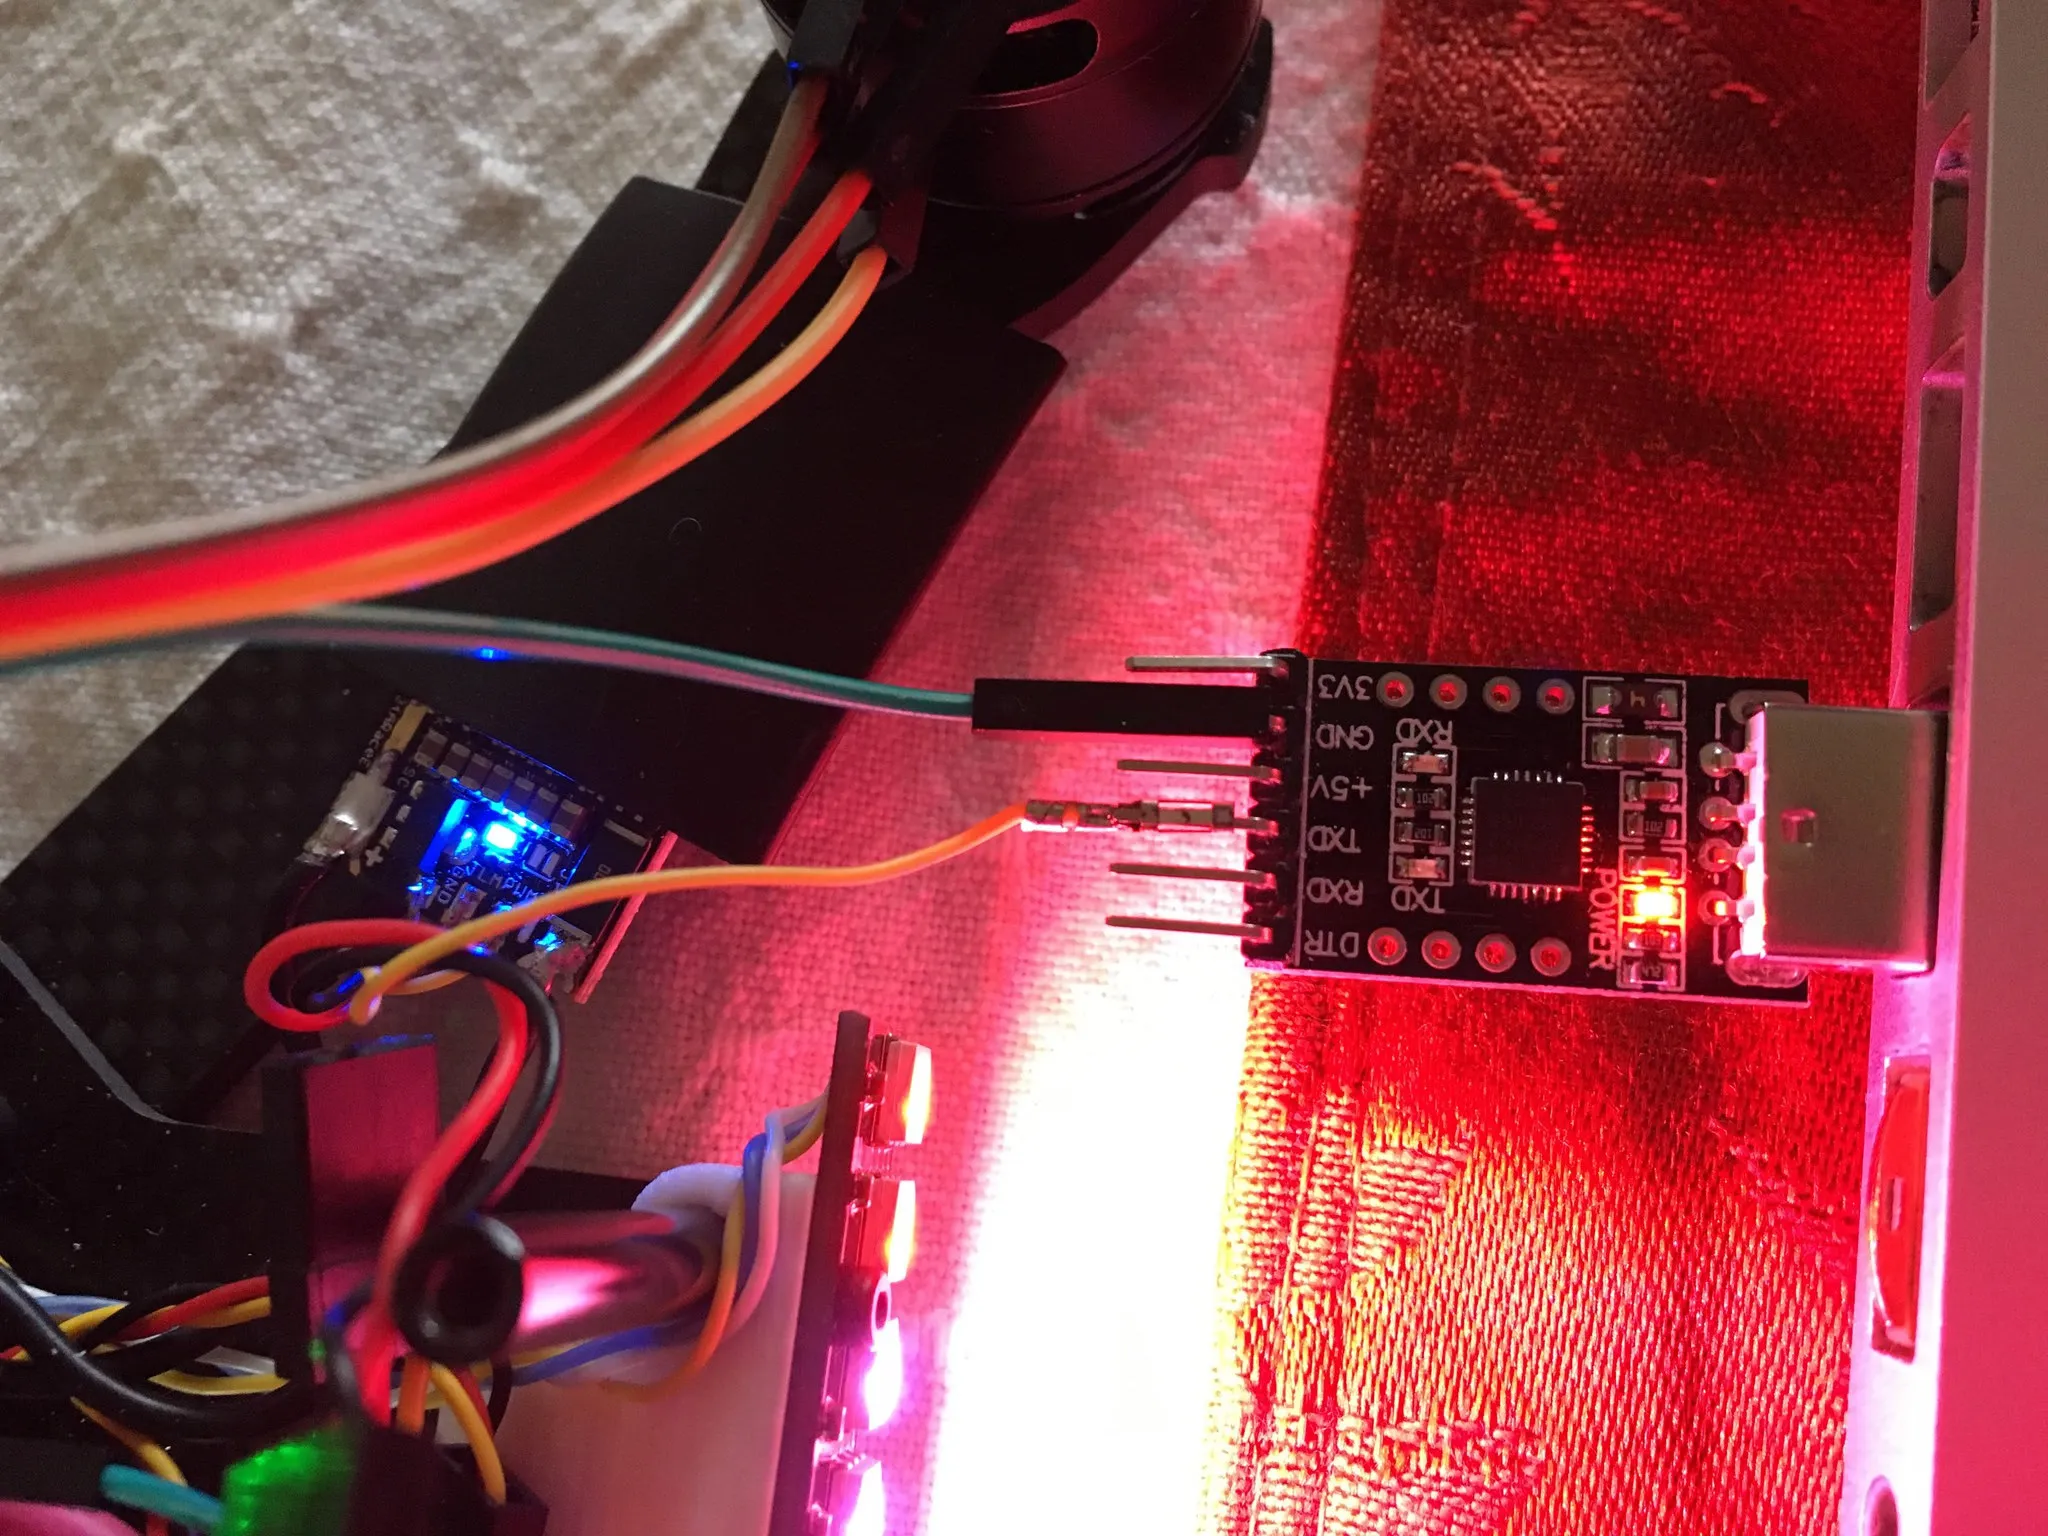
Using a USB-UART adapter
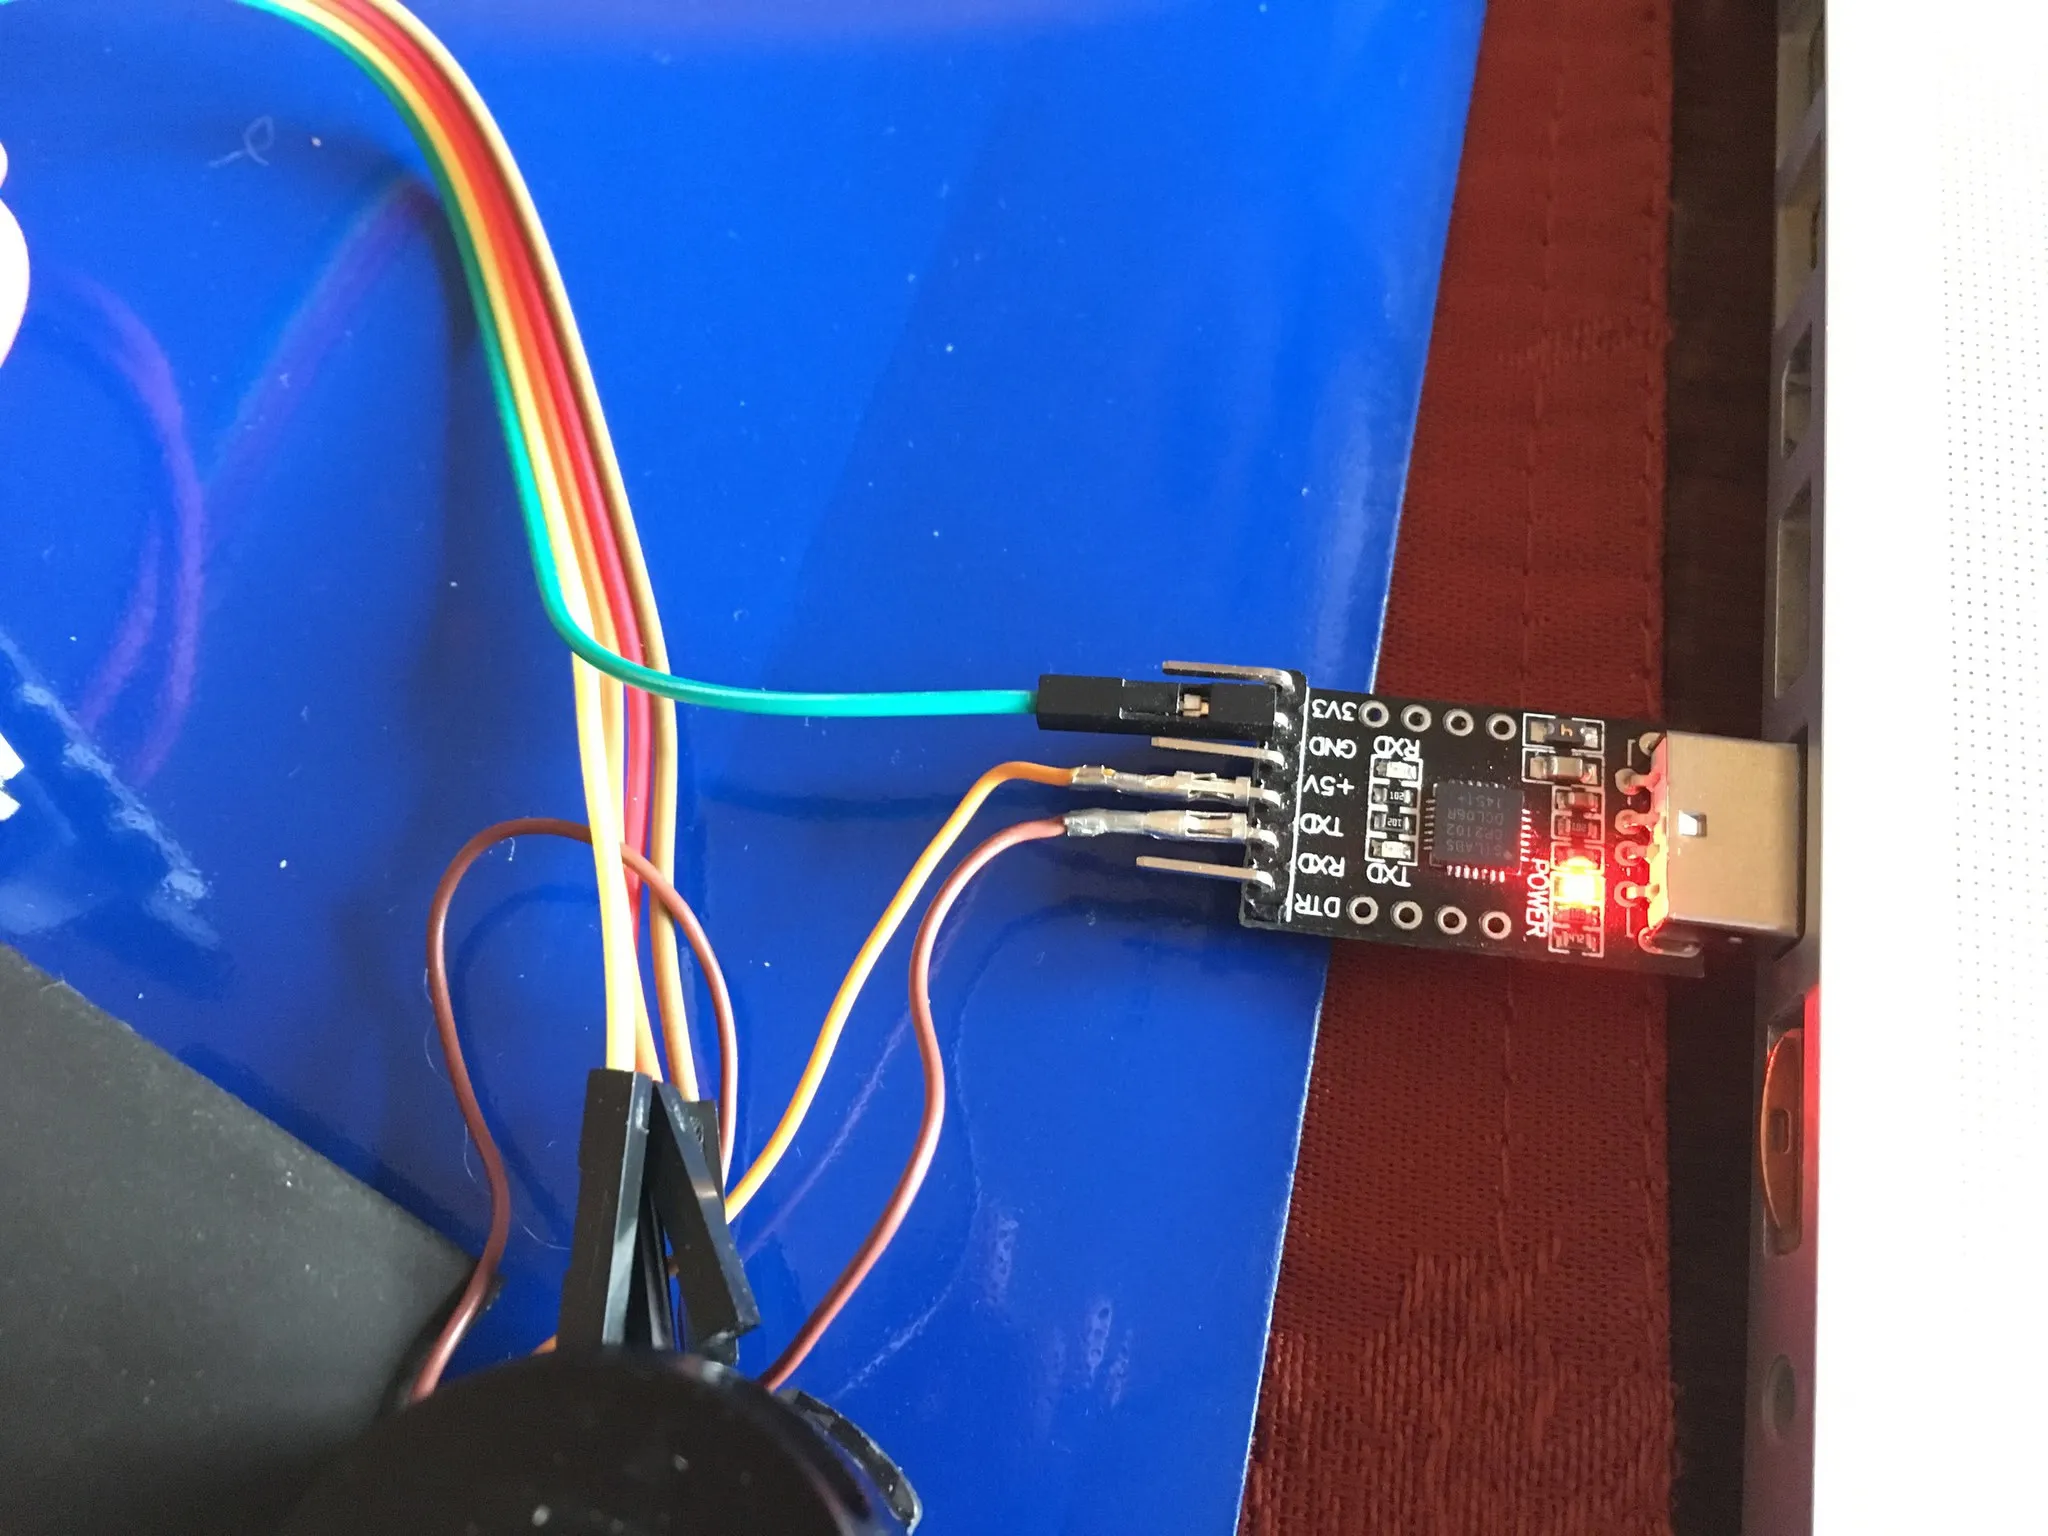
I’m using a CP2102.
Alternatively, just connect the ESC PWM input to your USB-UART TX pin and the ground pin on the ESC to ground on the USB-UART like so:
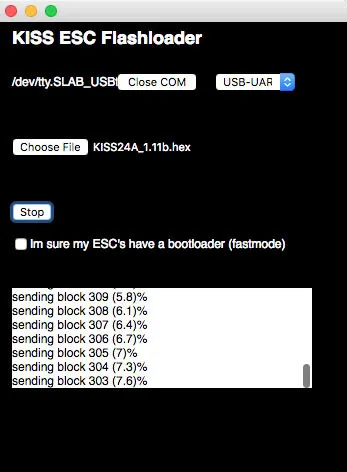
Flashing an Update
Open the KISS ESC Flashloader. Choose the serial port and pick USB-UART. Pick the 1.11 hex file you downloaded from the KISS website and hit “Write flash”. You’ll see the ESC LED flash.
Here’s what it looks like when flashing:
You’ll hear the motor/ESC chime when done, and you’re good to go!
Debugging & Further Reading
When things go wrong, it can be hard to figure out what’s happening.
Here are some links from RCGroups user ronnw that might help:
https://www.rcgroups.com/forums/showpost.php?p=35582651&postcount=2287
https://www.rcgroups.com/forums/showpost.php?p=36178585&postcount=2841