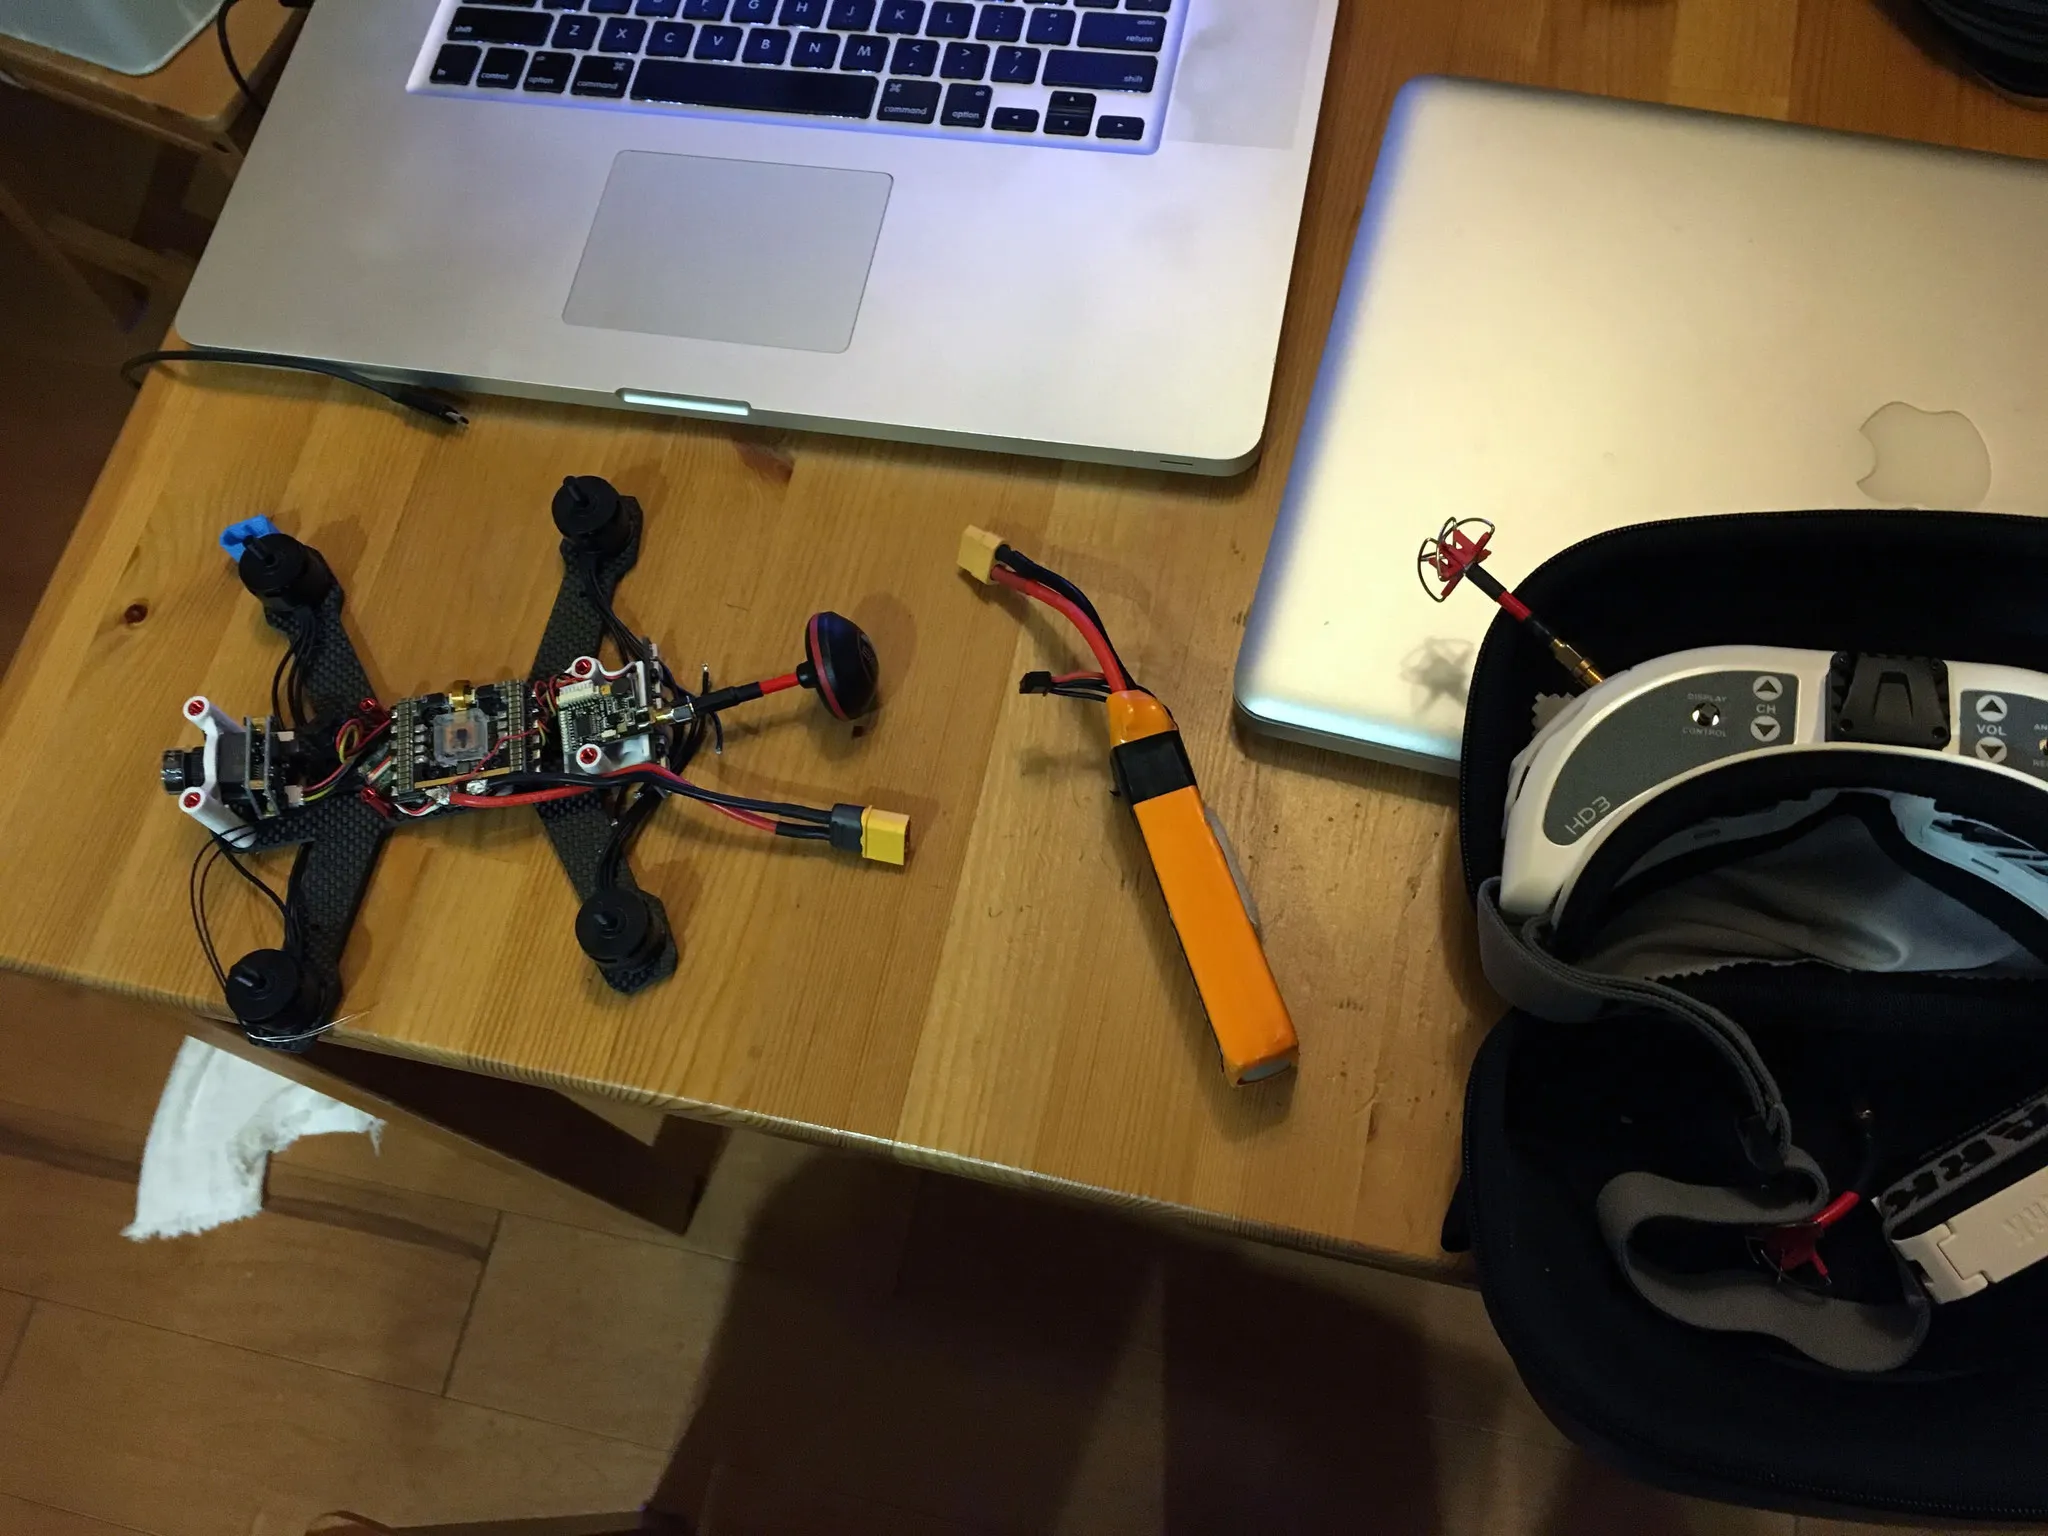
NOX Flight Controller 180mm Build
The NOX flight controller is a full-featured F4 flight controller with integrated OSD and 4x BLHeli 32 ESCs, DSHOT, and telemetry! Here are some build photos.
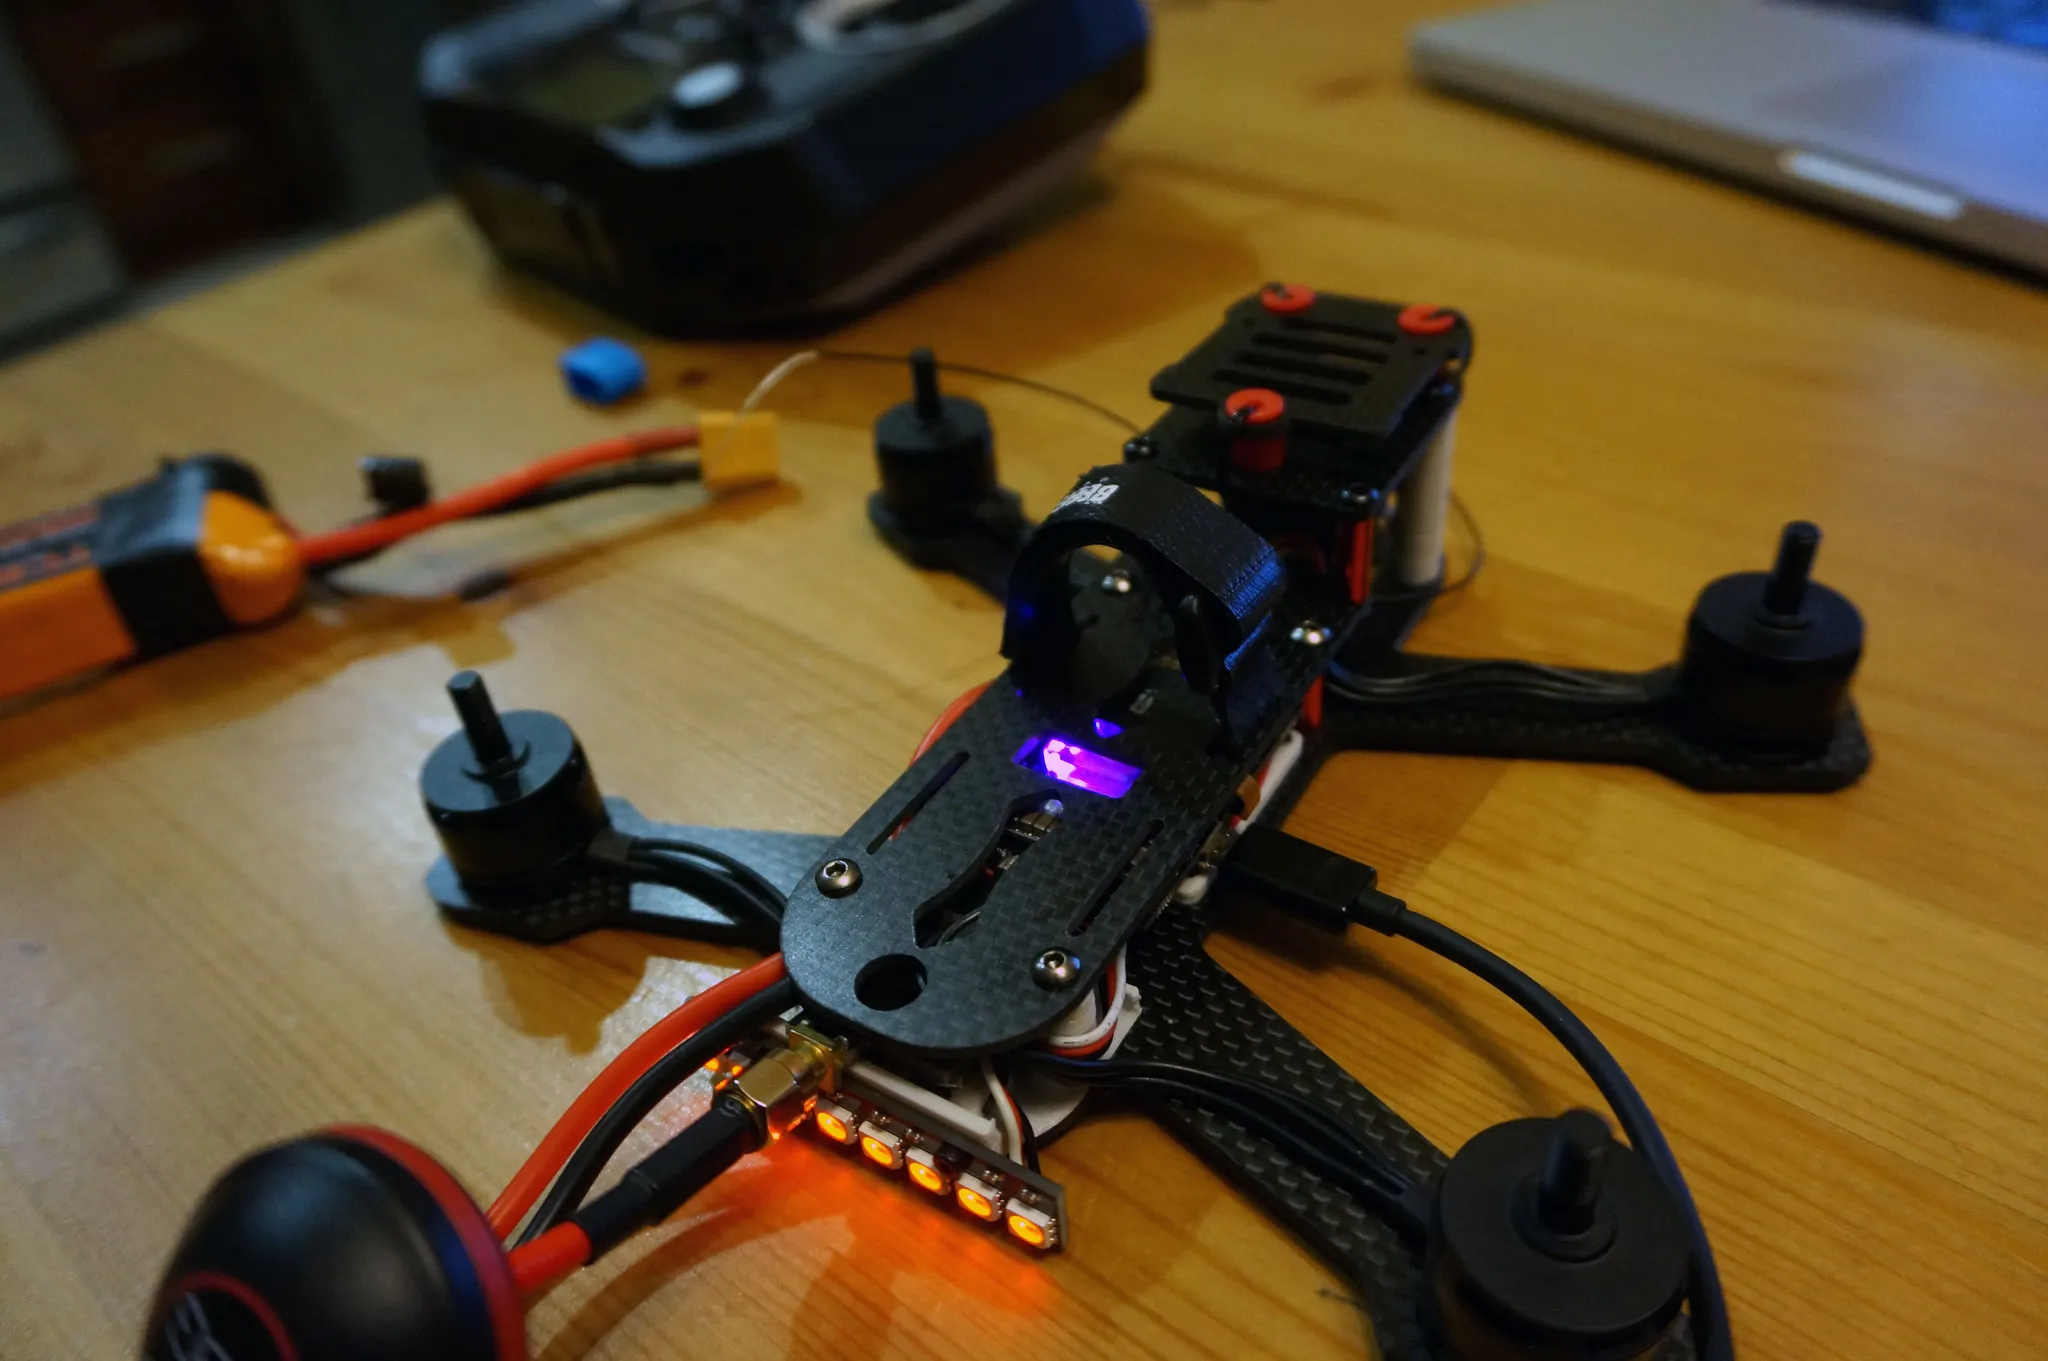
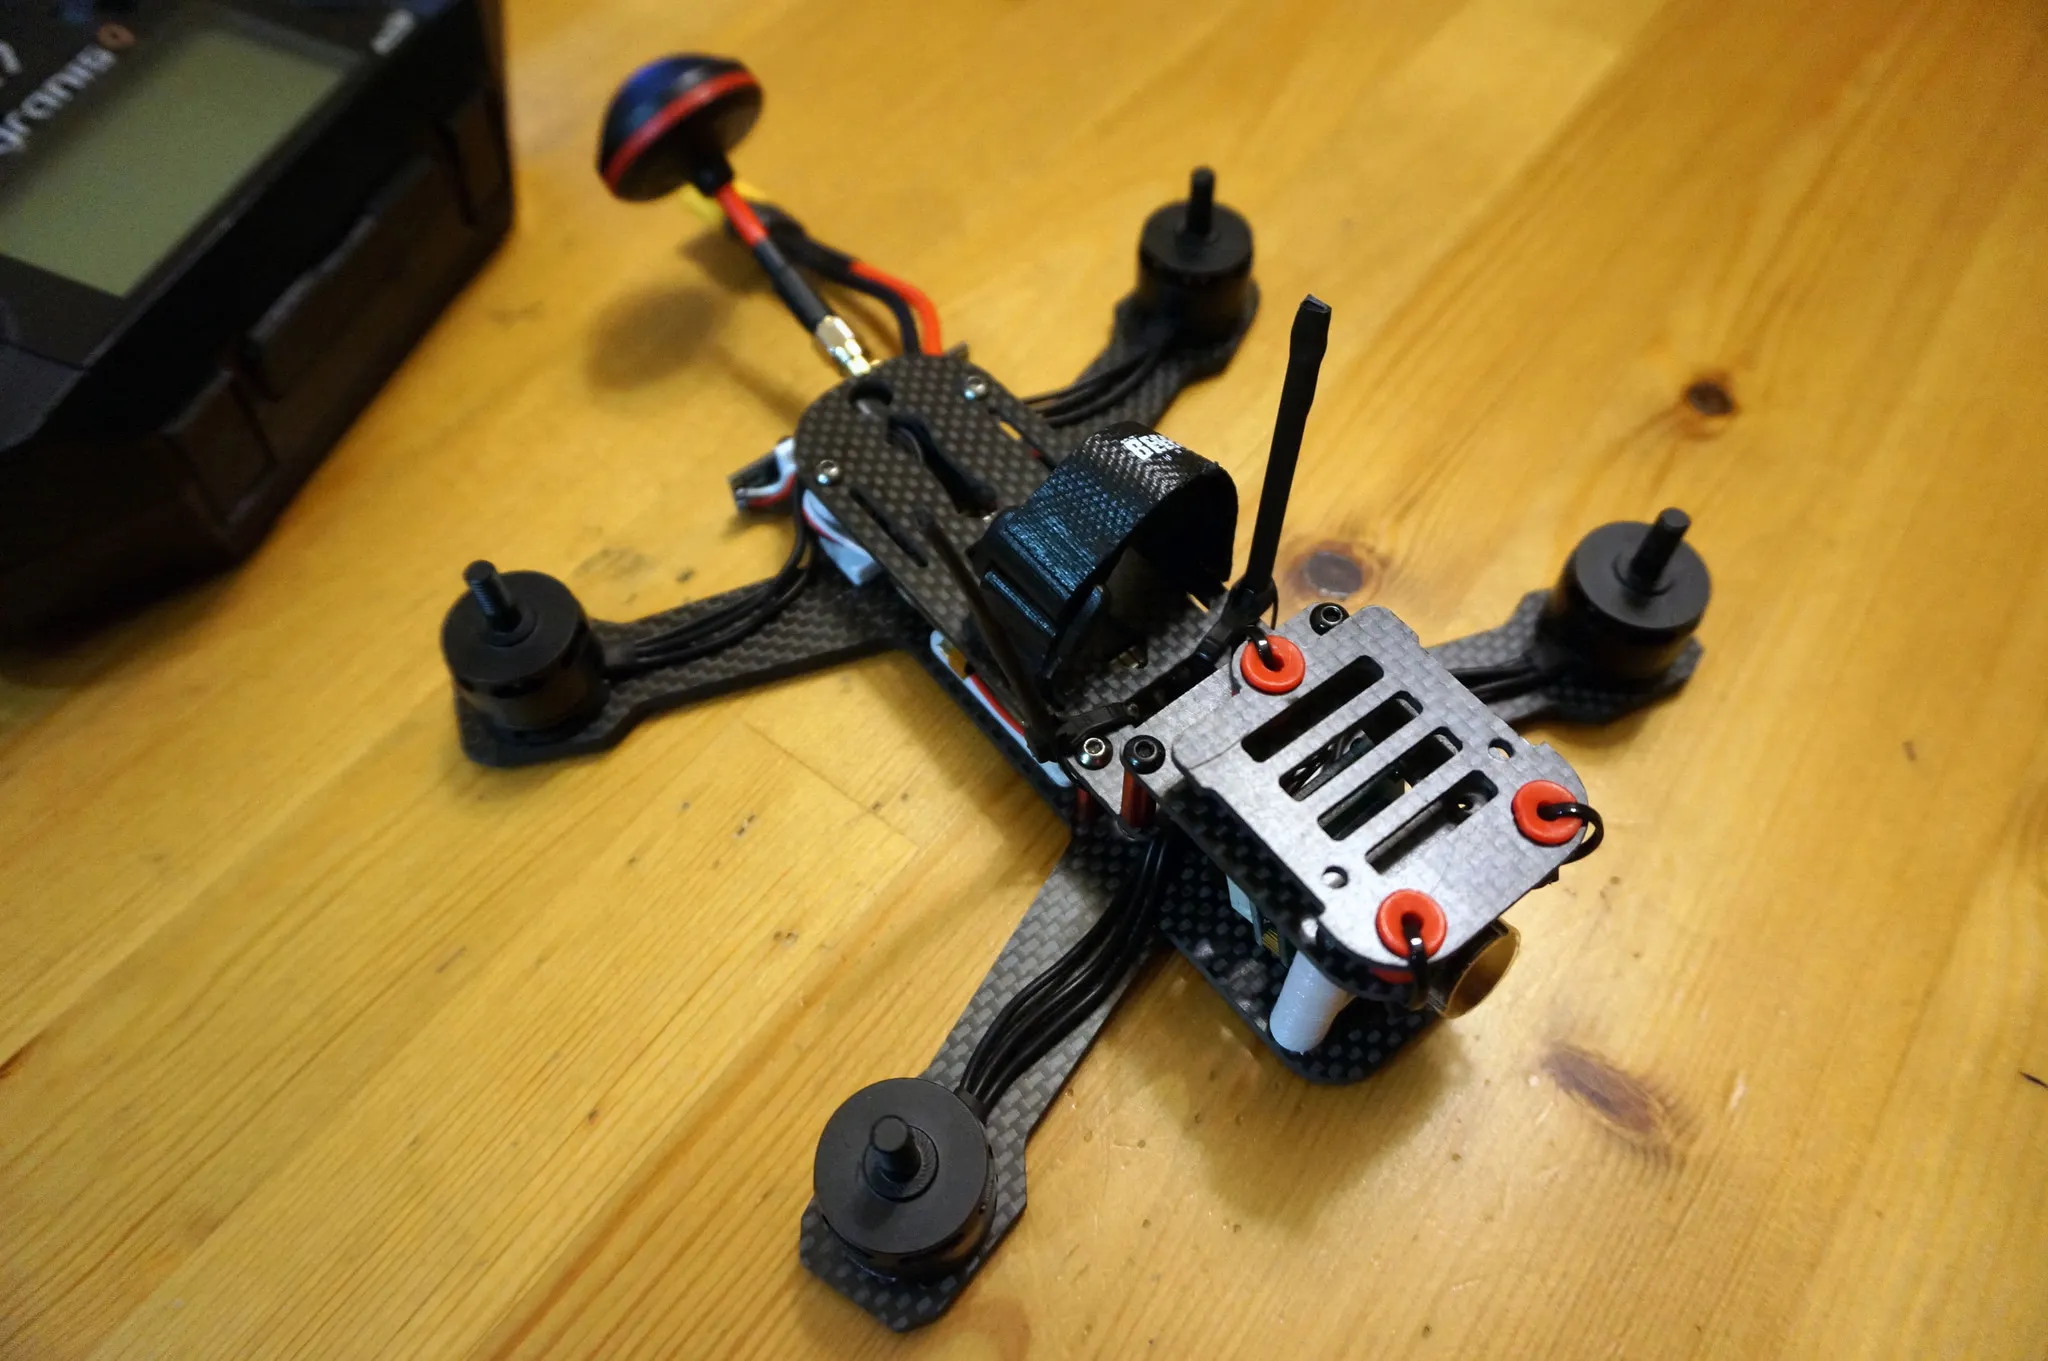
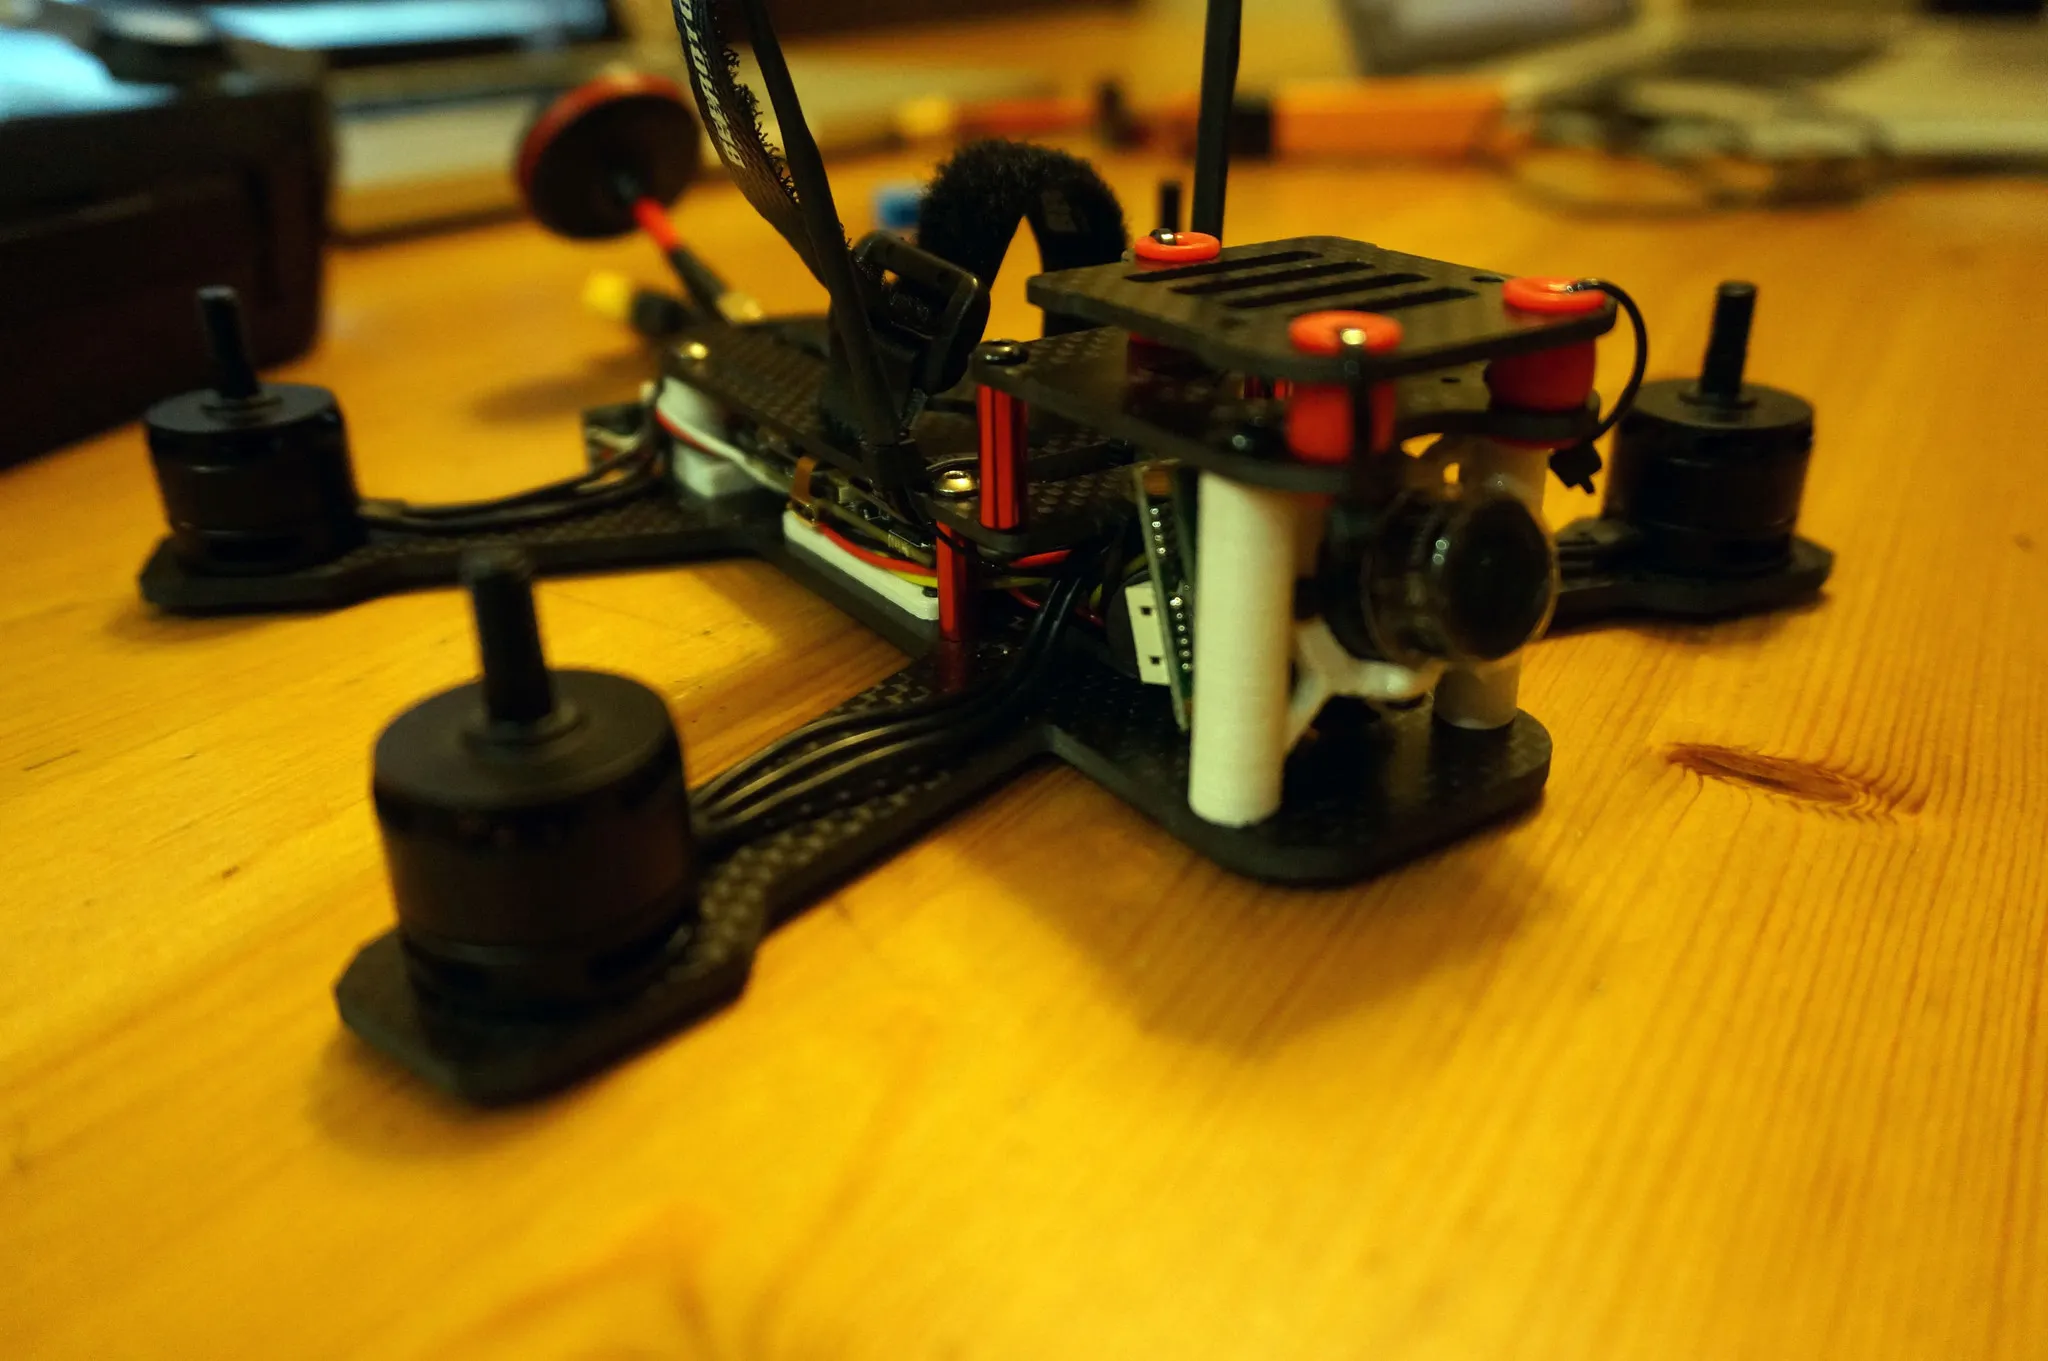
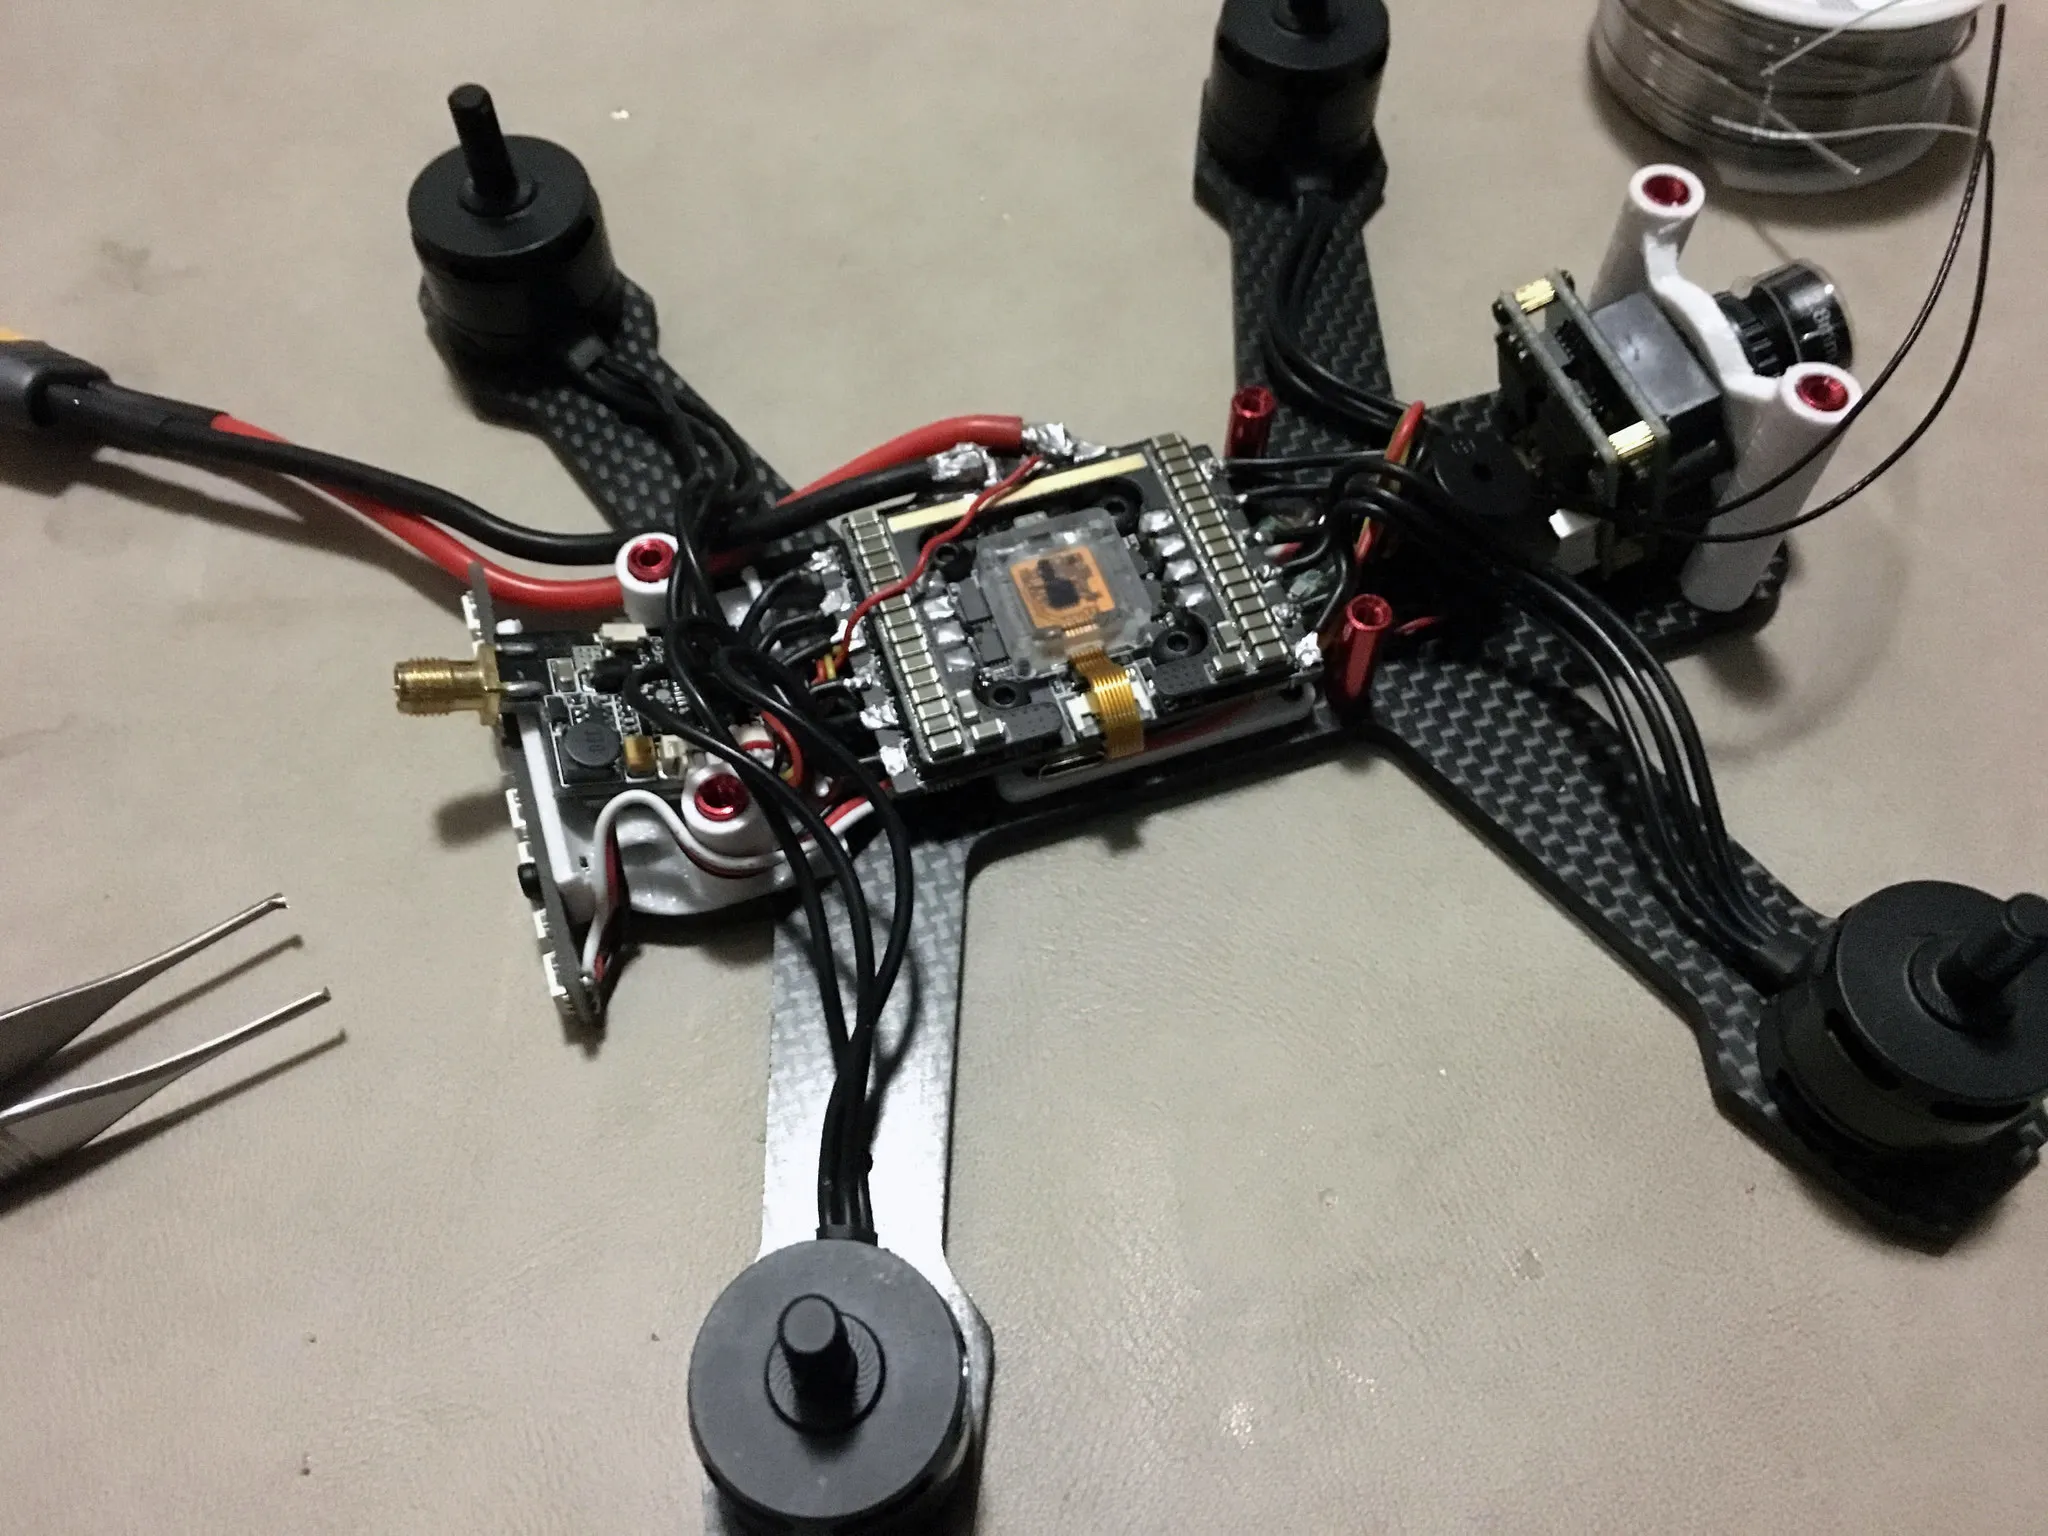
Overview
And here is the flight video:
I have the V2 of the NOX. As you can see from the video, I have not configured current sensing and RSSI yet. I’m running this Betaflight 3.2.4 hex and the ICM20608 gyro.
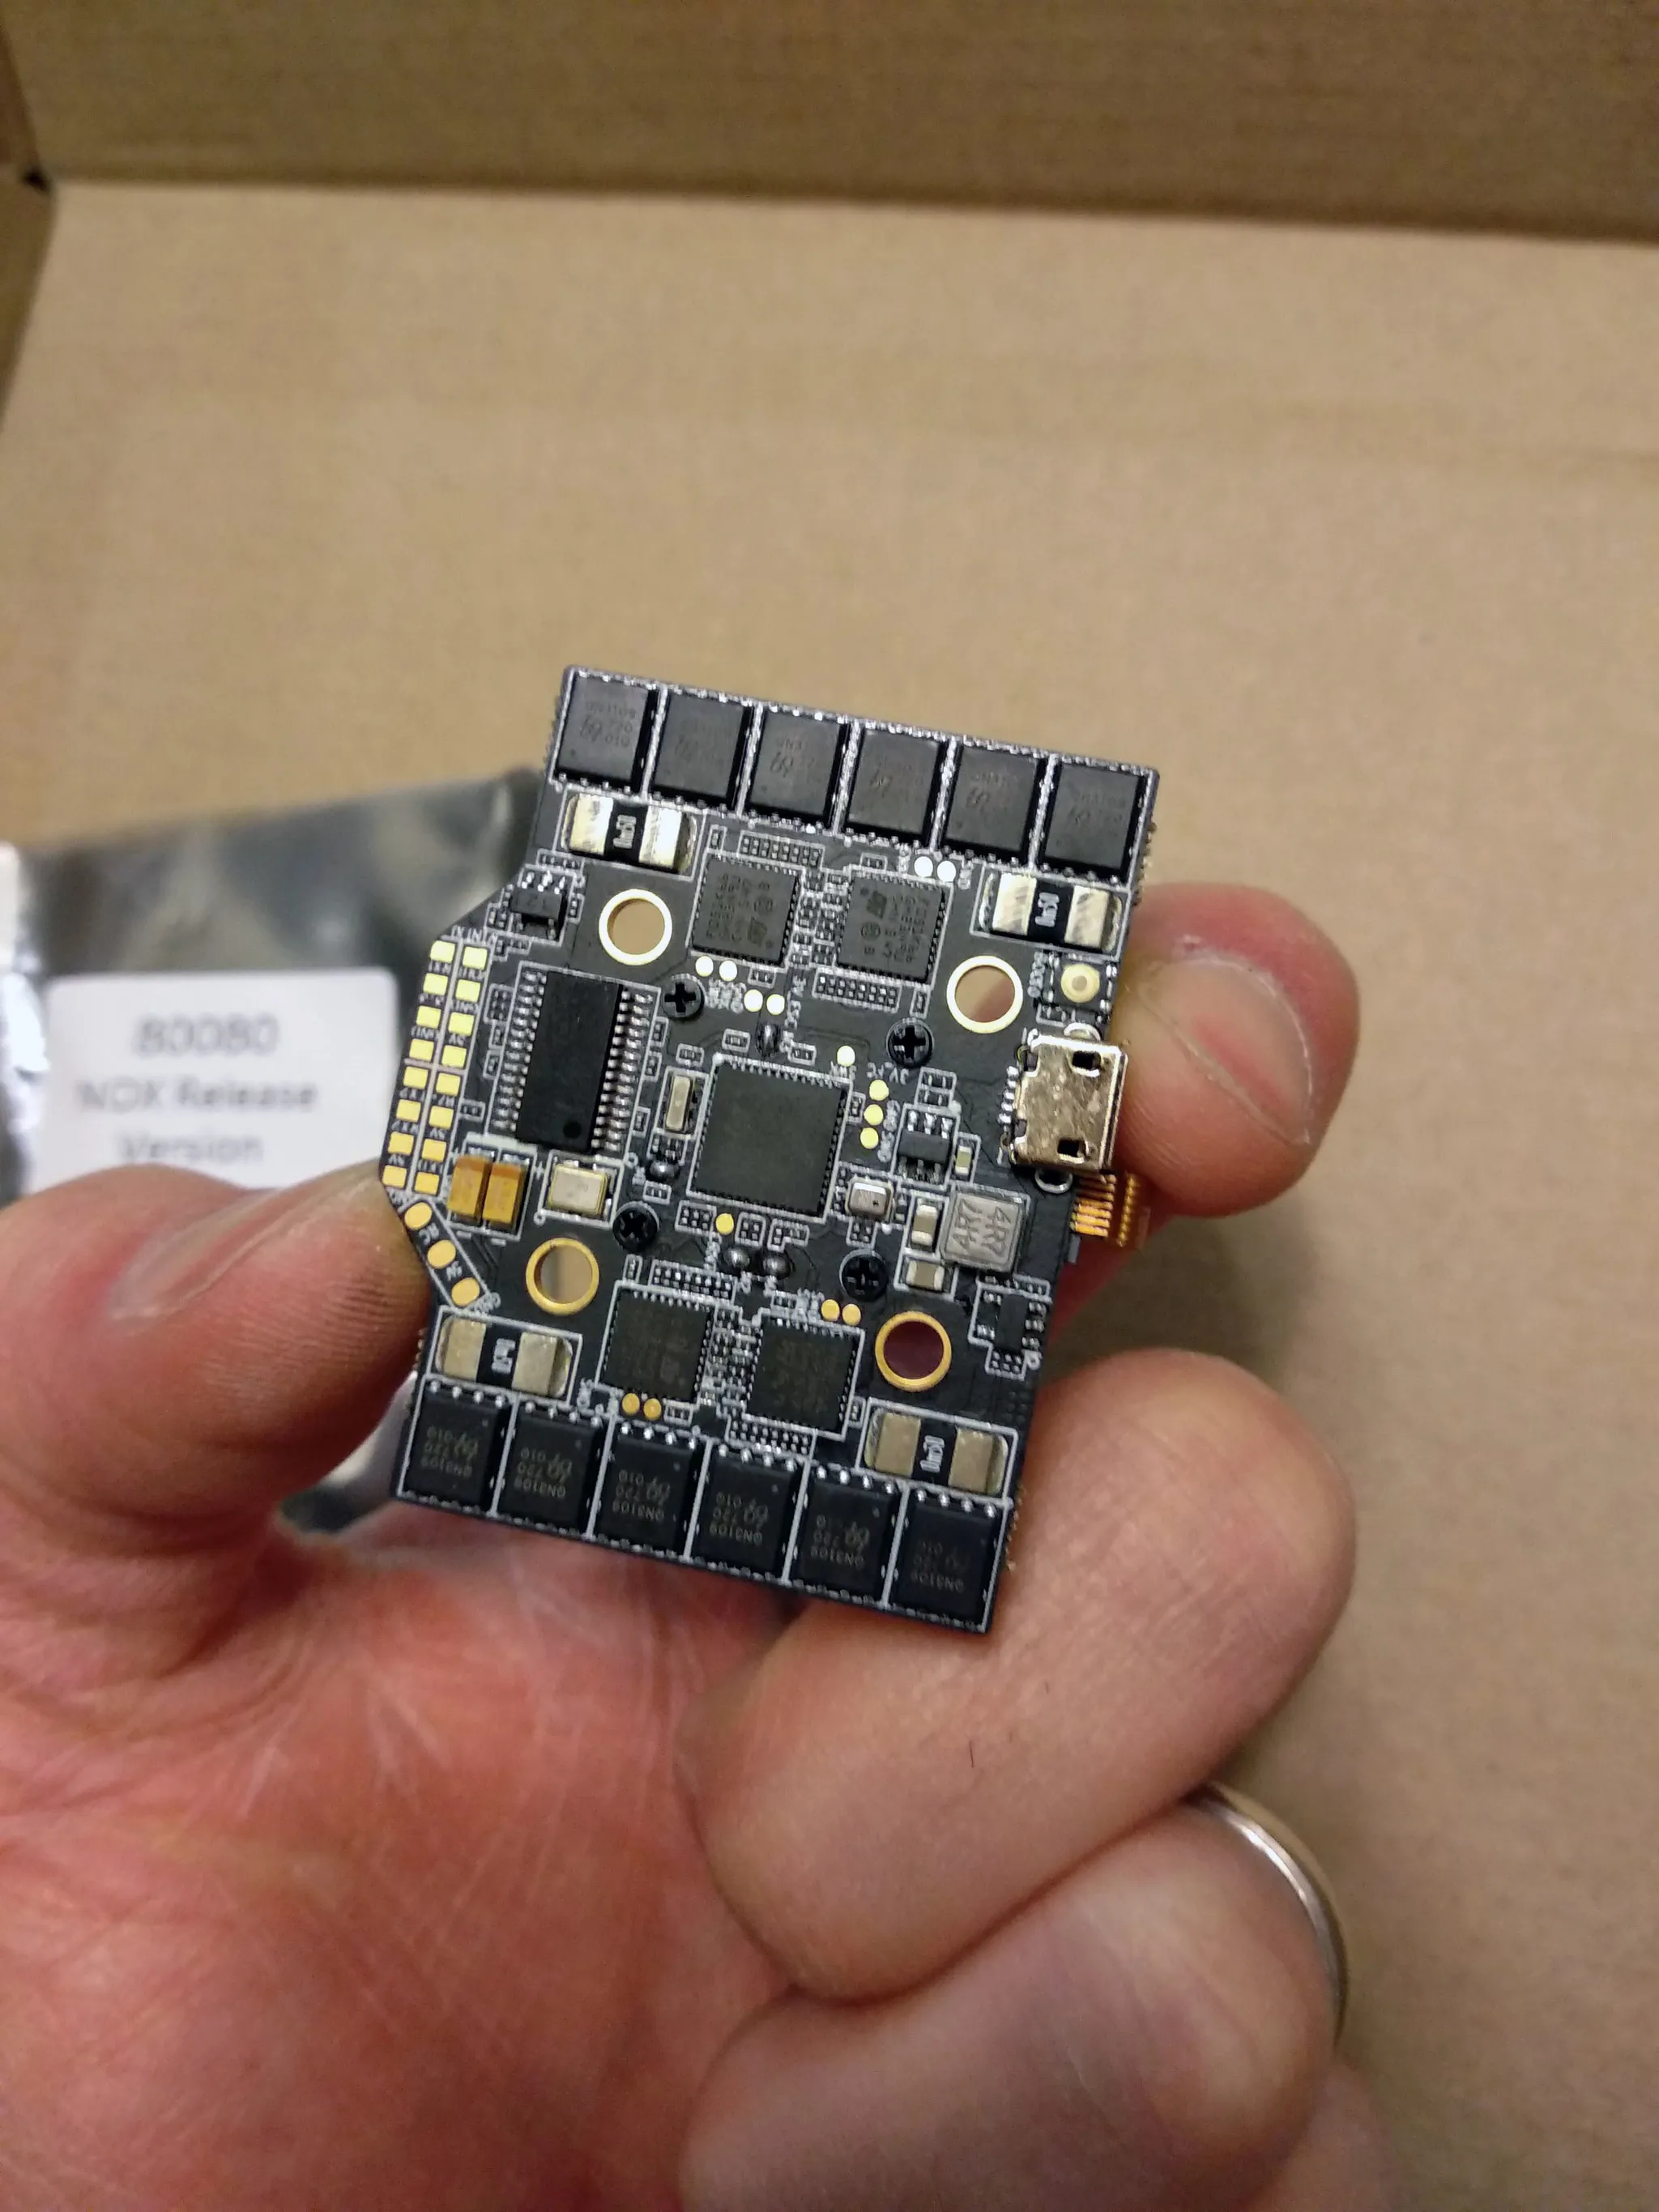
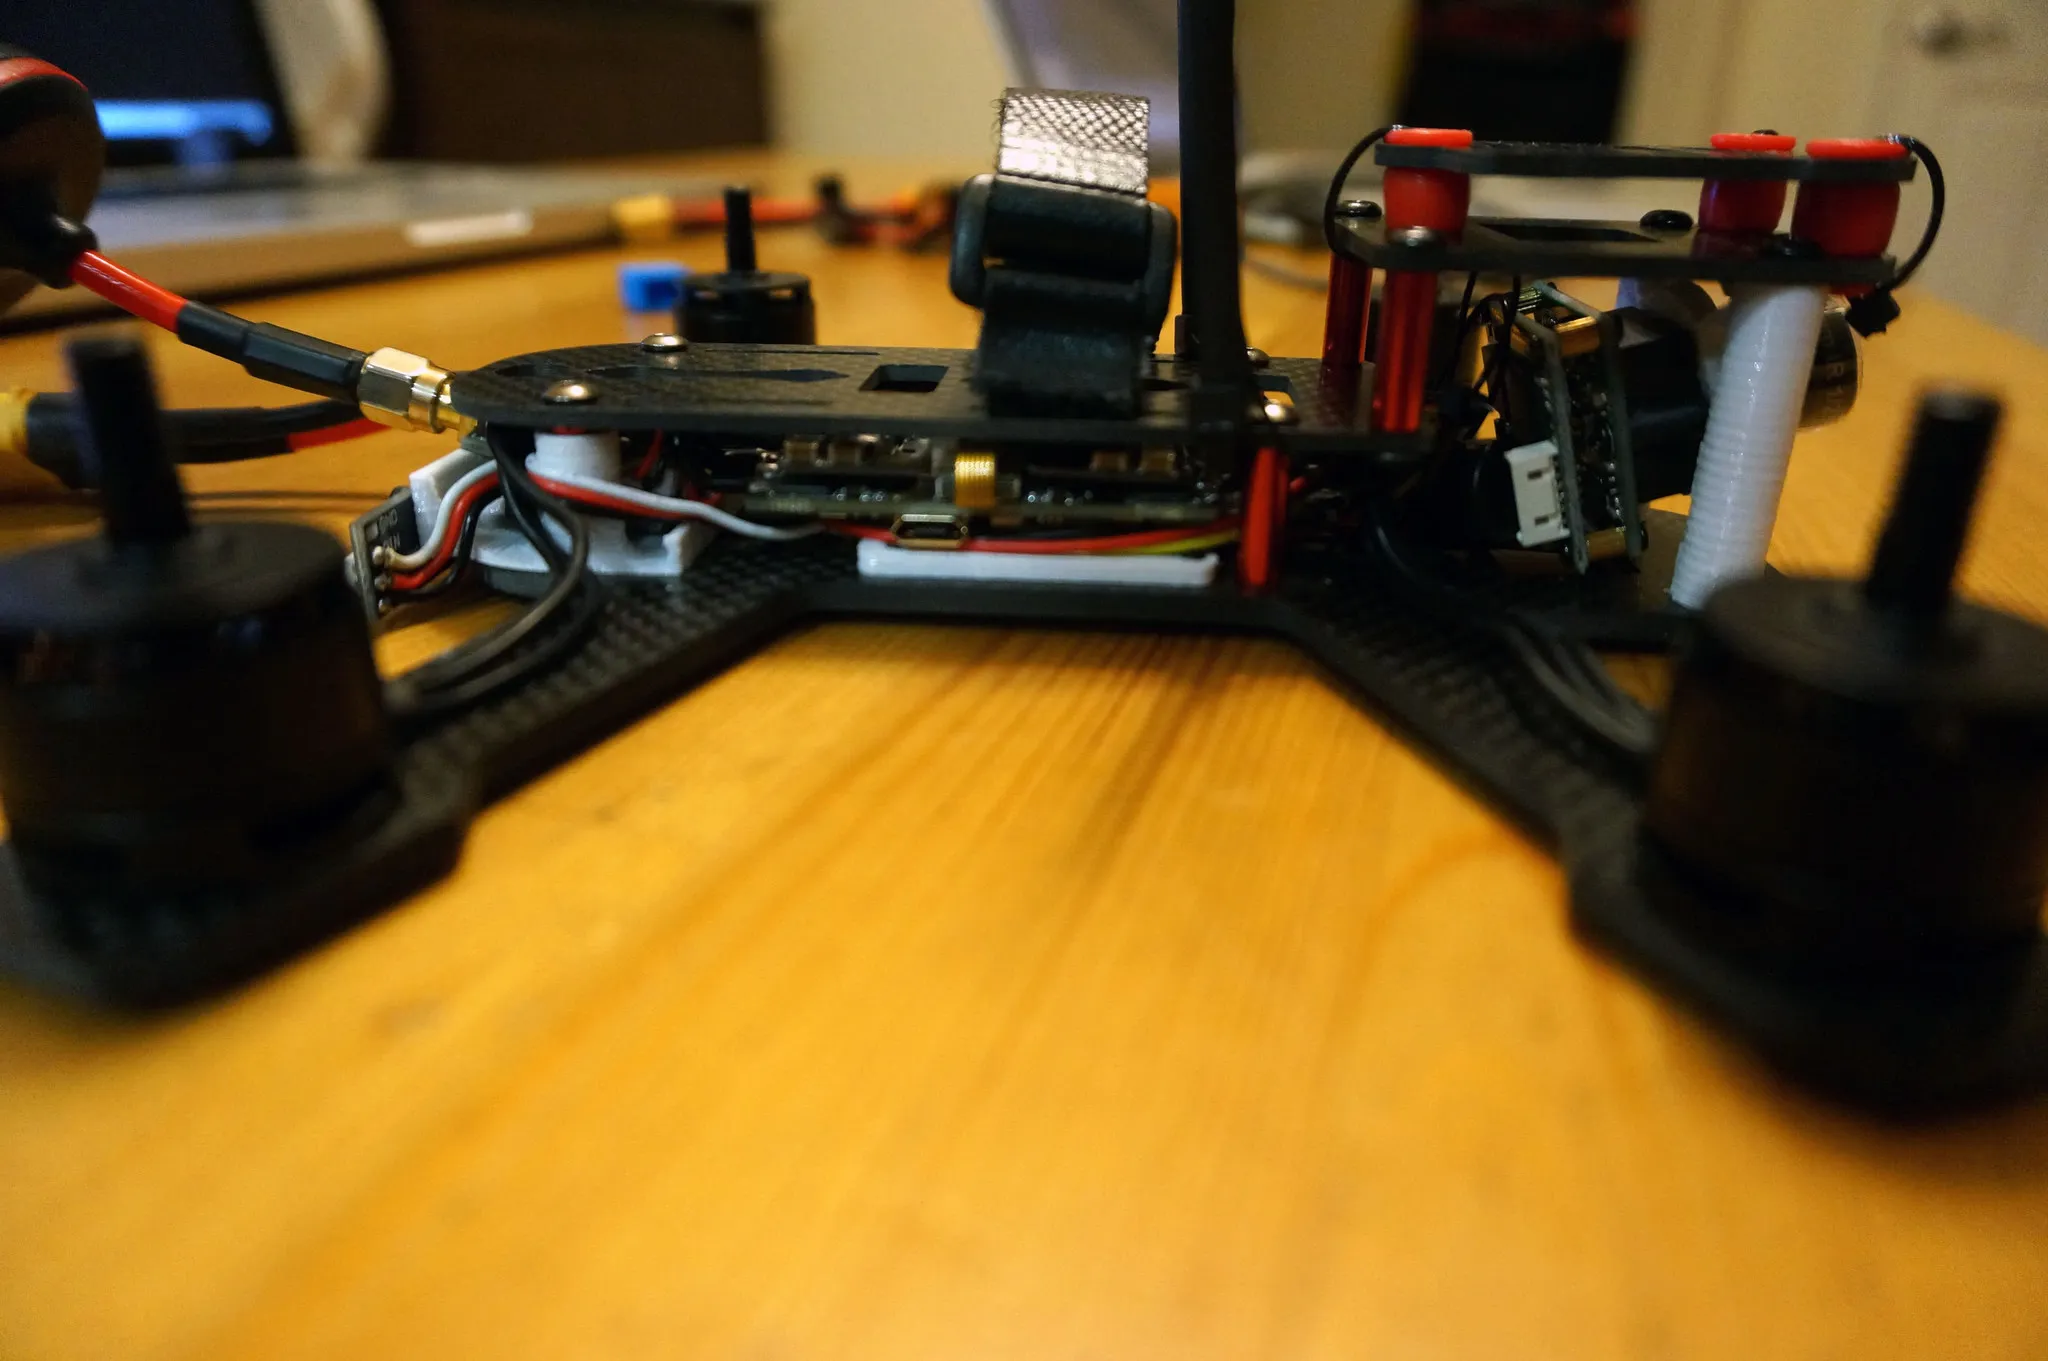
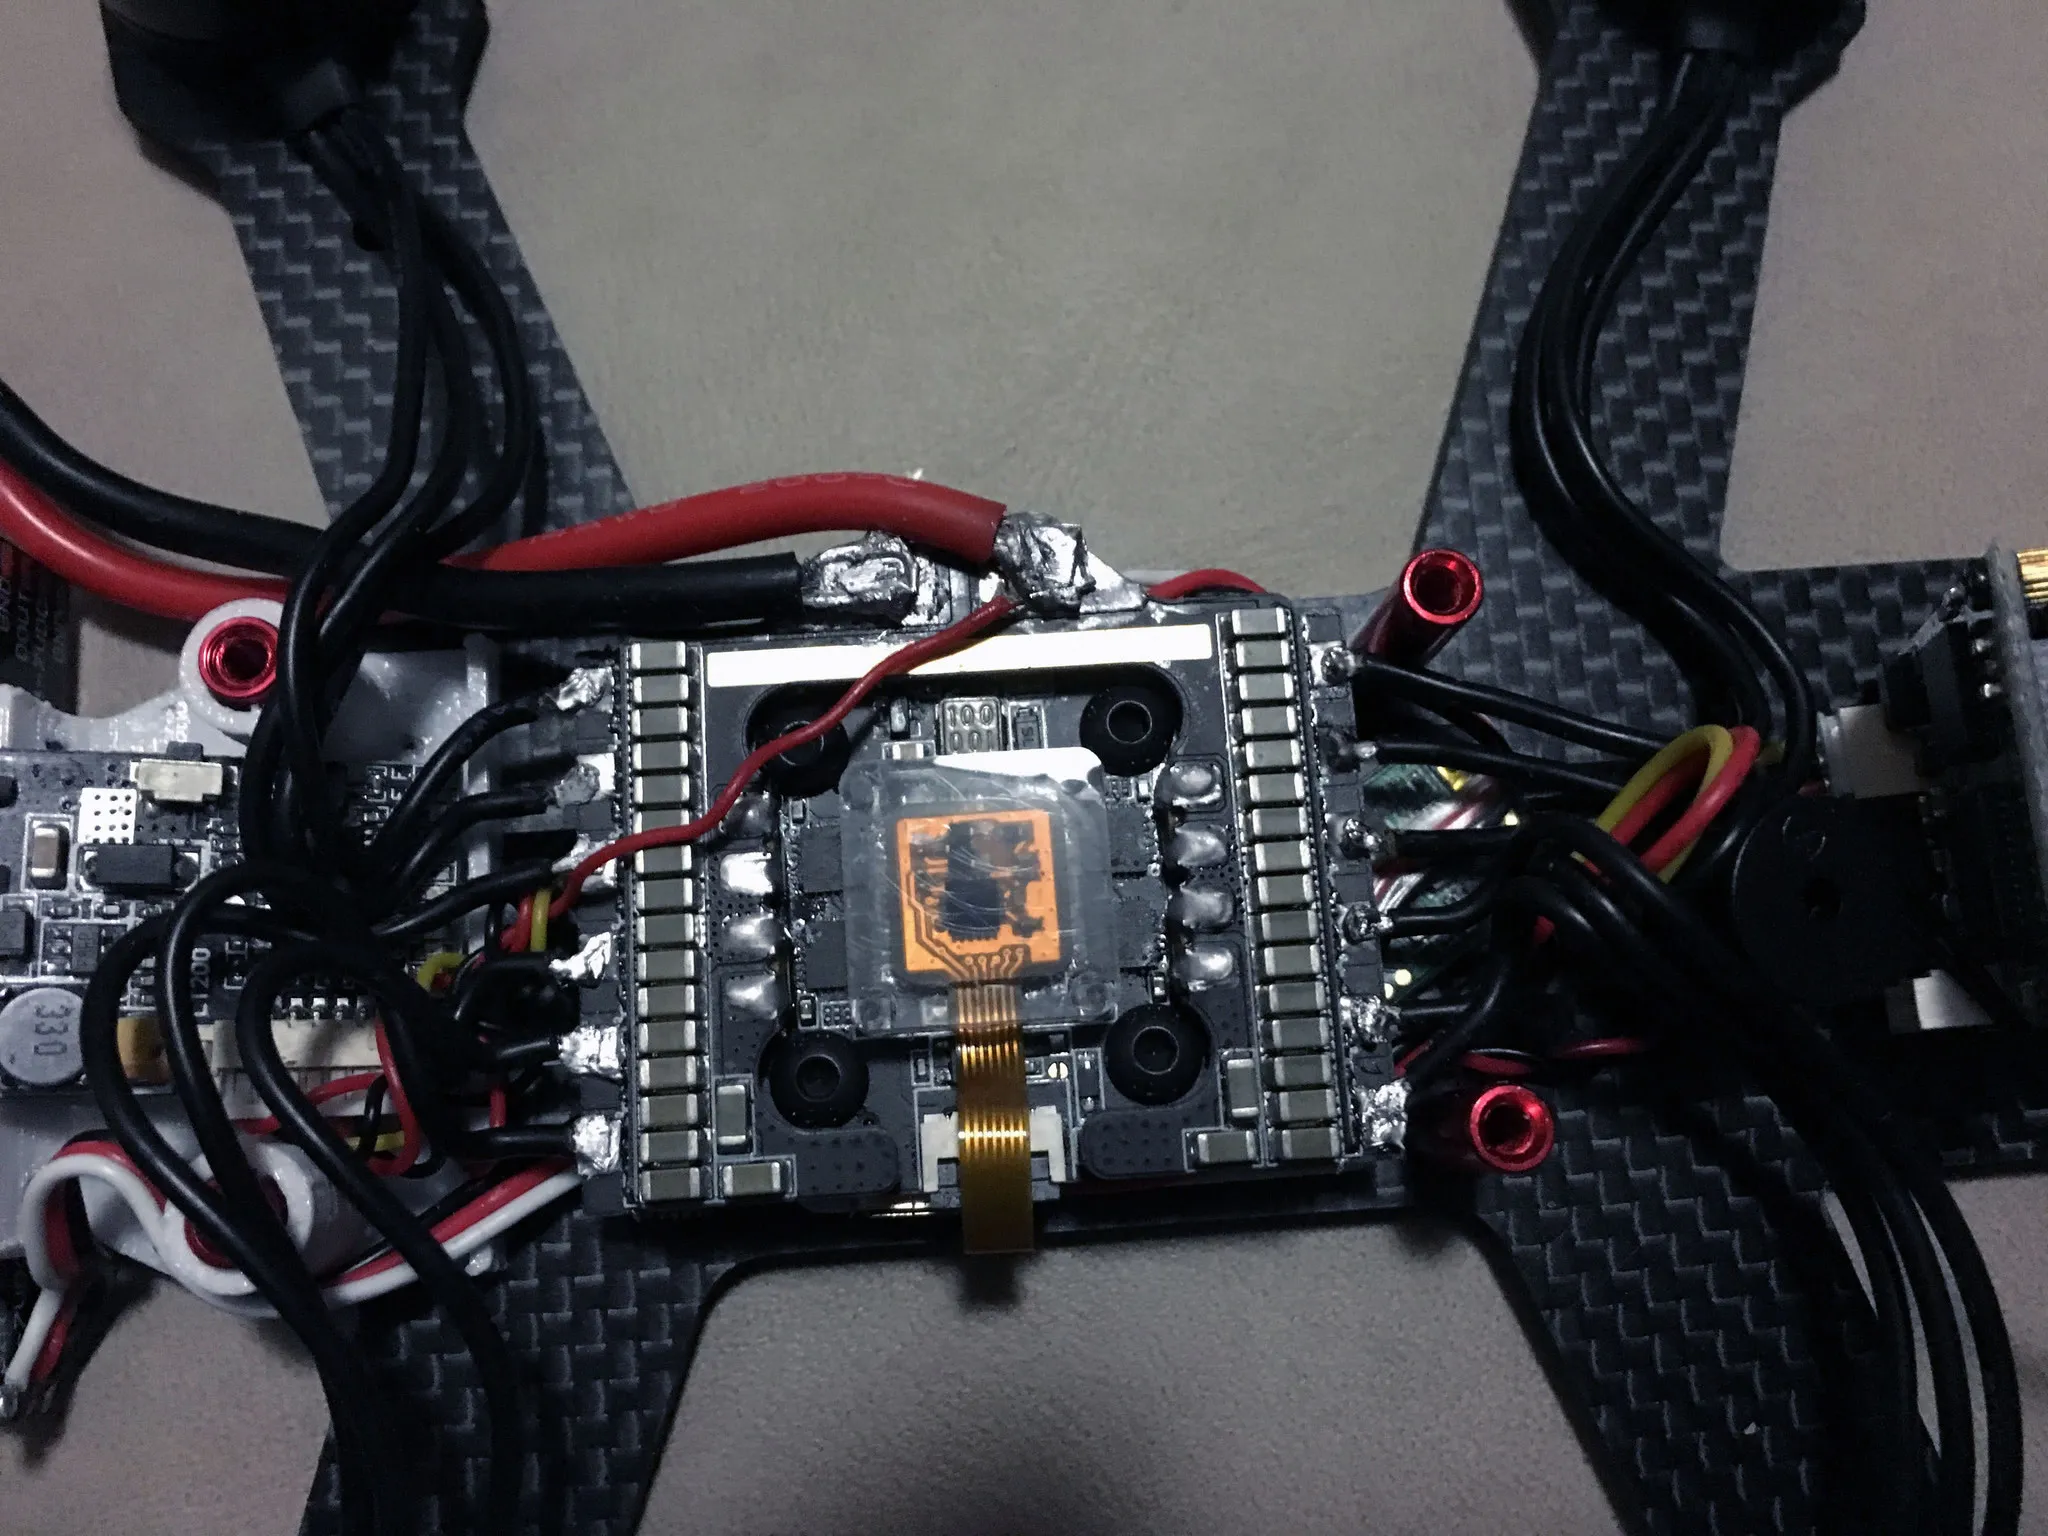
The flight controller has a damped and replaceable gyro. Just unscrew the 4 screws on the bottom and you can swap out the gyro. I’m using the ICM20608 gyro with great success, but the MPU6000 is also supported and supplied with the flight controller from version 2.15 onward.
It’s easy to build and works great on small frames. It has 20x20mm mounting holes.
At 40 flight controller and 4x $15 ESCs, pricing is reasonable. Plus, Airbot customer service is great; they’ll replace, fix, or discount any replacements if an ESC burns (which is highly unlikely).
It has everything I could want in a flight controller, except a Blackbox, but I hear a Blackbox module is coming soon and can be directly plugged into the SPI port on the flight controller.
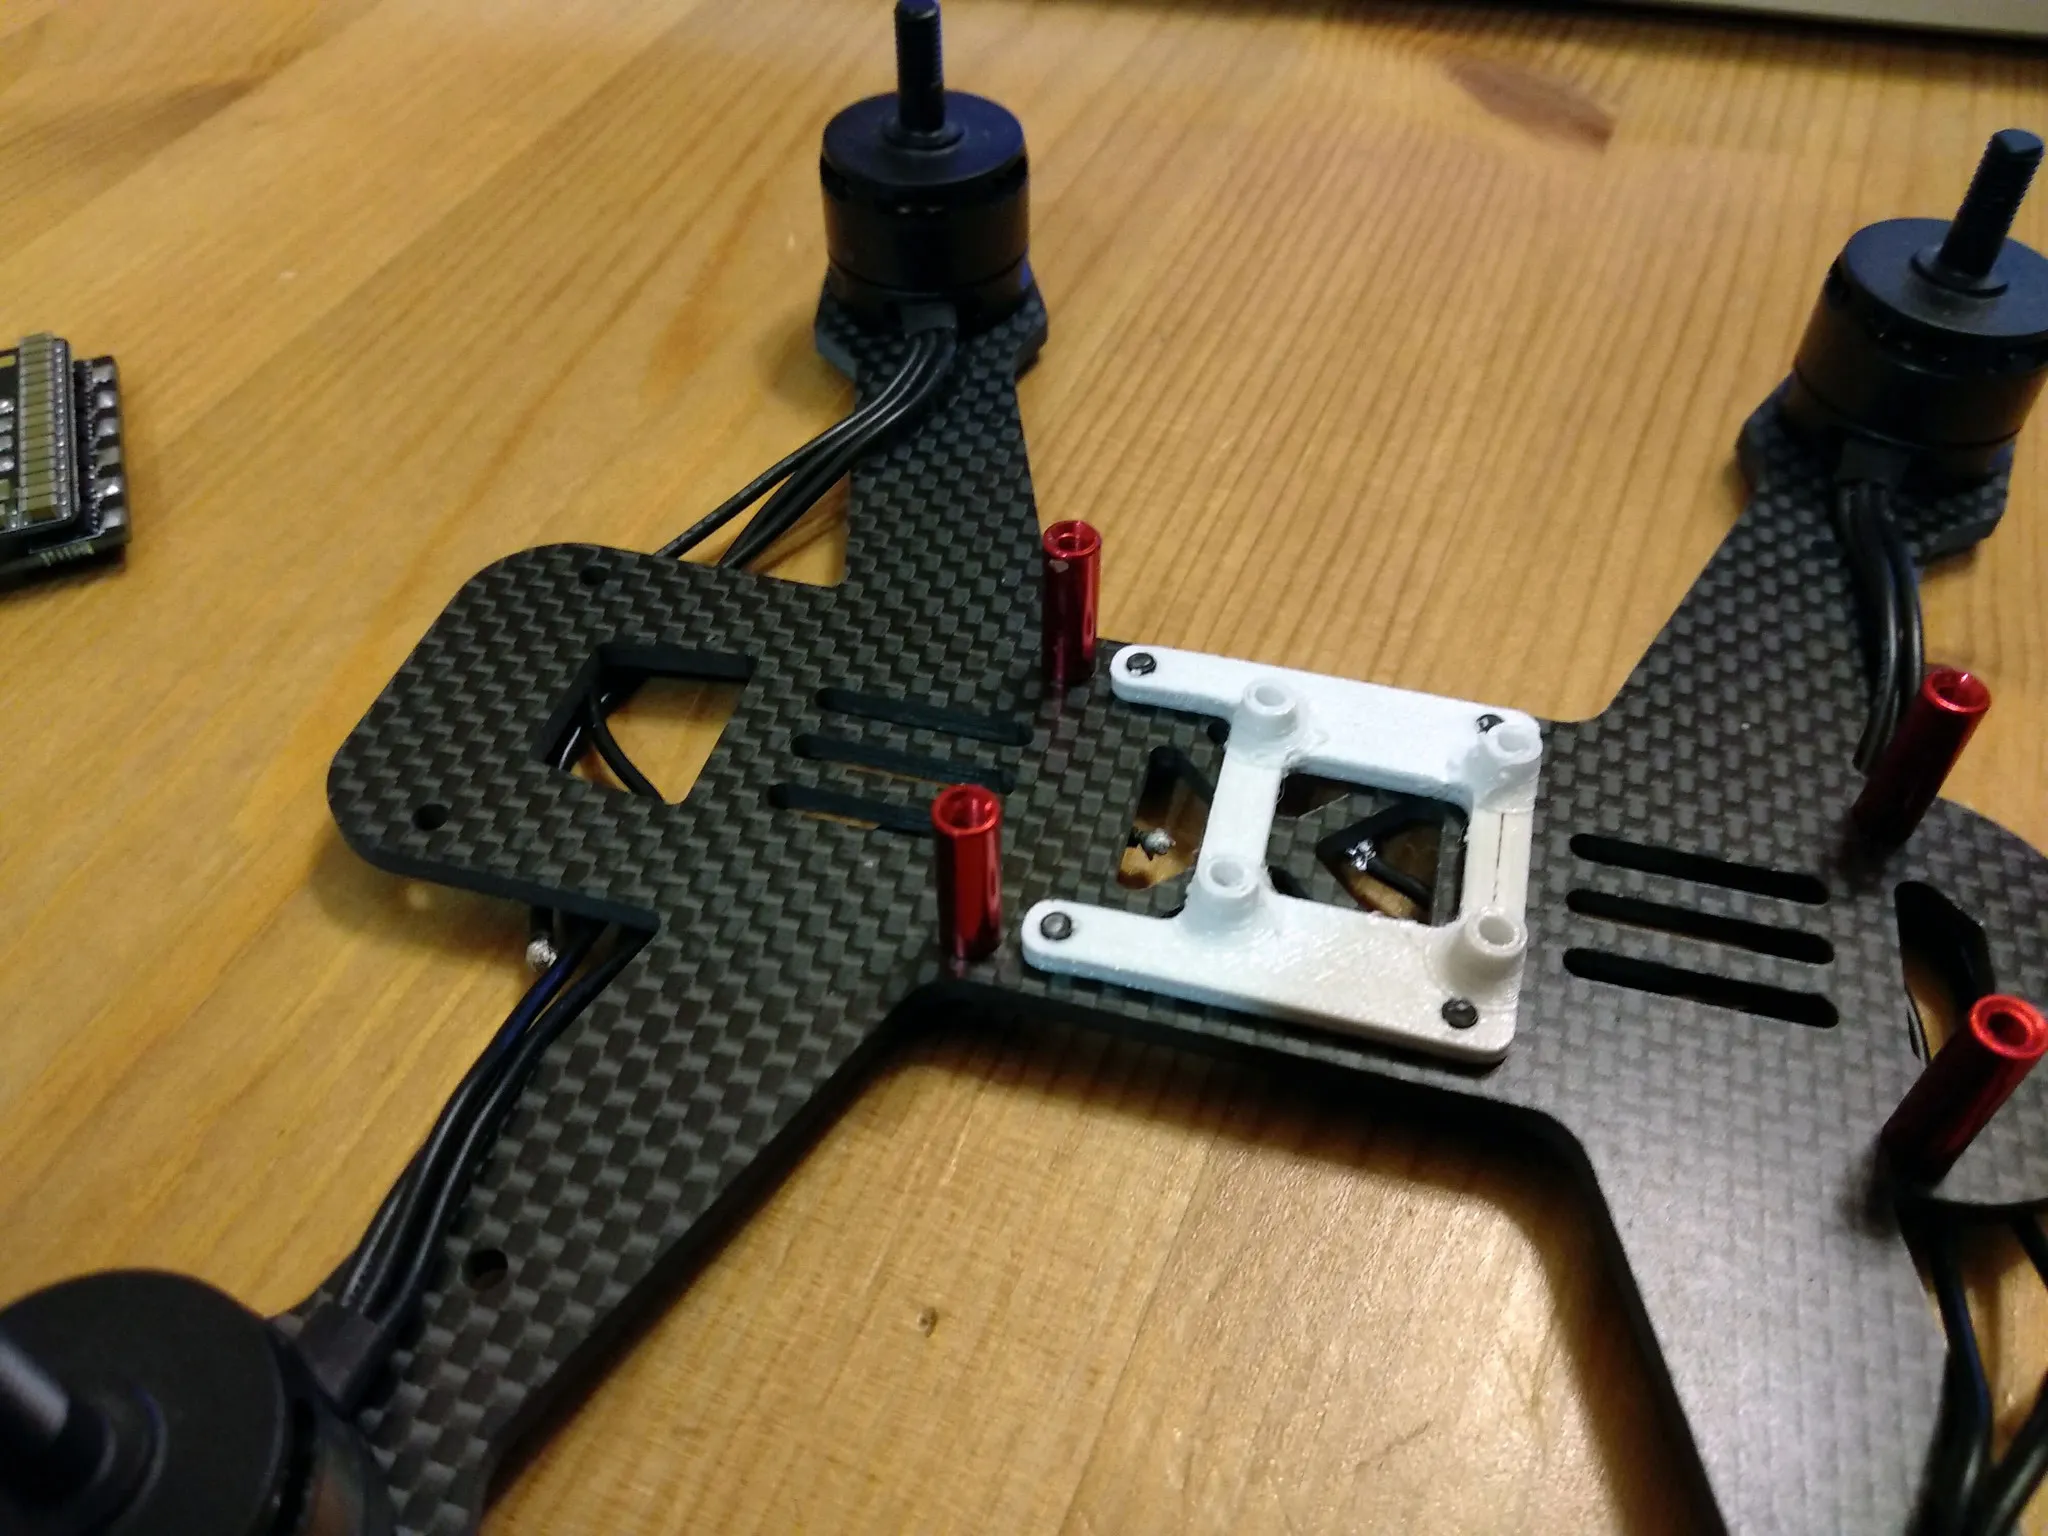
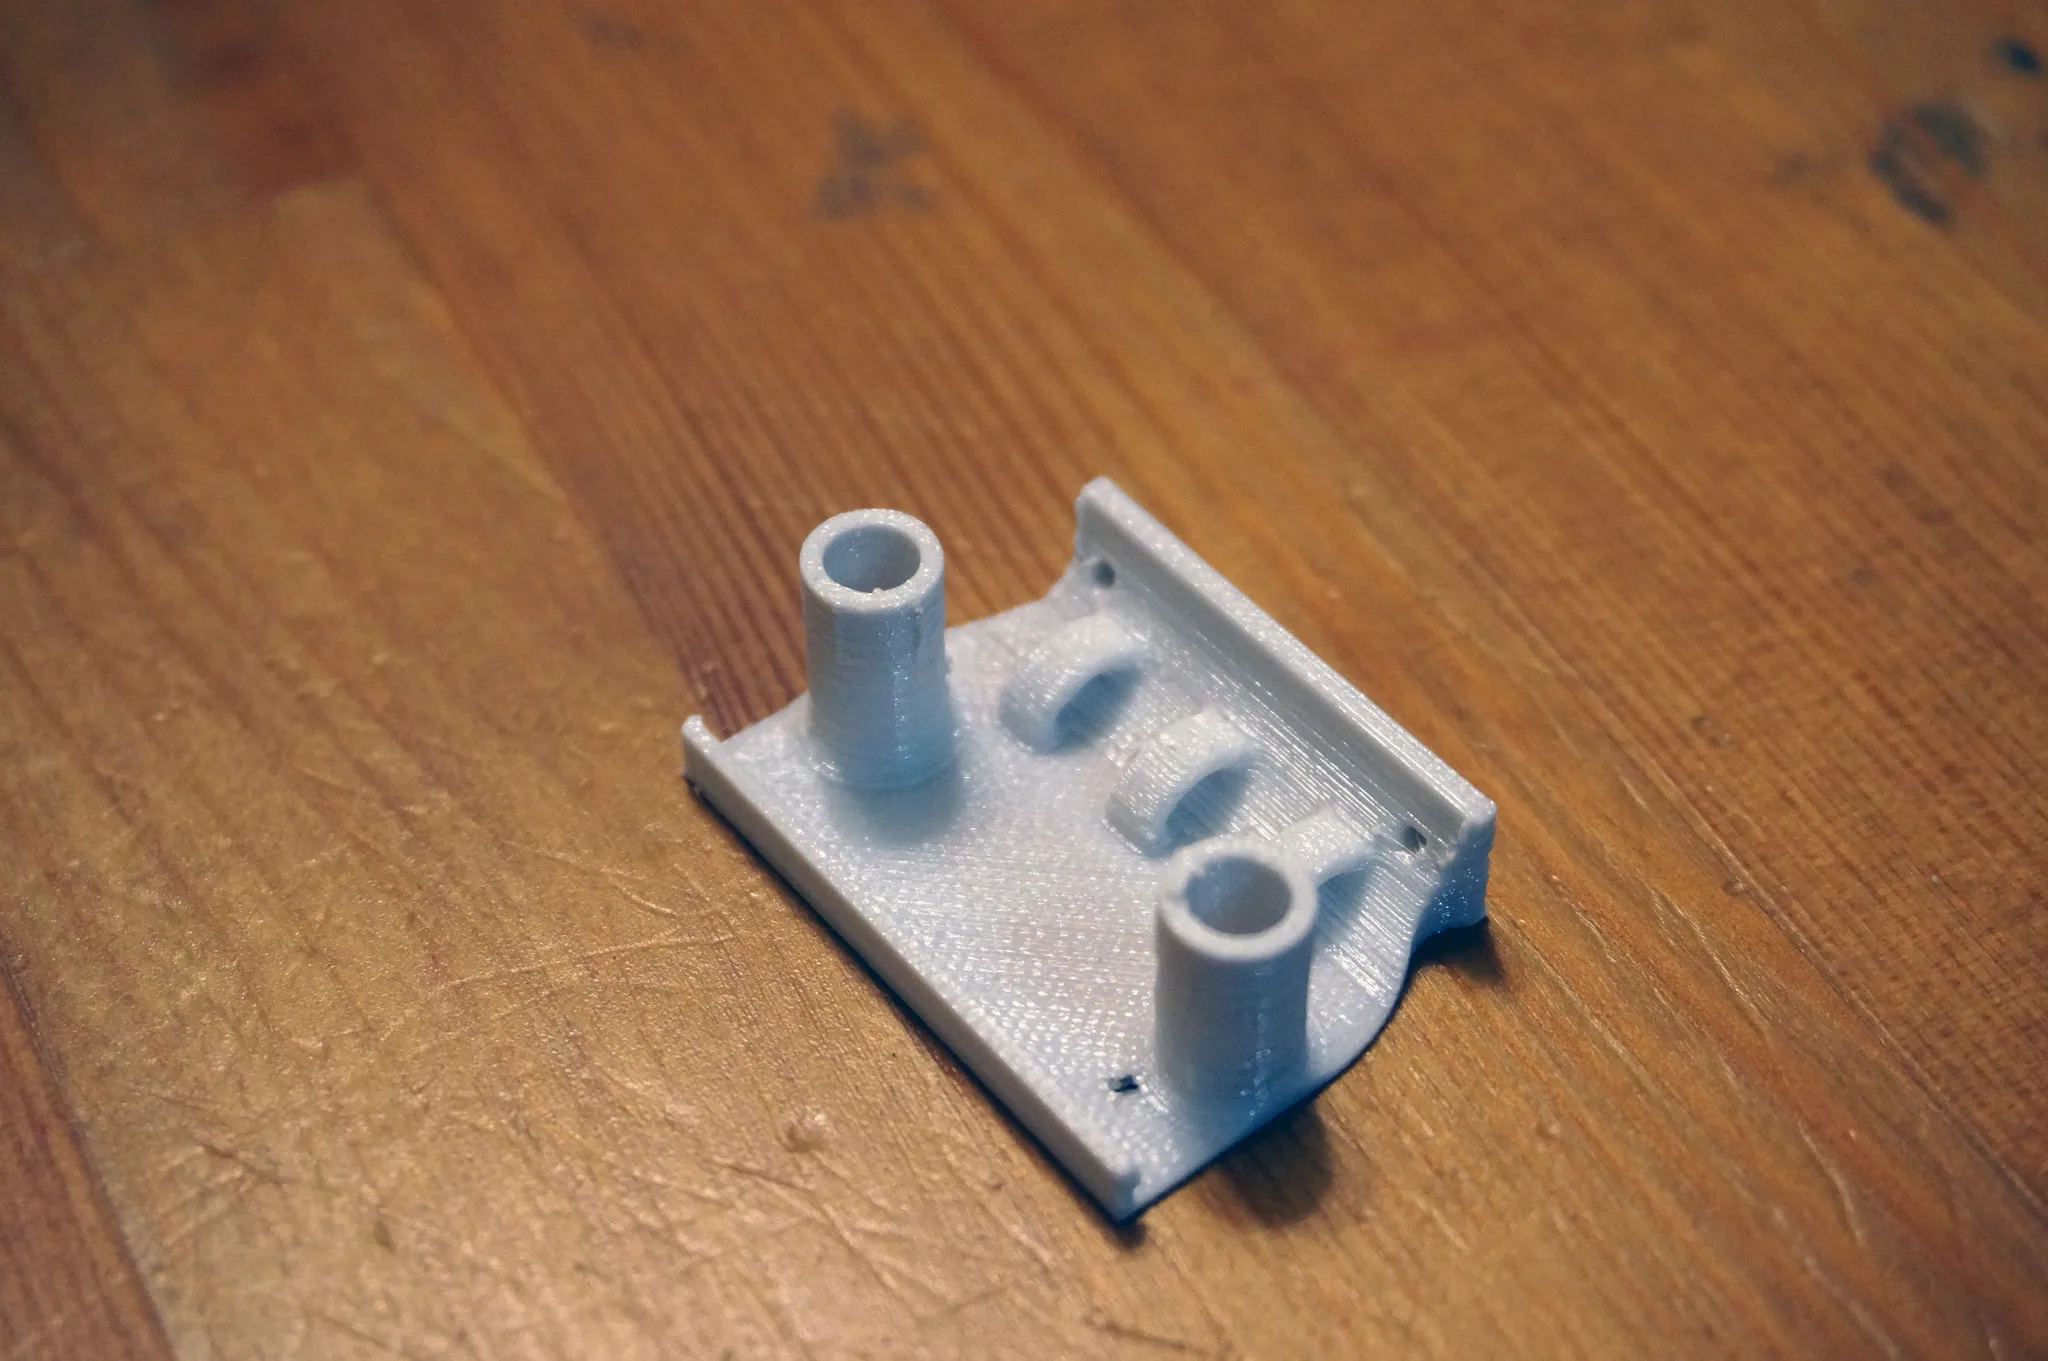
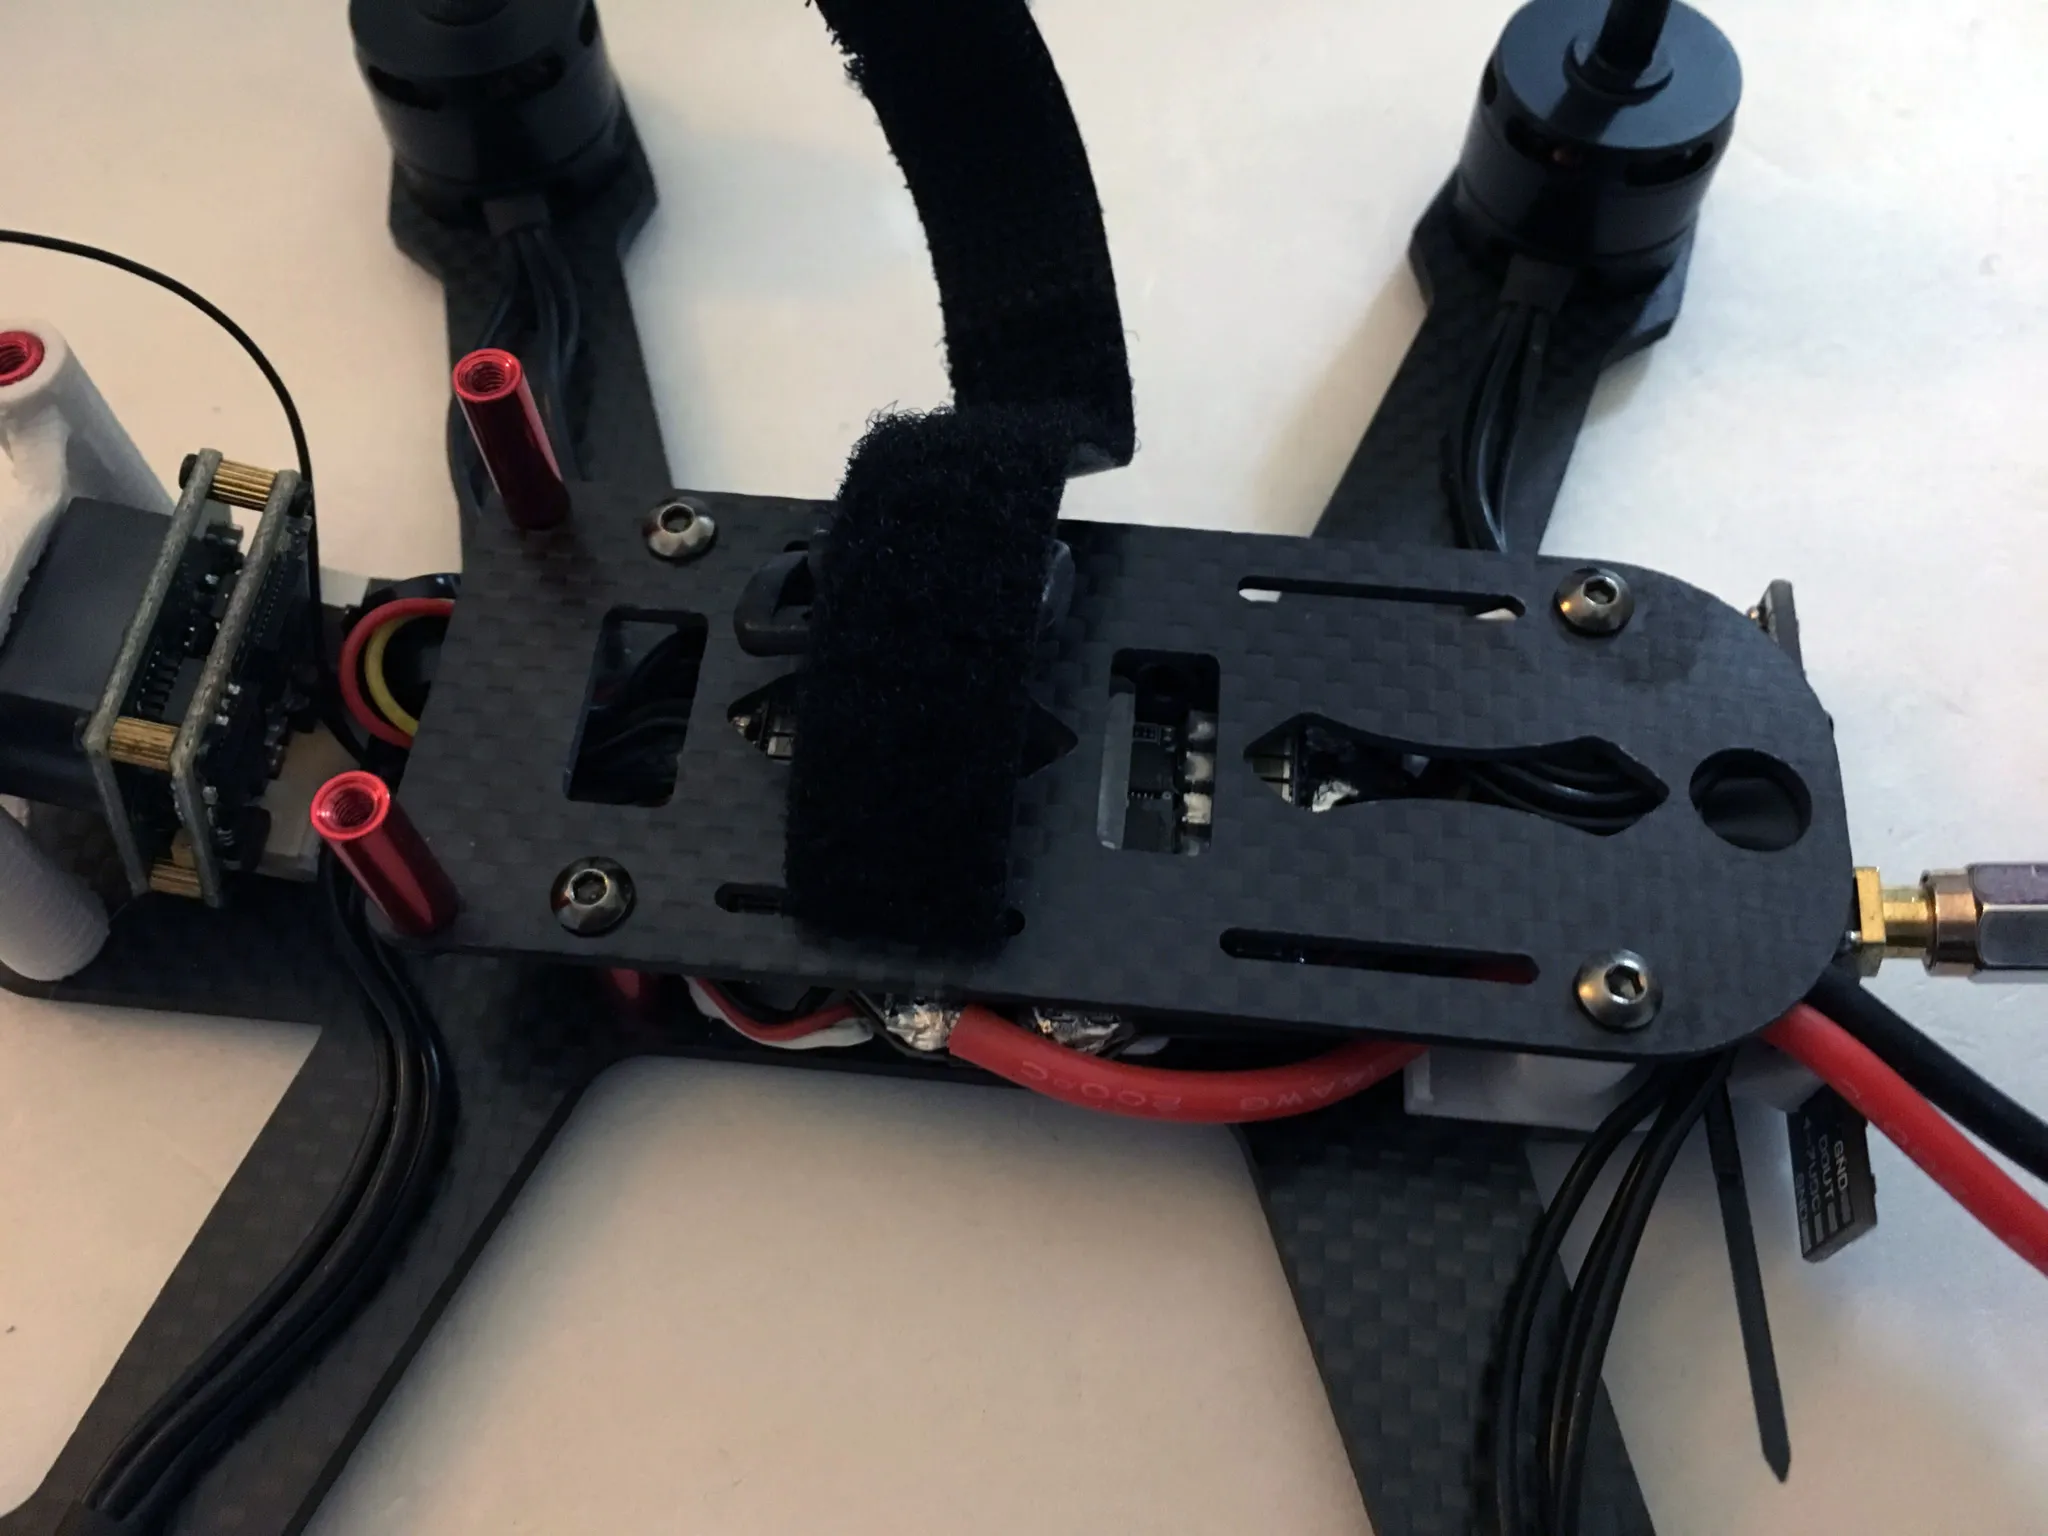
3D Printed Parts
I designed an offset 30.5x30.5mm to 20x20mm 3D-printed adapter to attach it to the BeeRotor 180 frame I’m using, which has 30.5mm square mounting holes.
![]()
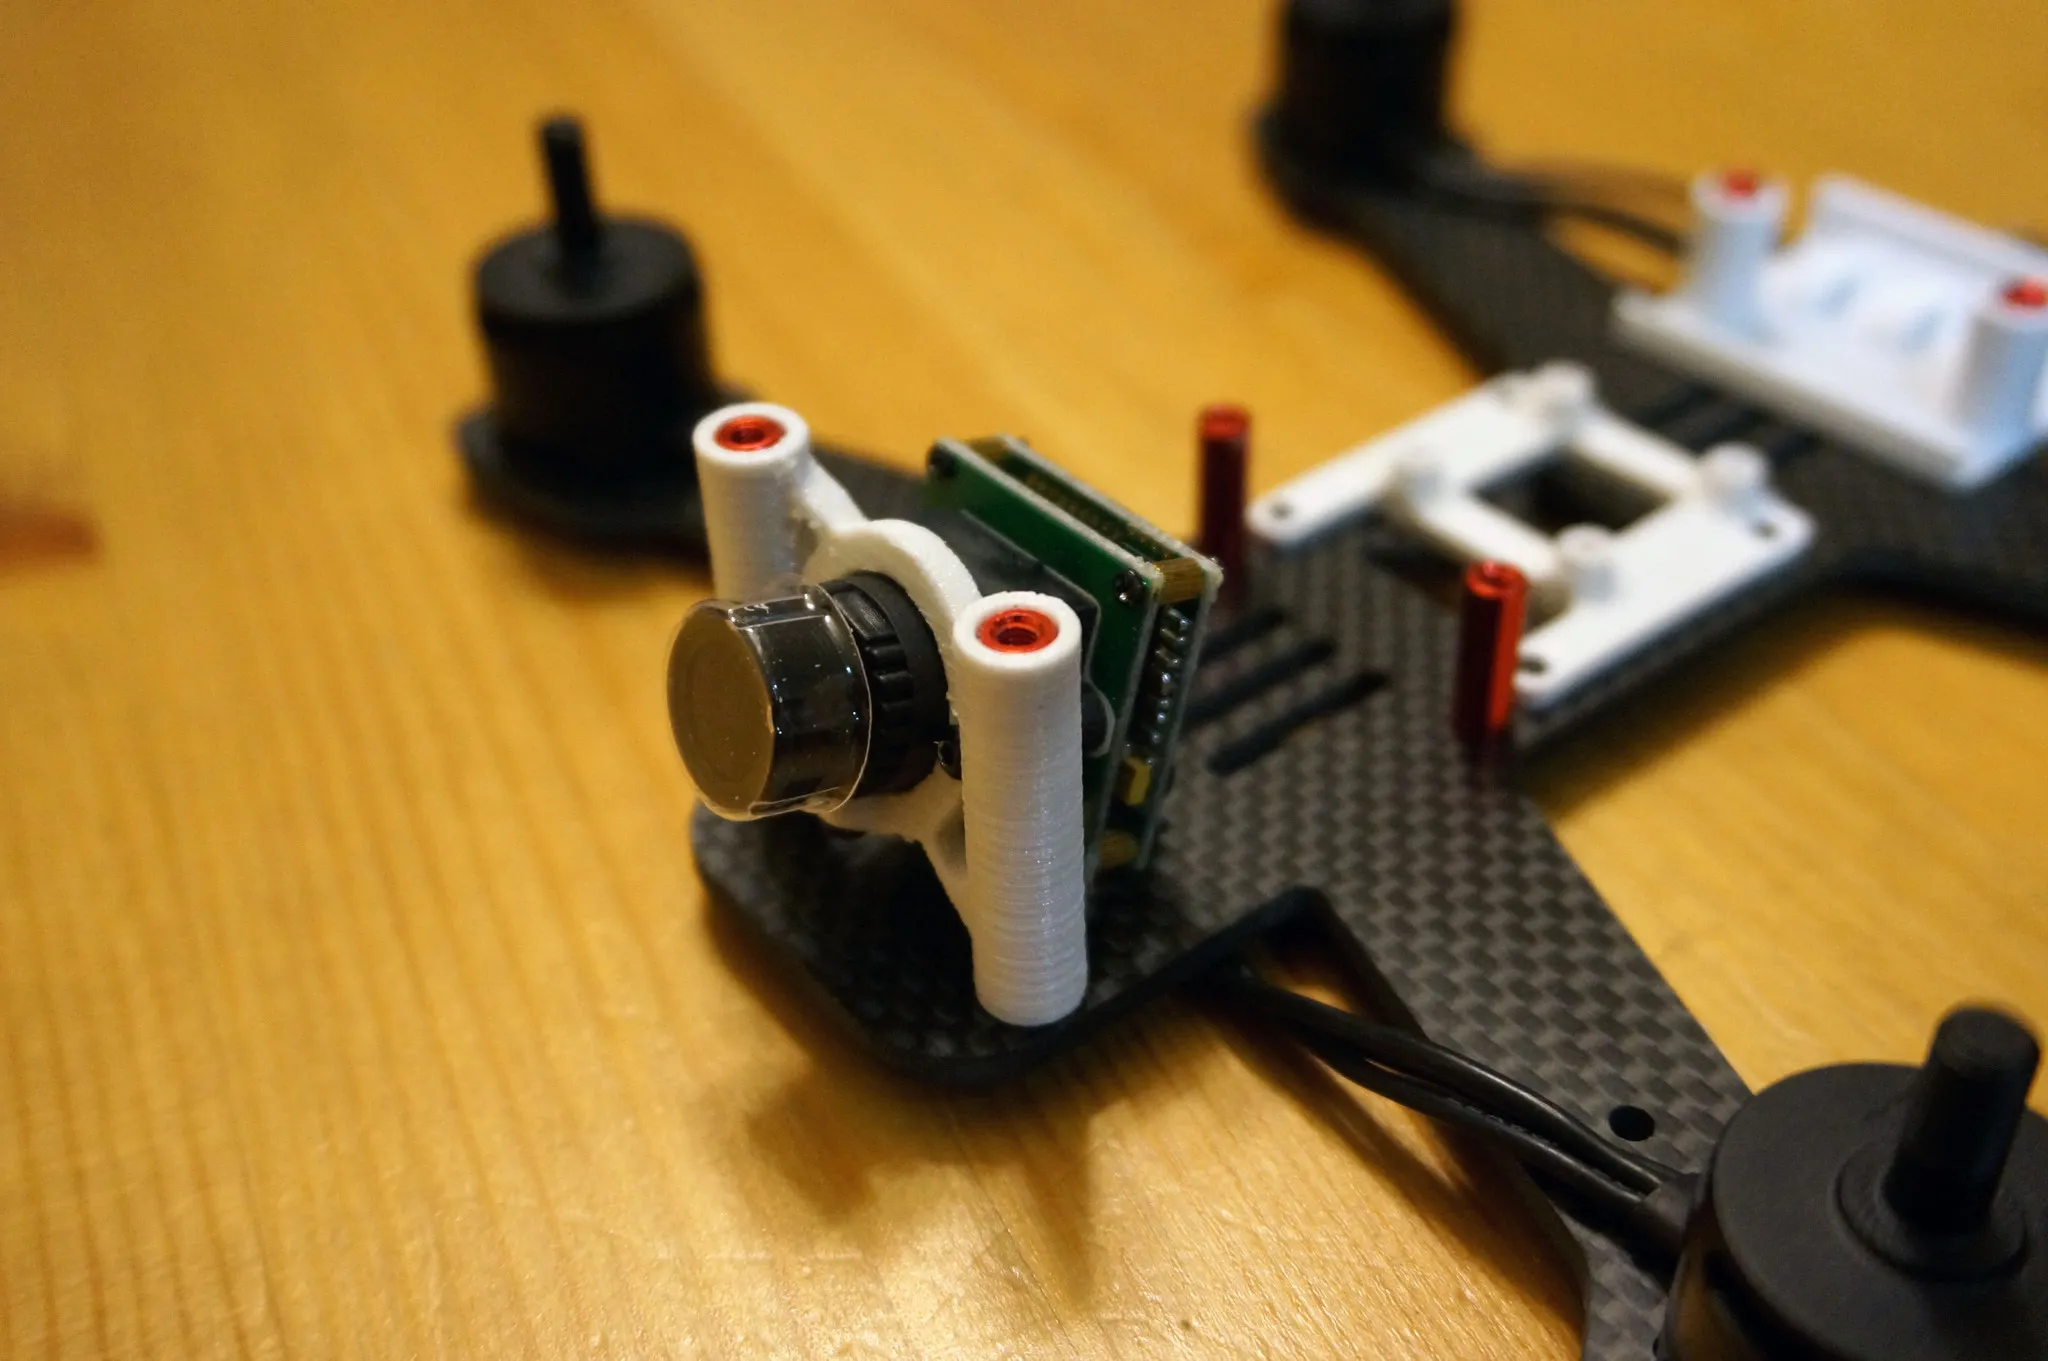
I also designed a camera mount for the BeeRotor Mini FOV150 700TVL CCD Camera; however, it also fits any board camera, such as the popular 1000TVL camera from Eachine. You’ll need 2x 2mm screws to mount the camera. Your motors will probably come with a few extra.
And a mount for the VTX and LED strip.
You can get all these files over on Thingiverse: https://www.thingiverse.com/thing:2737556
Build
Mount your favorite 1806 motors such as the Racerstar 1806 motors or the RCTimer BeeRotor 1806 motors.
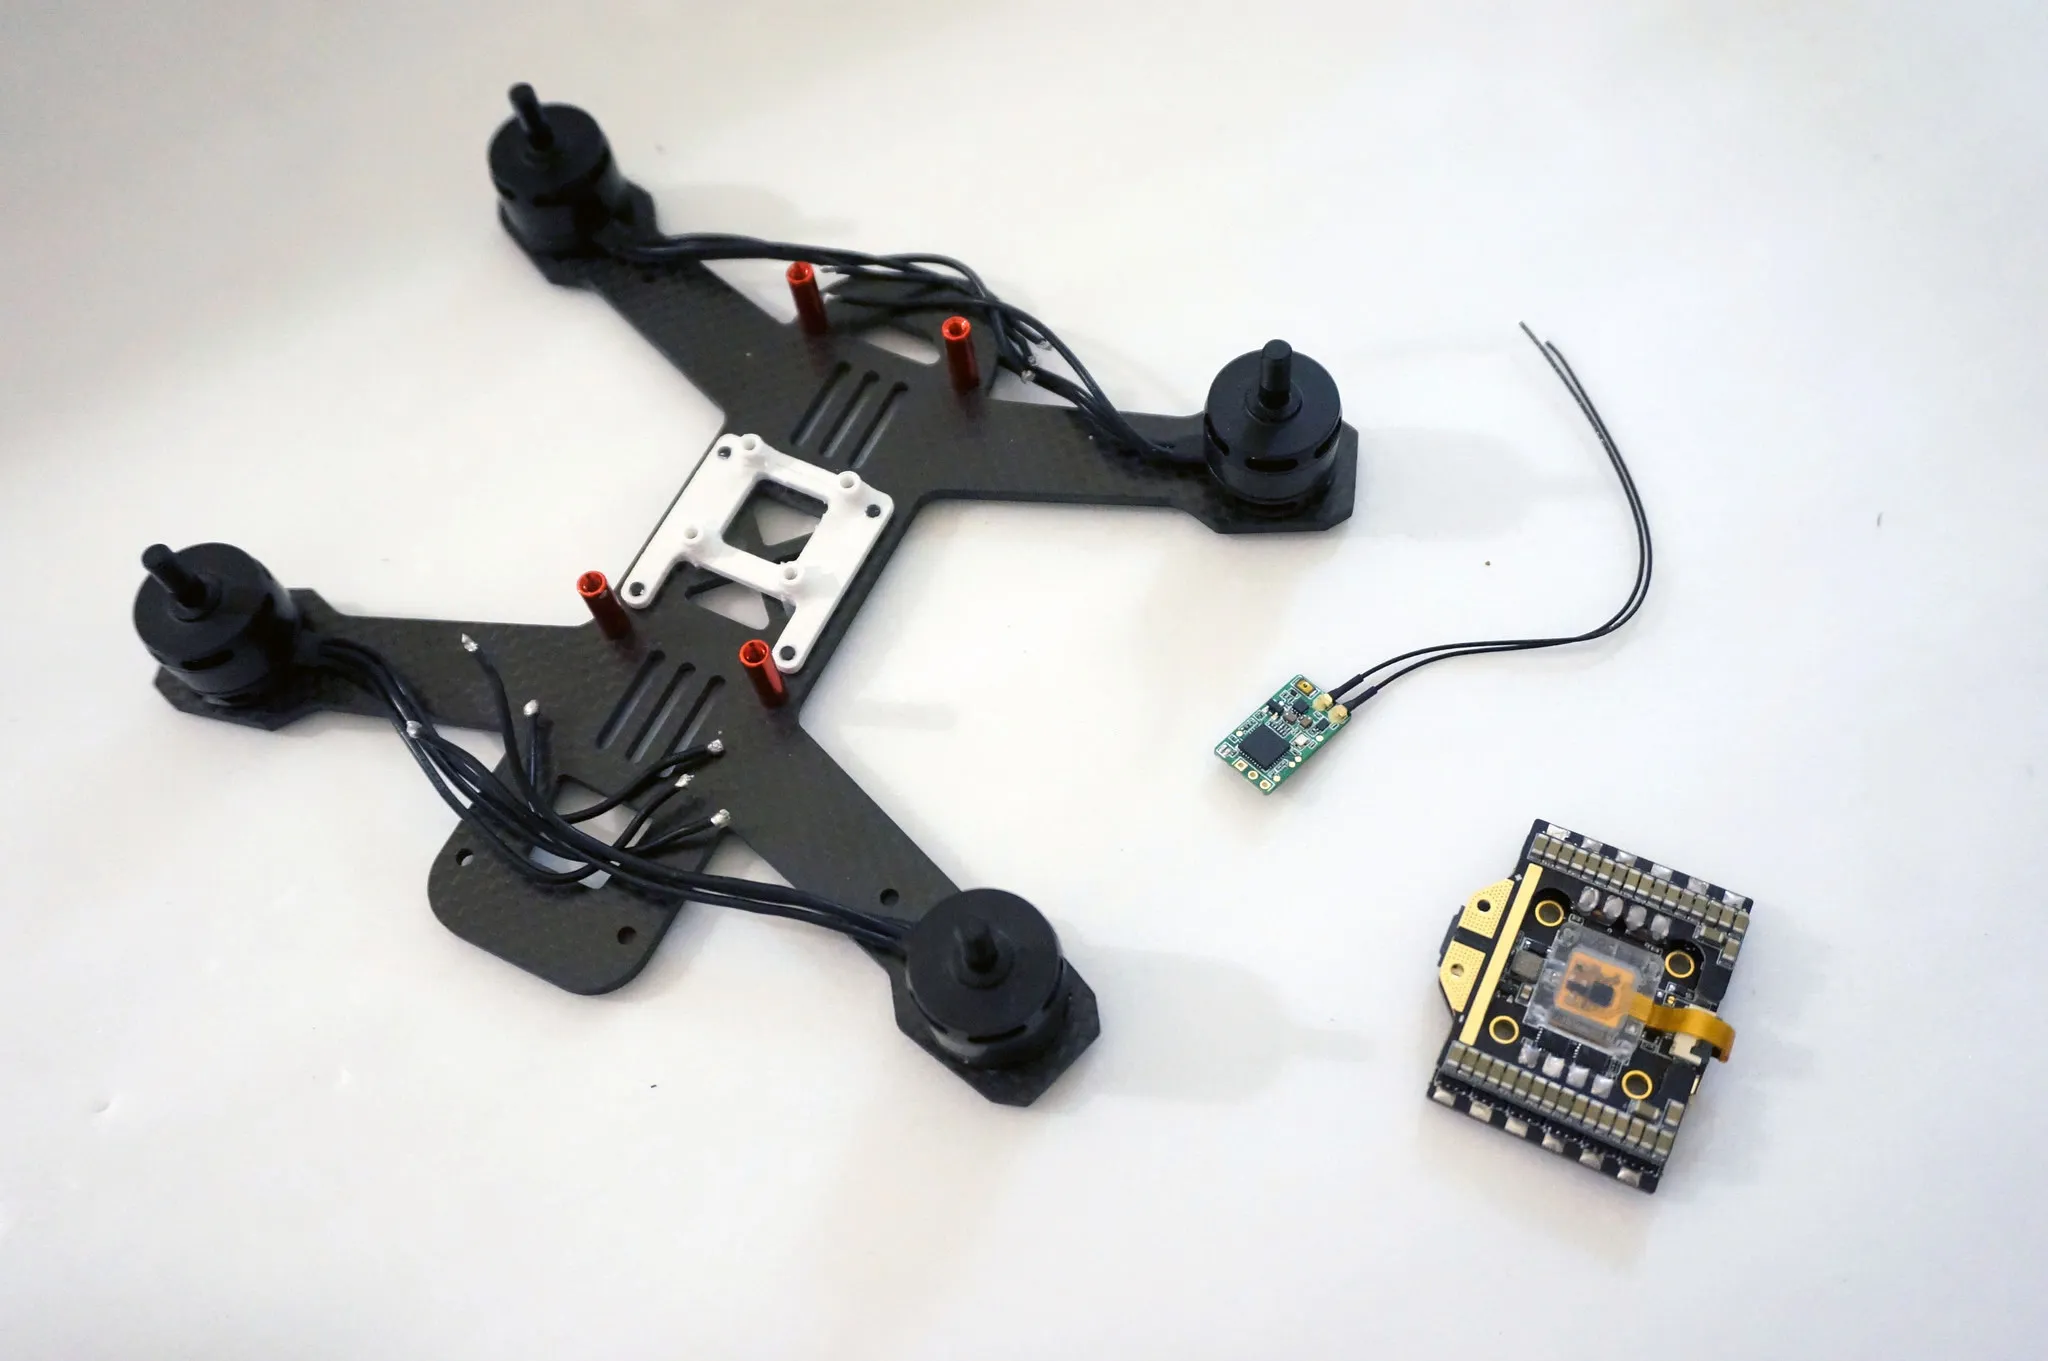
I’ve also got an FrSky XM+ receiver. The XM+ does not have telemetry, so grab the FrSky R-XSR if you want to run telemetry.
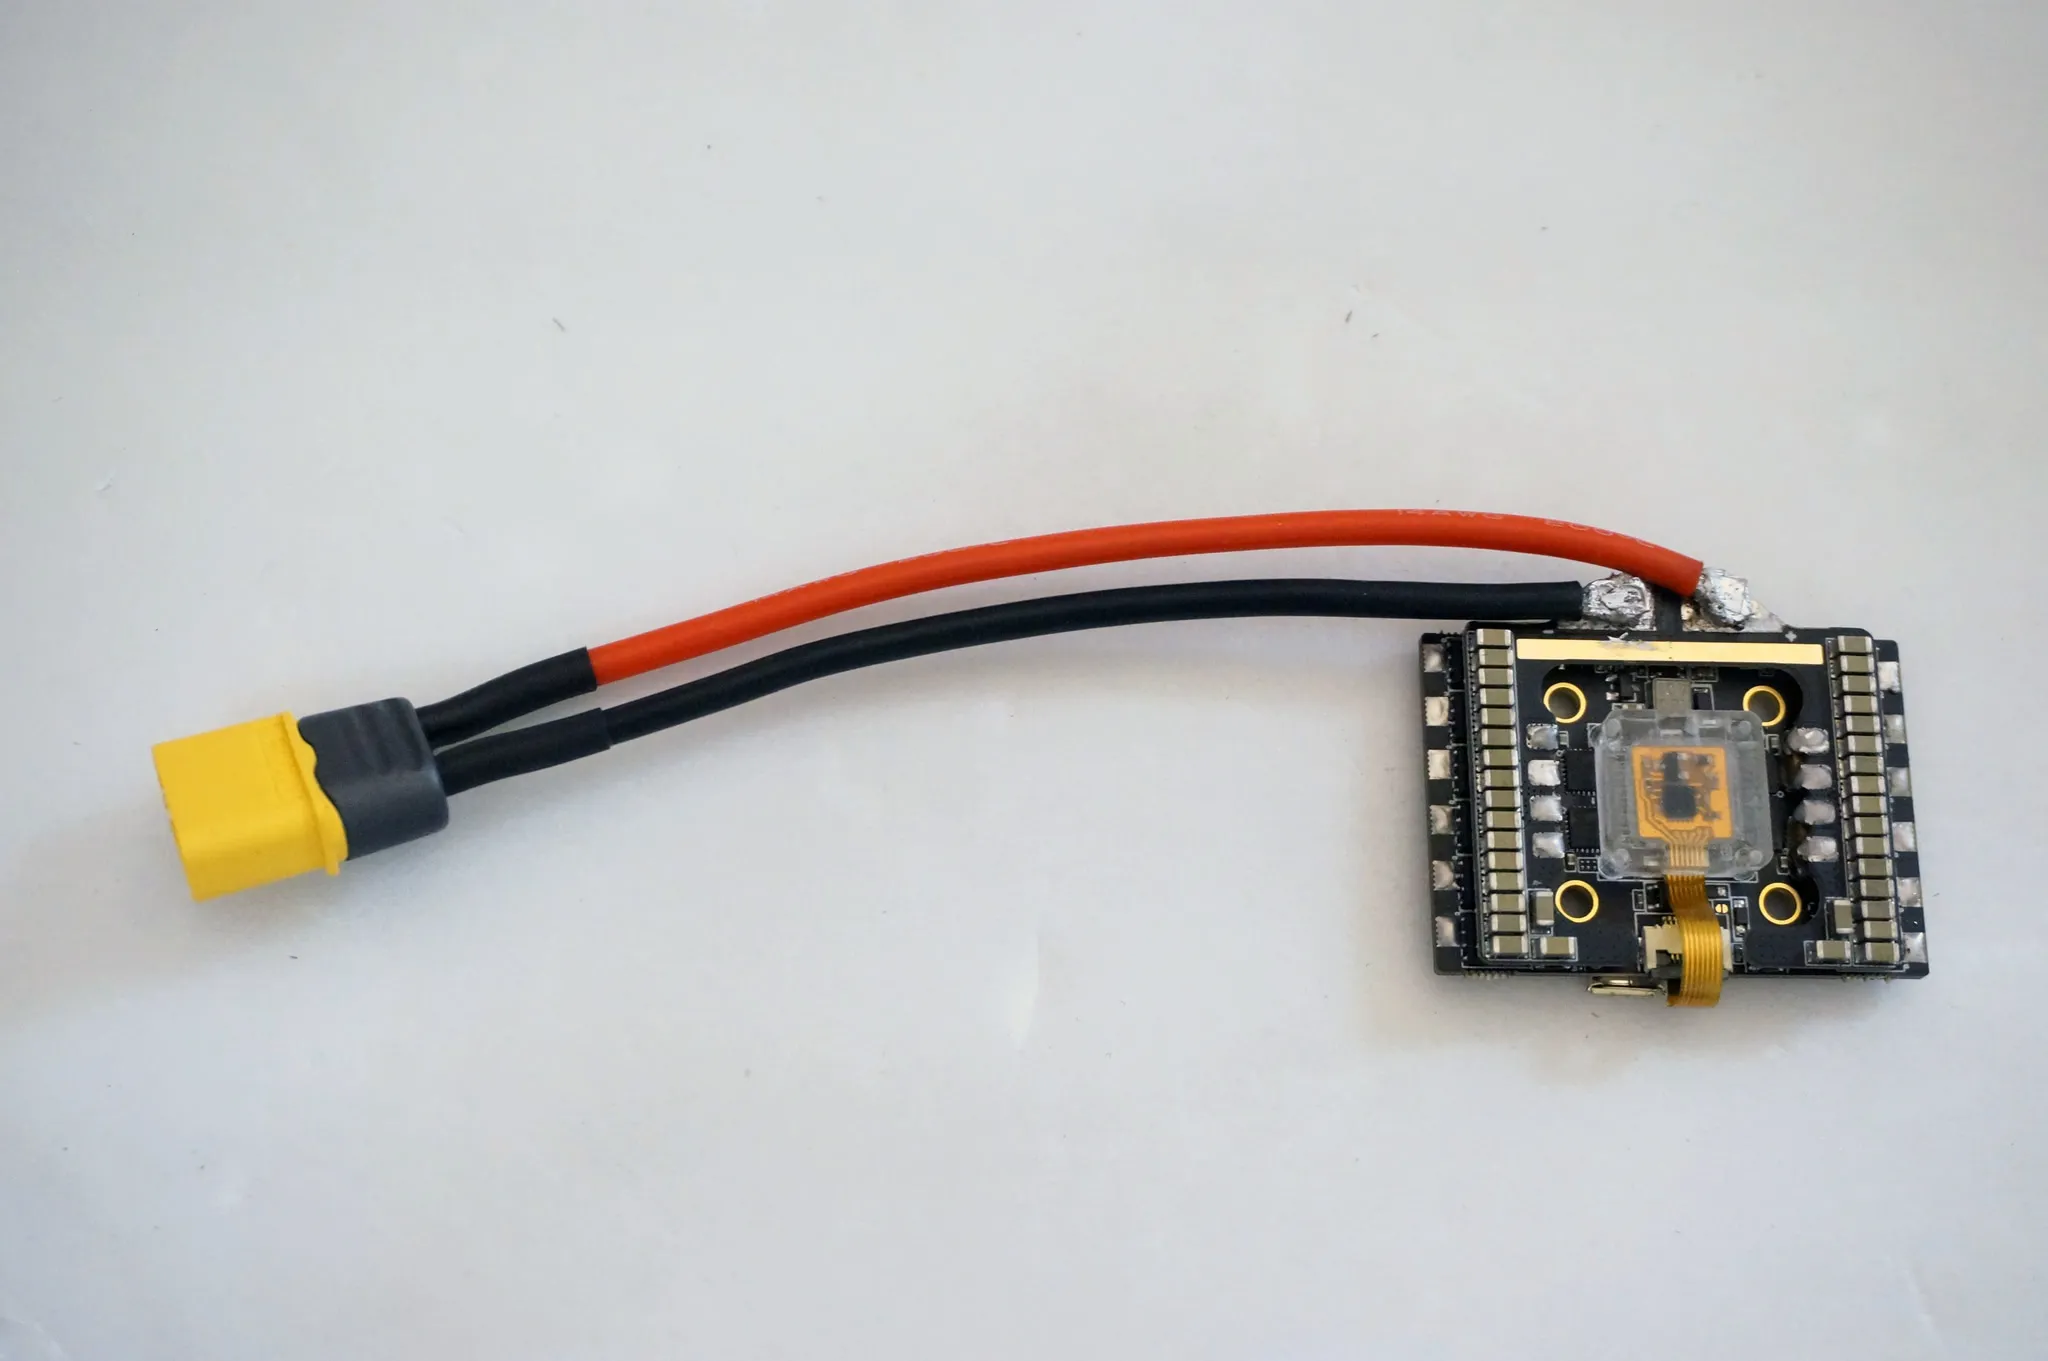
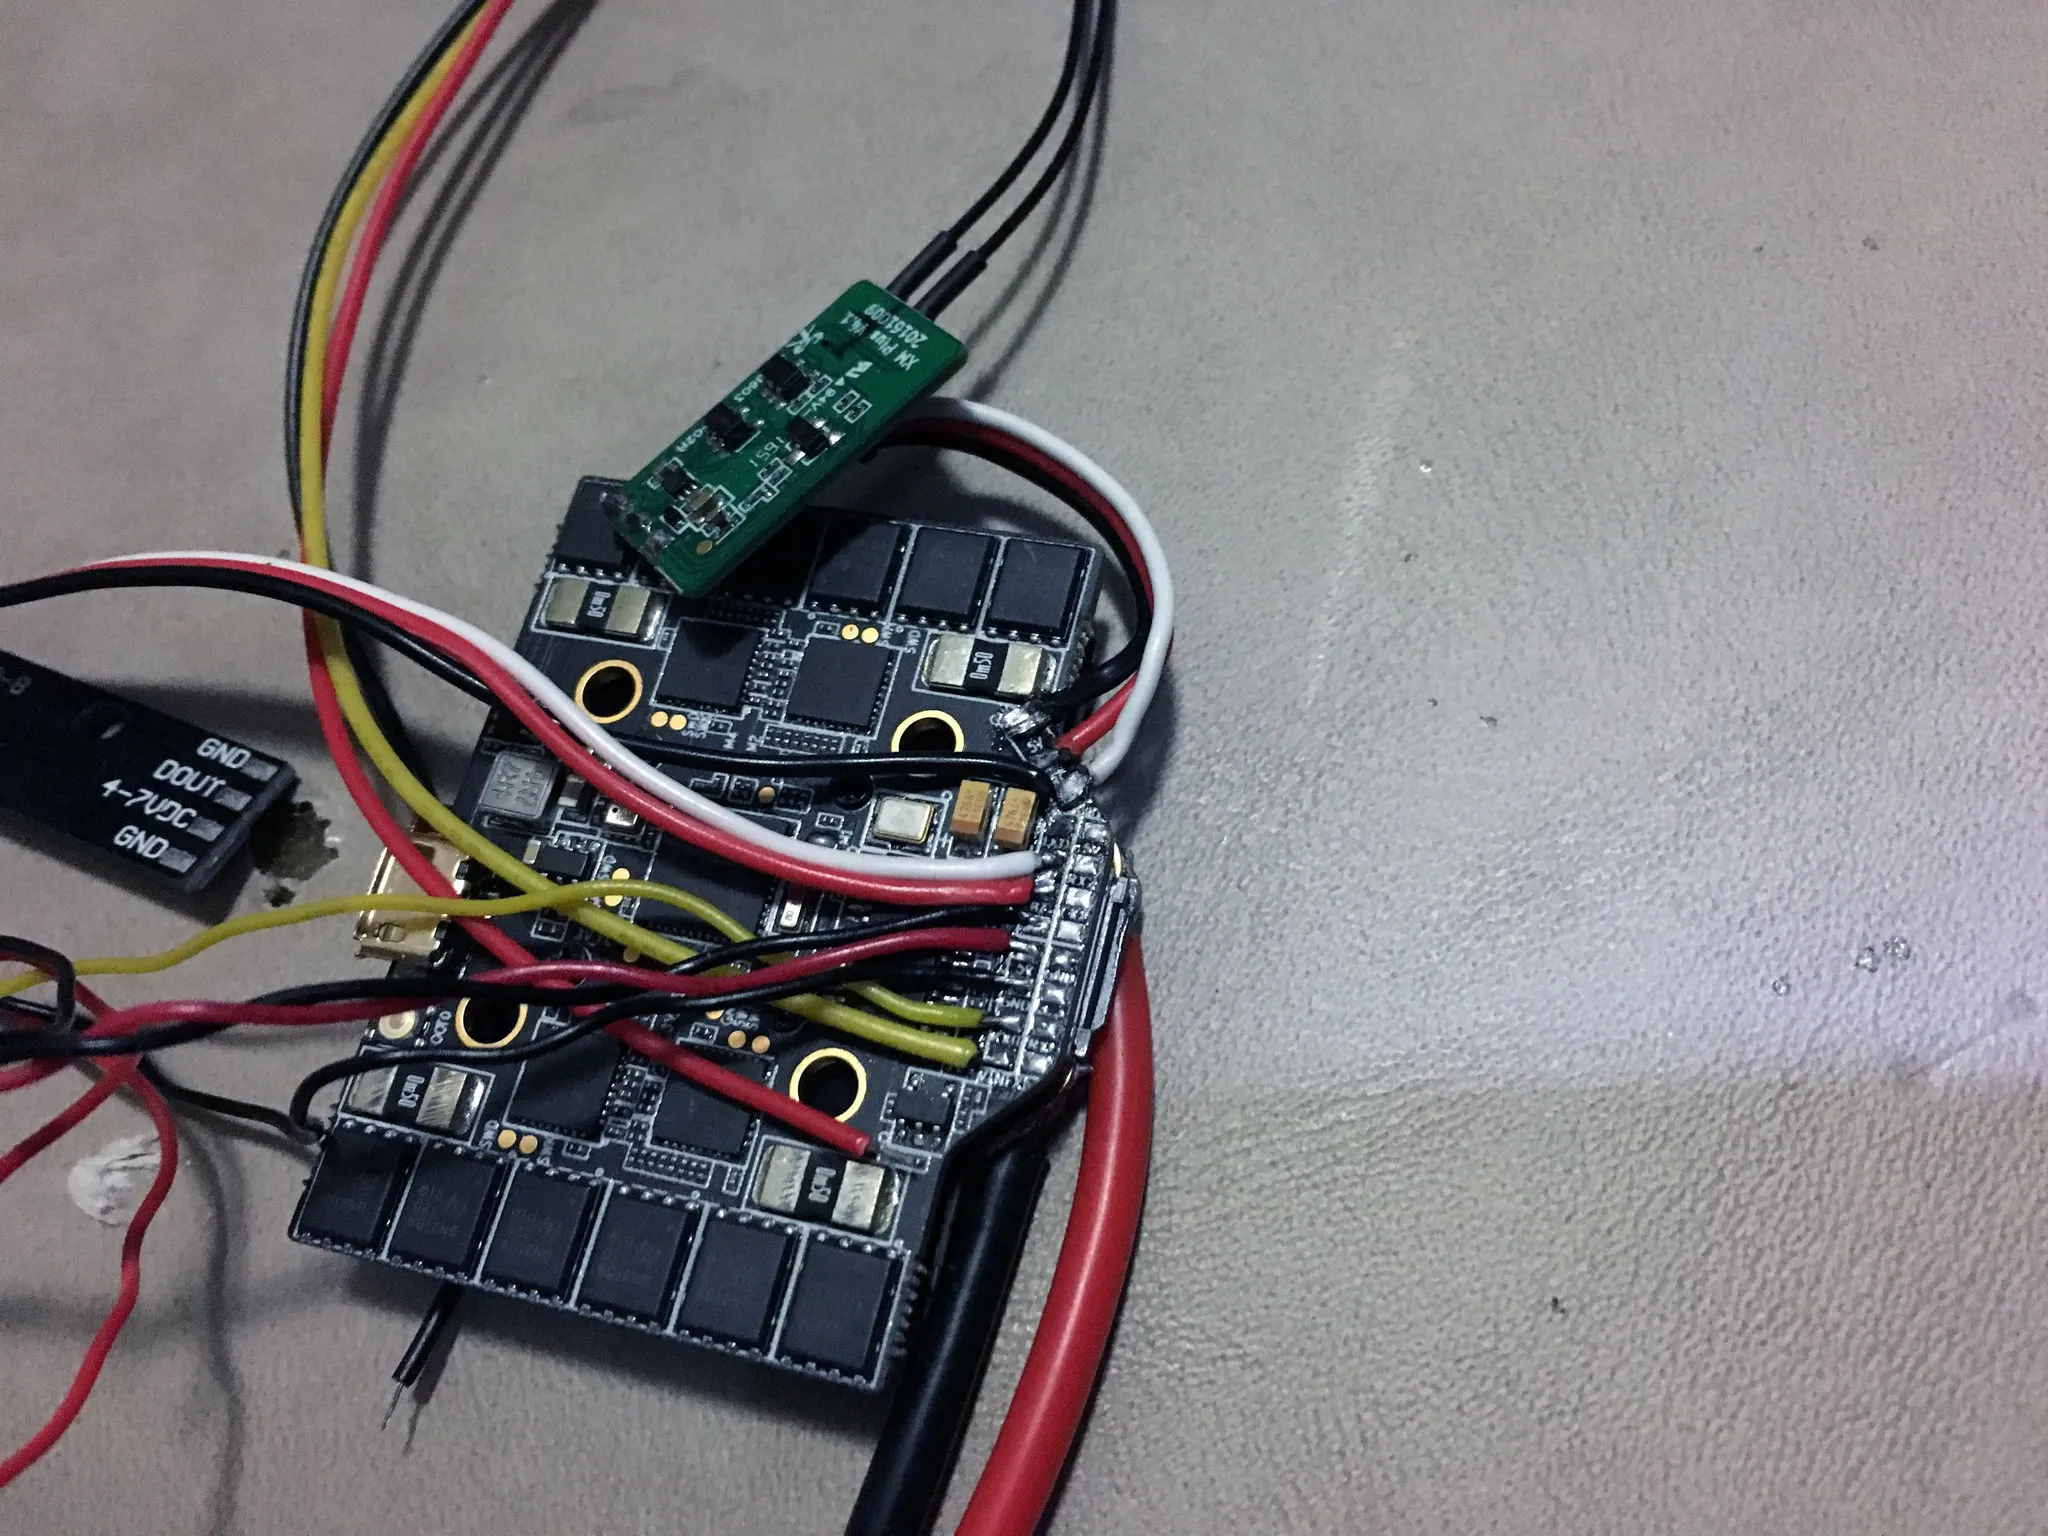
This next part is the hardest: soldering the XT-60 jumpers to the NOX. The key here is using a large tip on your soldering iron. I was trying to do this outside in the sub-50°F weather (don’t laugh, that’s cold for California!) and was having a really hard time with a 60W iron, but warming everything up by going inside made it much easier.
Next, I soldered on the RX with a ~4cm lead.
Get your camera lead, LED strip lead, VTX wiring harness, and buzzer wires ready to go by test fitting the lengths for each.
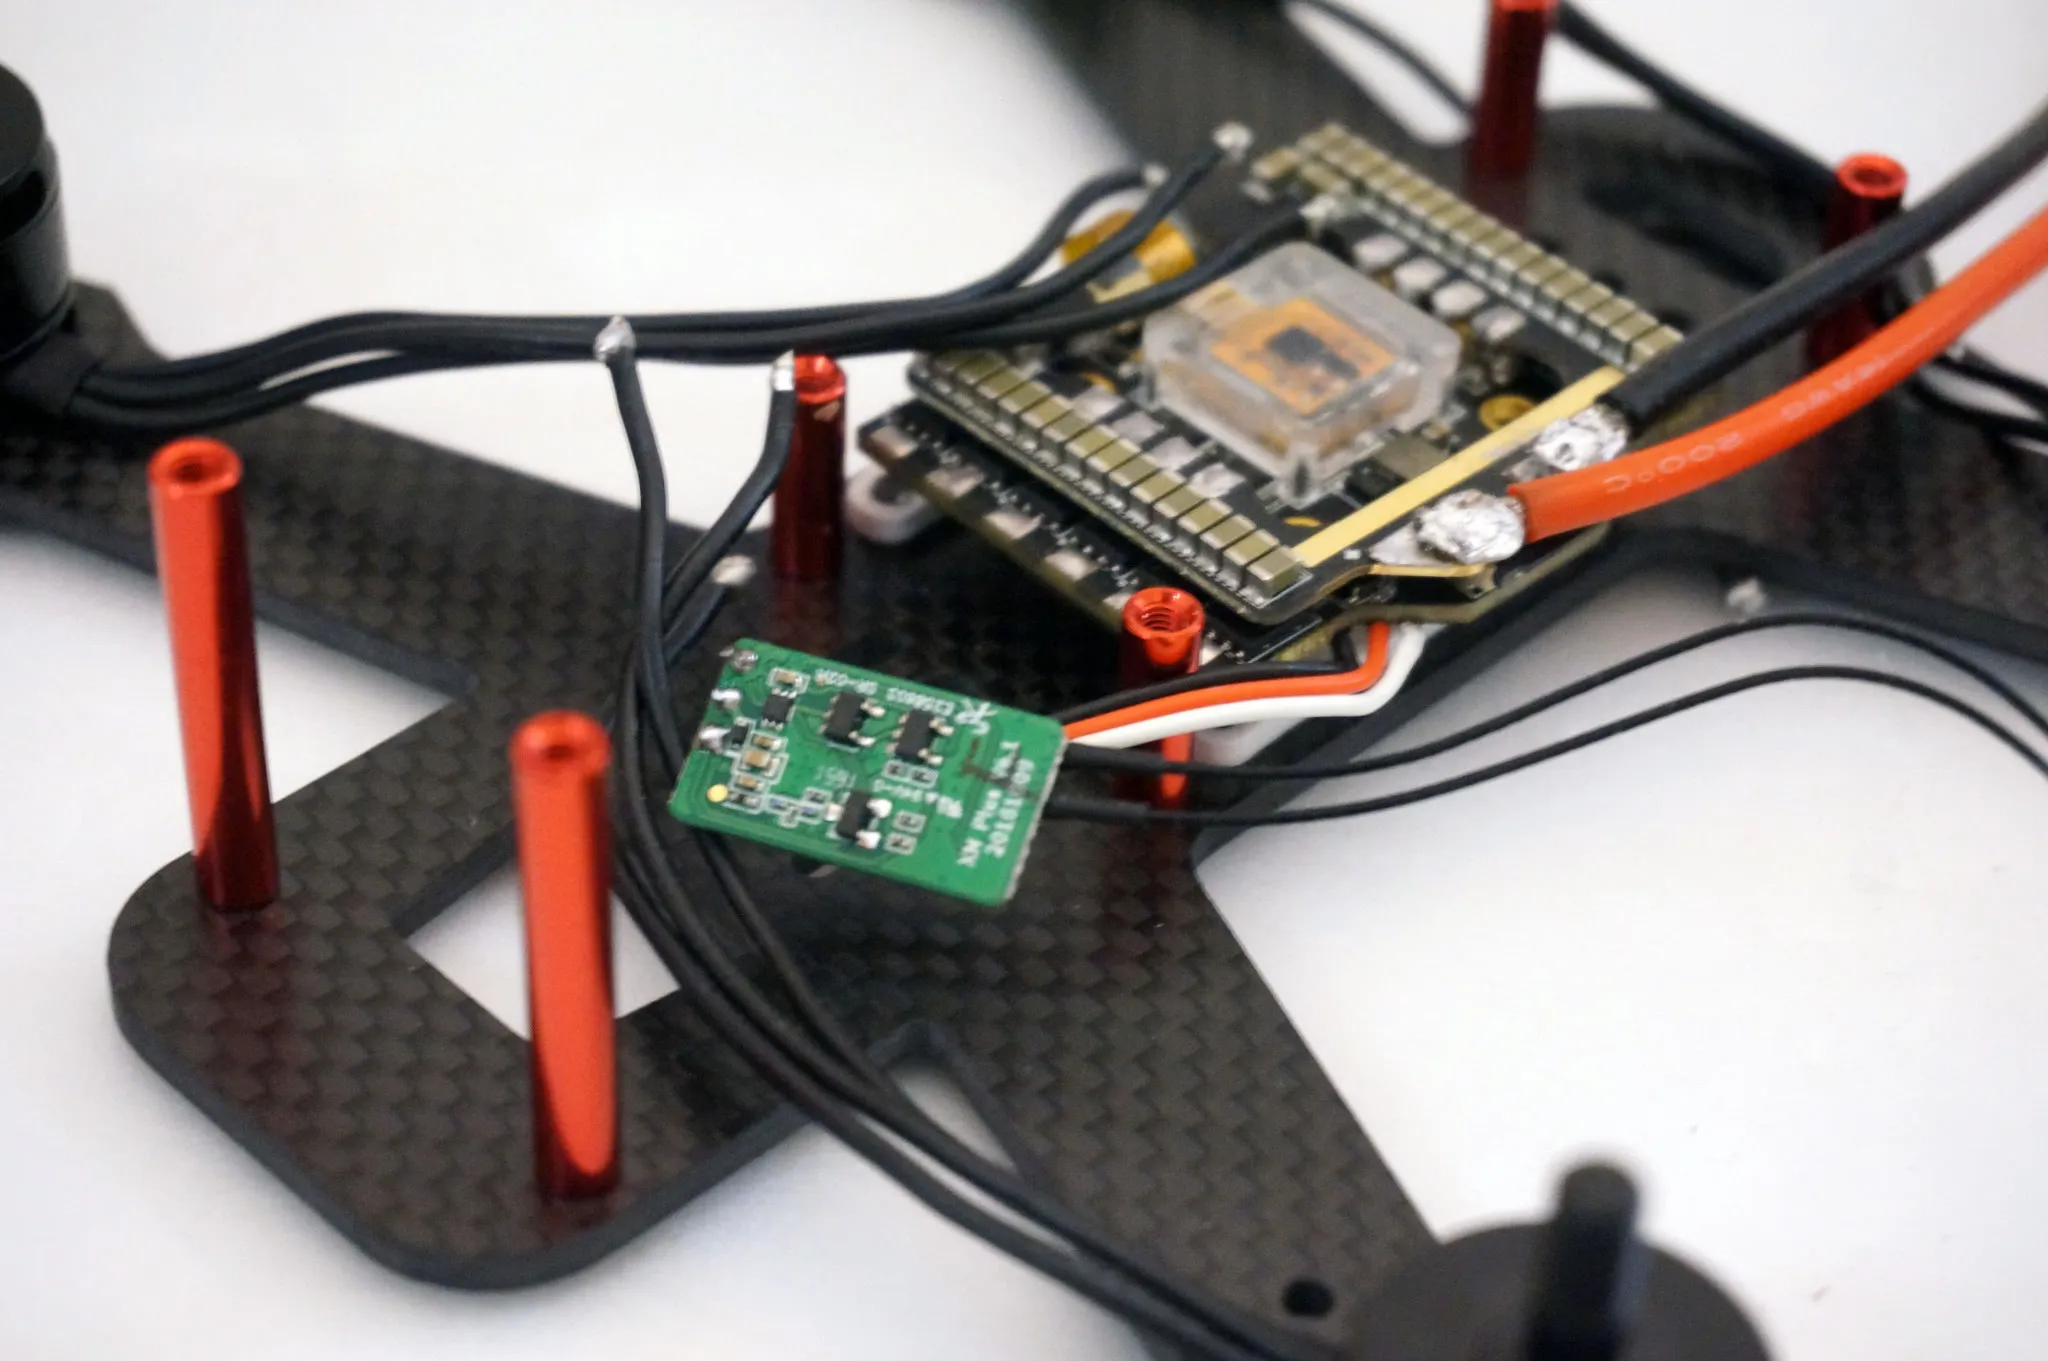
Solder them all onto their respective pads. From top to bottom we’ve got: RX, LED Strip, VTX, Camera.
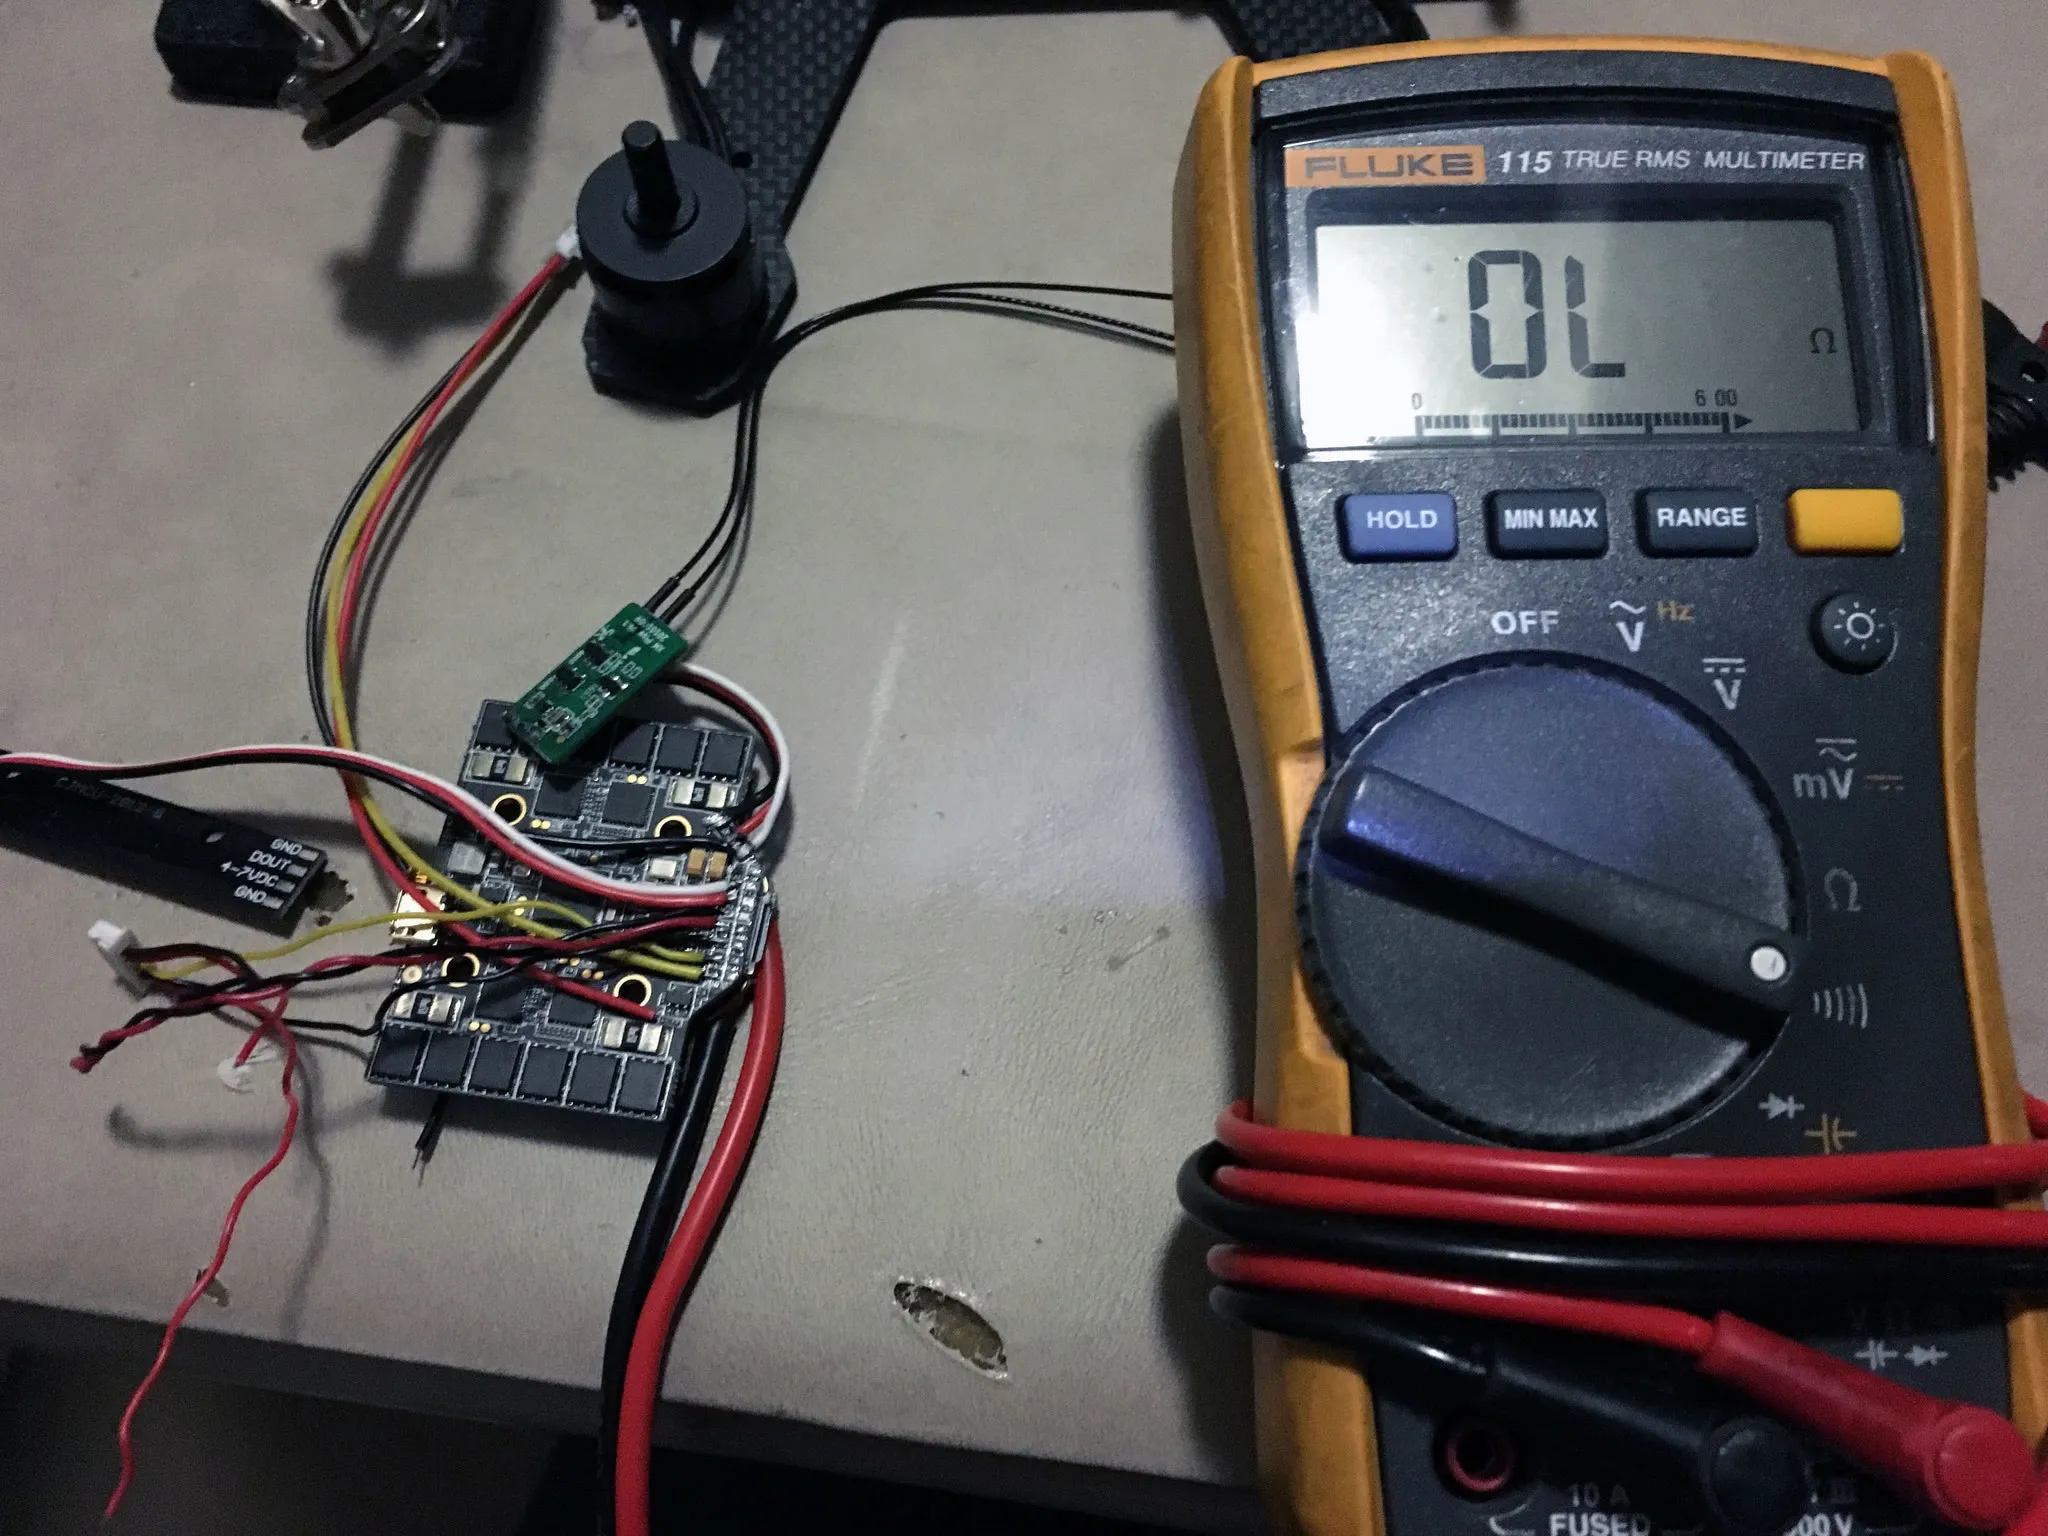
And check for shorts. Do this with the beep-mode of your multimeter: hold the ground probe on a ground pad and touch various other pins (that should not be grounded) to make sure it doesn’t beep!
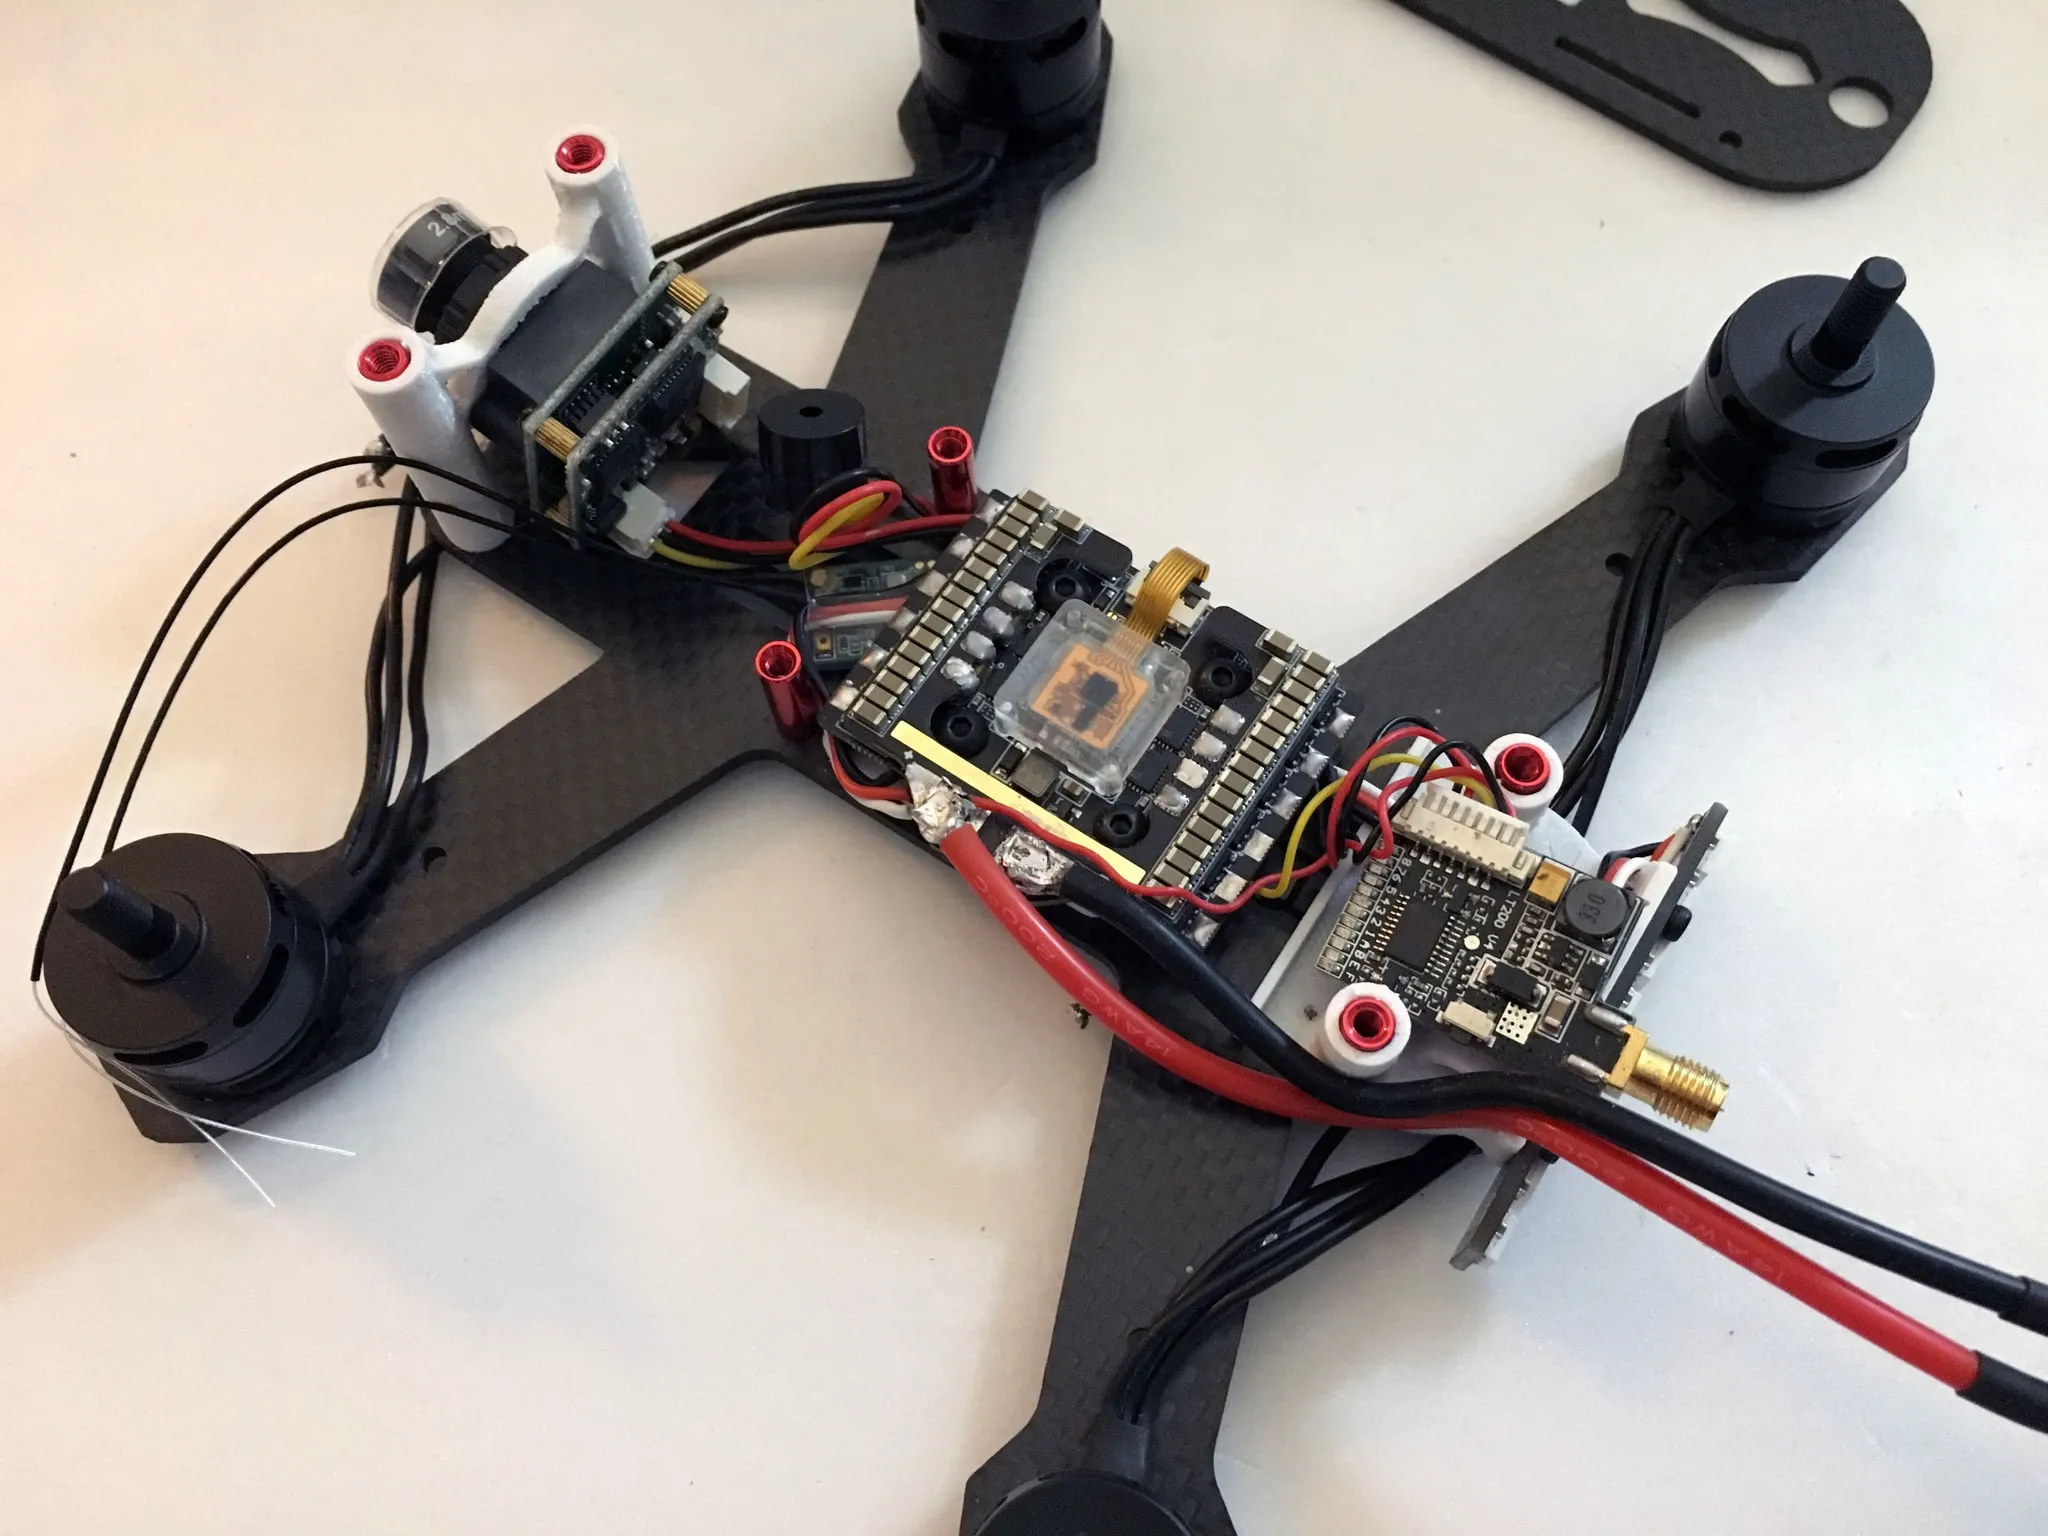
Bolt on the LED strip using 2x 2mm screws (3mm to 5mm length will work fine; you should have some extra that came with your motors).
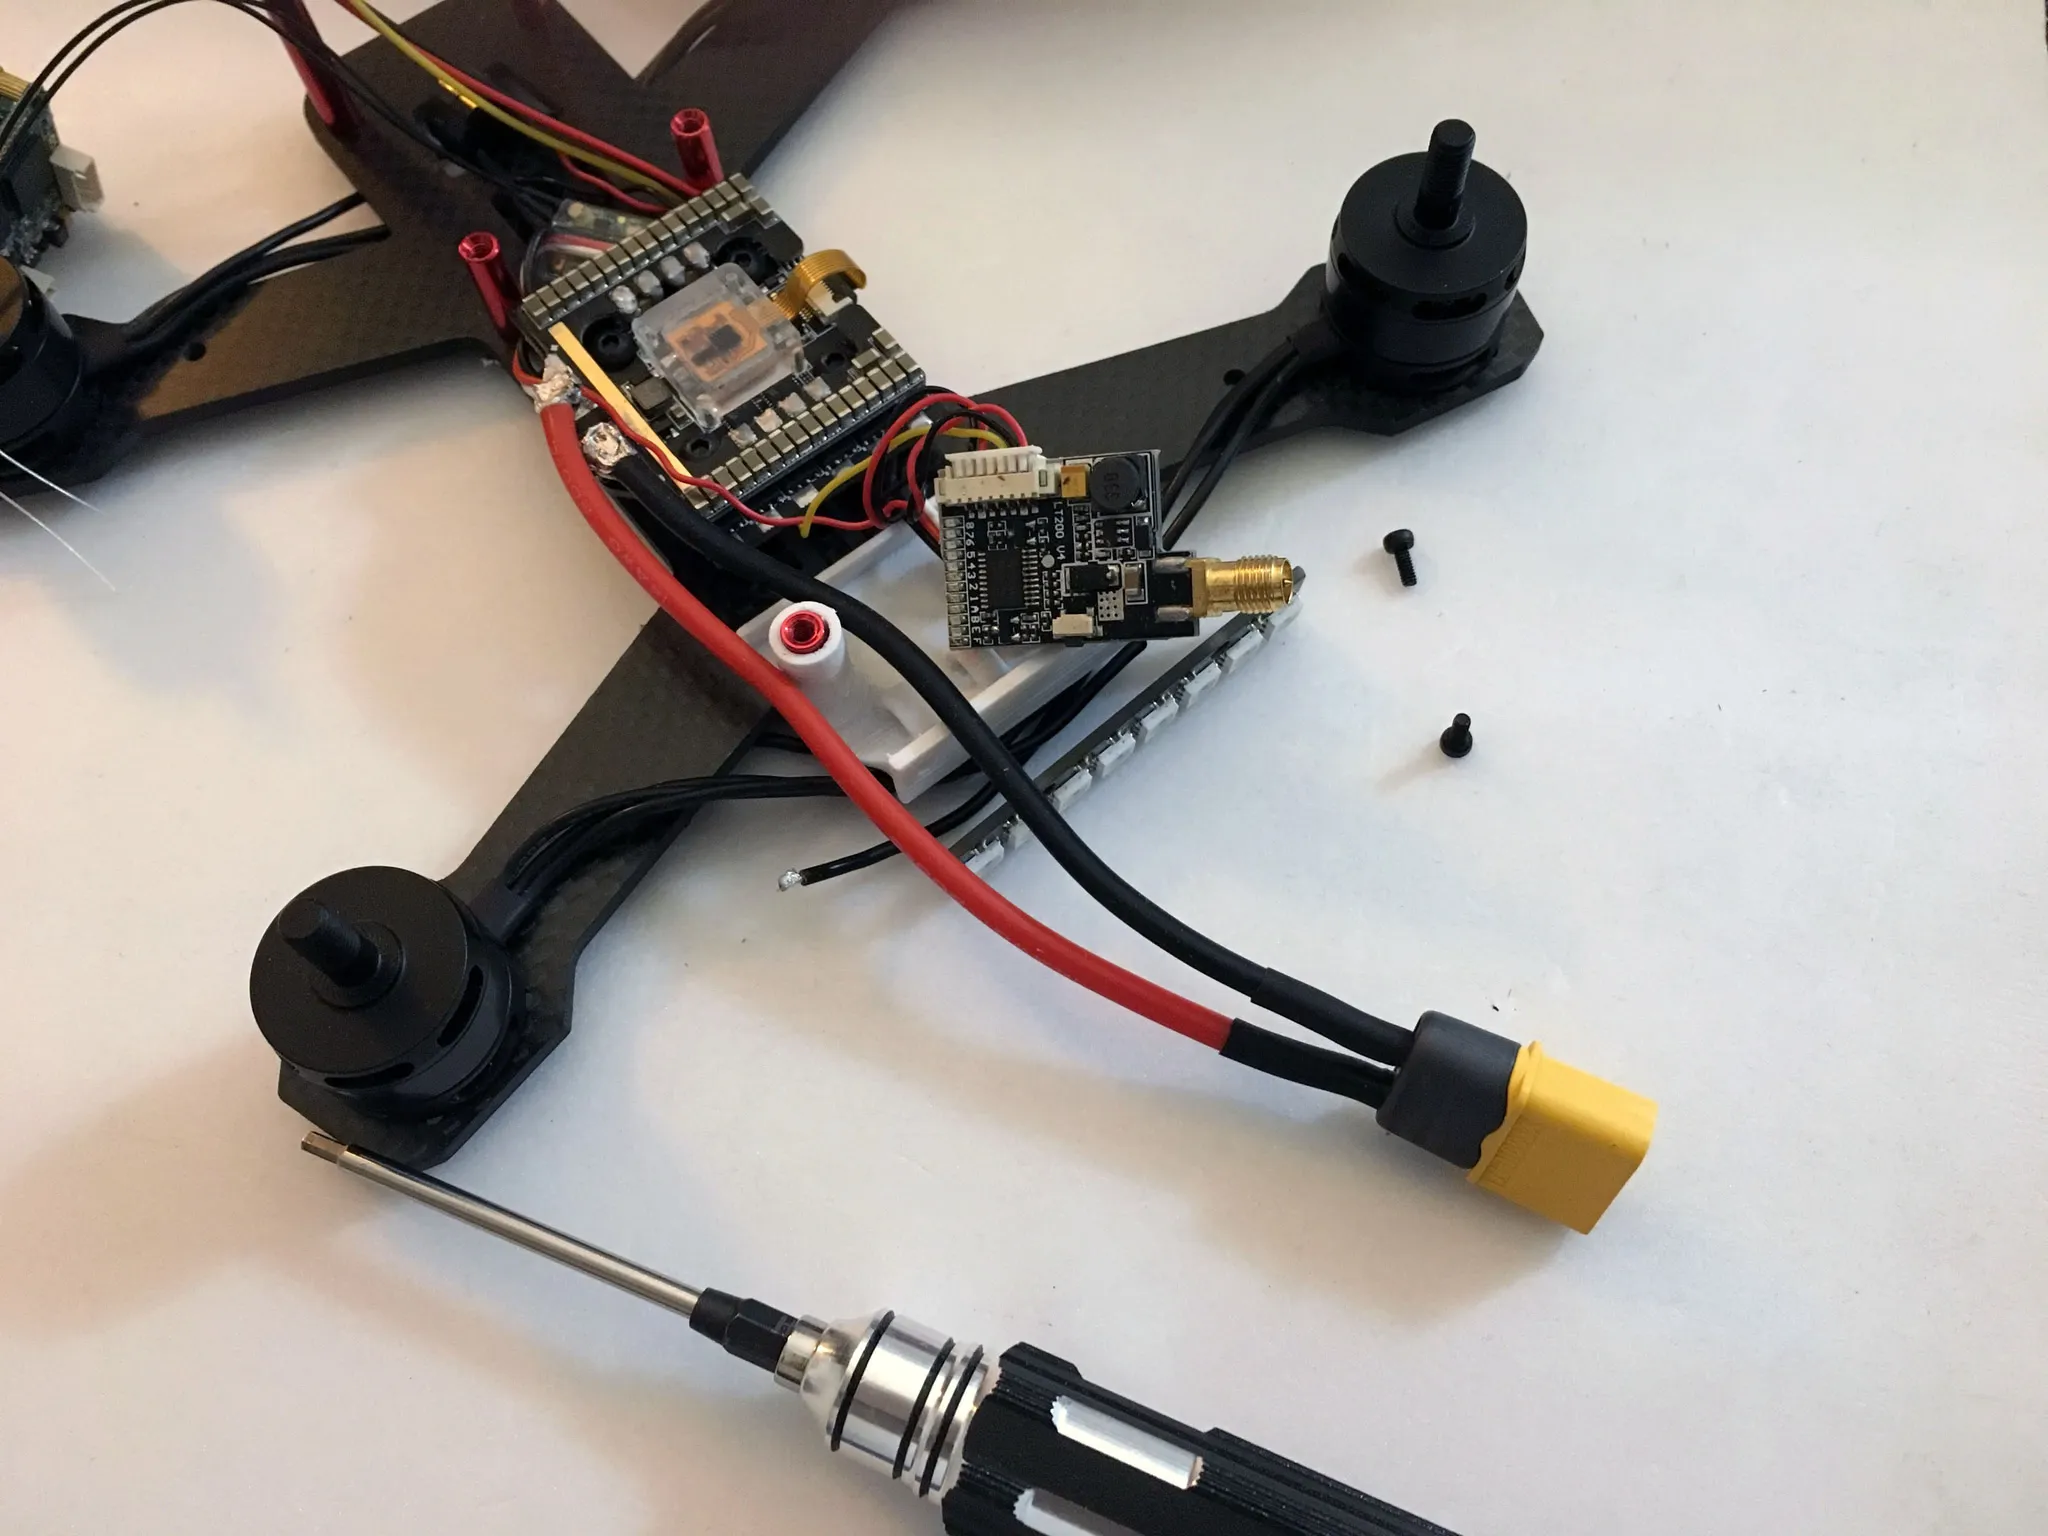
Attach the camera using 2x 2mm screws (3mm to 5mm length will work fine; you should have some extra that came with your motors).
Now is a good time to test everything. Plug the battery into the quad and plug the quad into the computer. Use a smoke stopper, just to be safe. Connect the Betaflight Configurator and make sure everything works.
Solder on the motors. Any order is fine, as we can adjust this later in the BLHeli Configurator.
I soldered the VTX power to the top of the battery lead.
Don’t forget to put the battery strap through the slots on the top carbon fiber piece before final assembly!
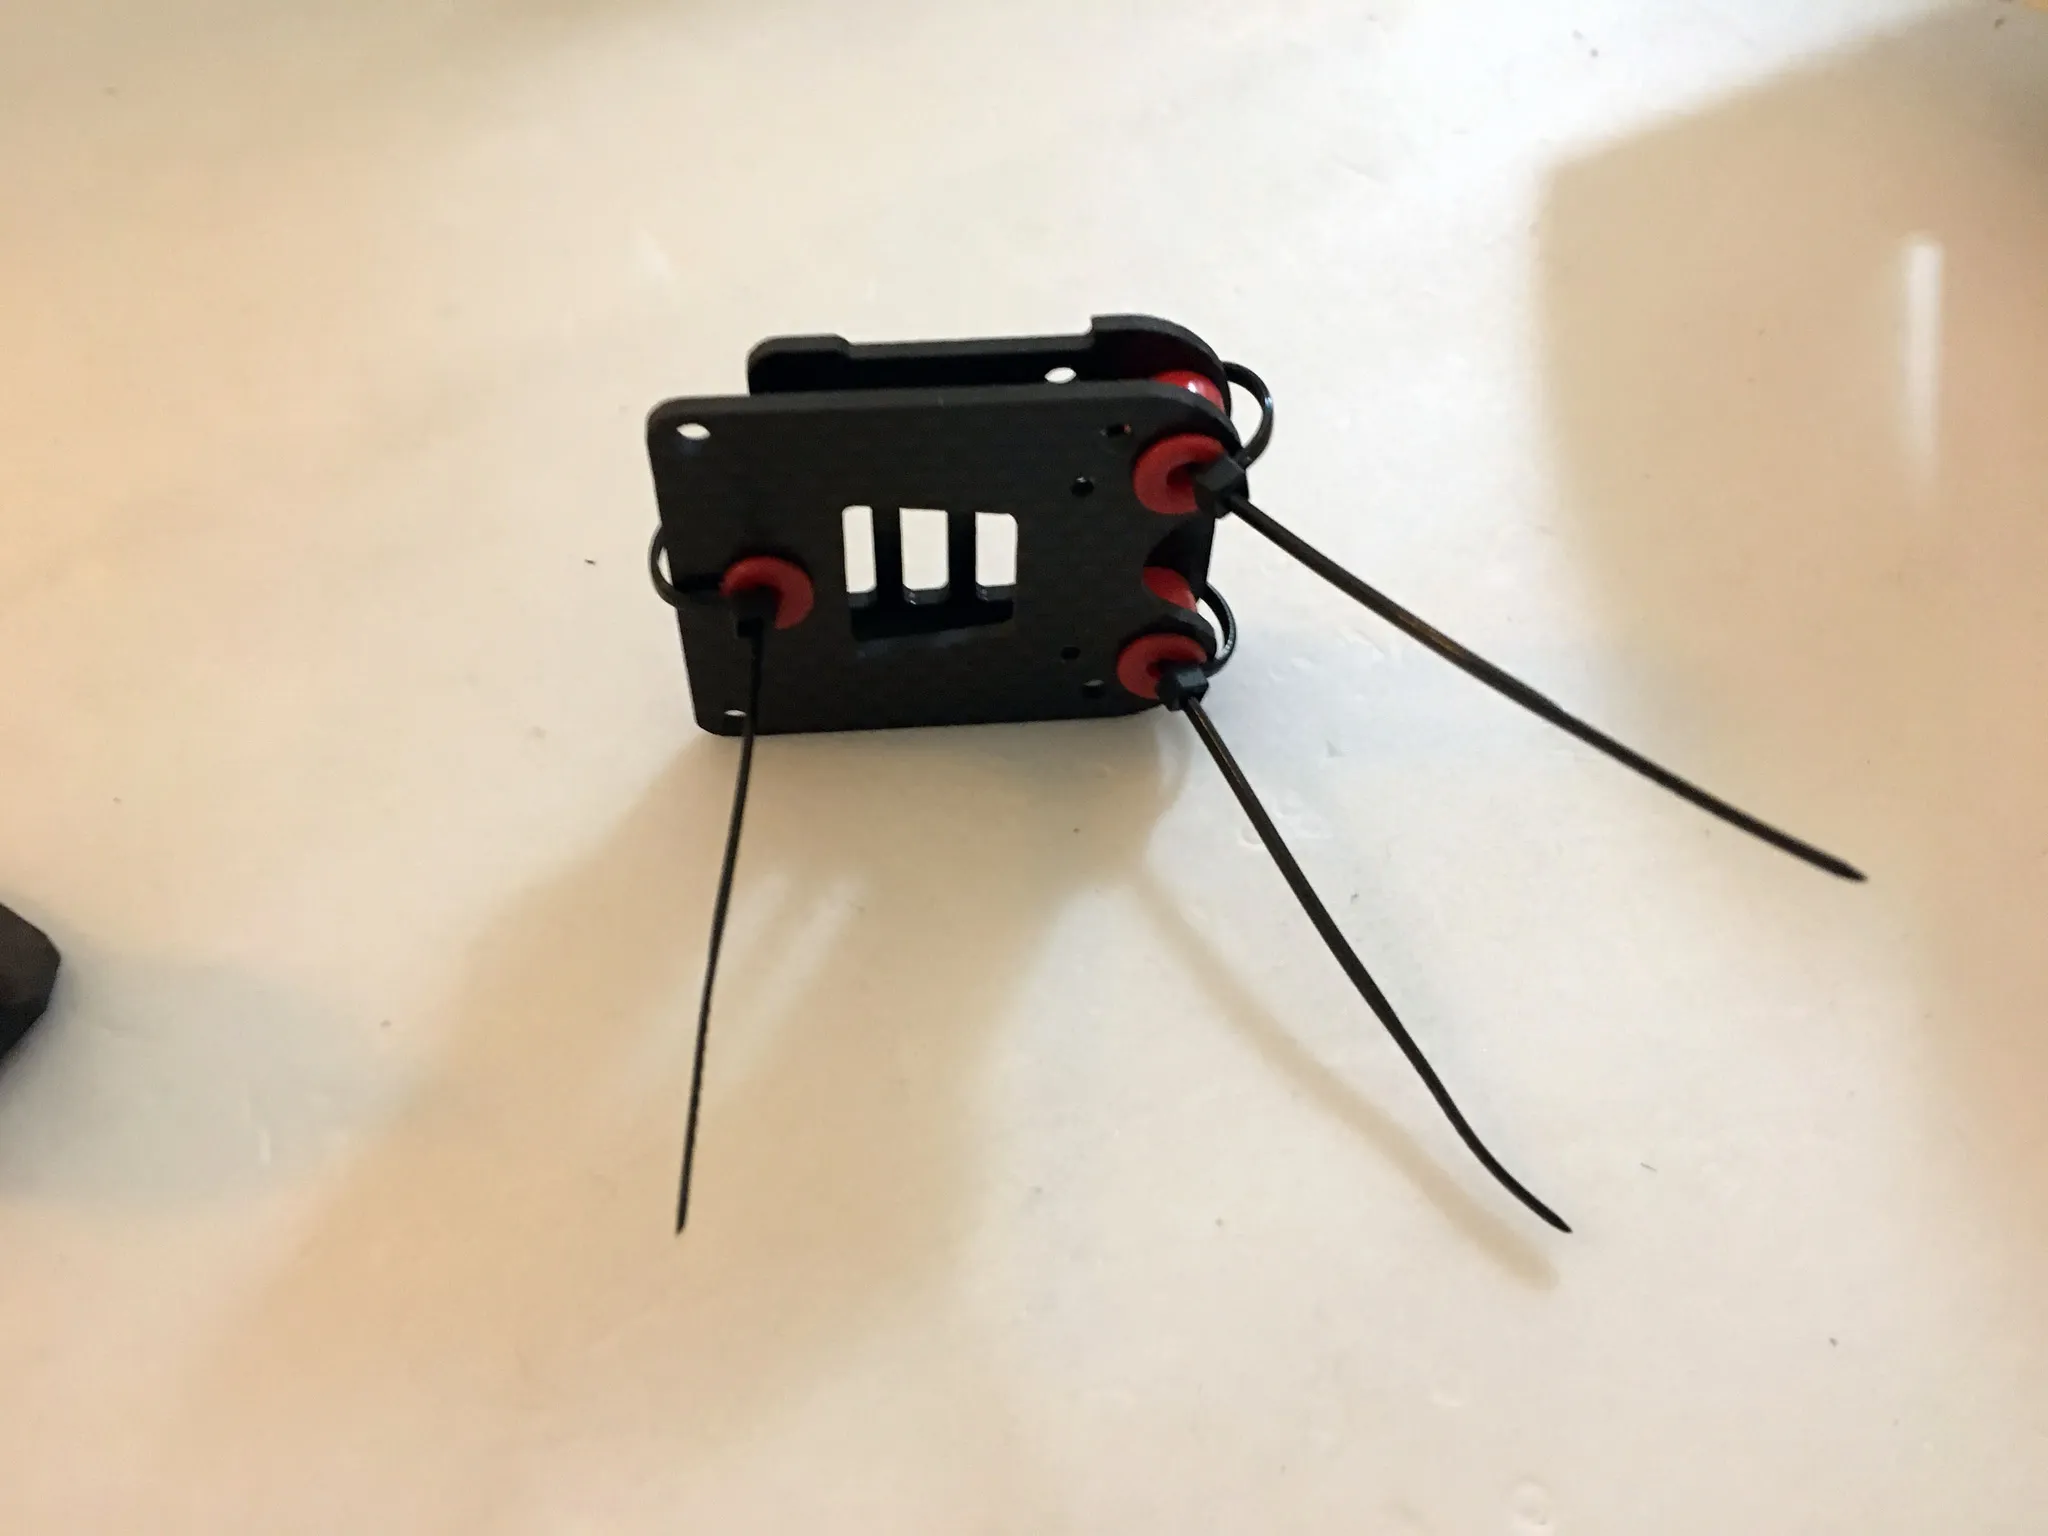
Zip-tie down the dampened camera mount, if you have one. You don’t want to lose all the grommets on the first crash.
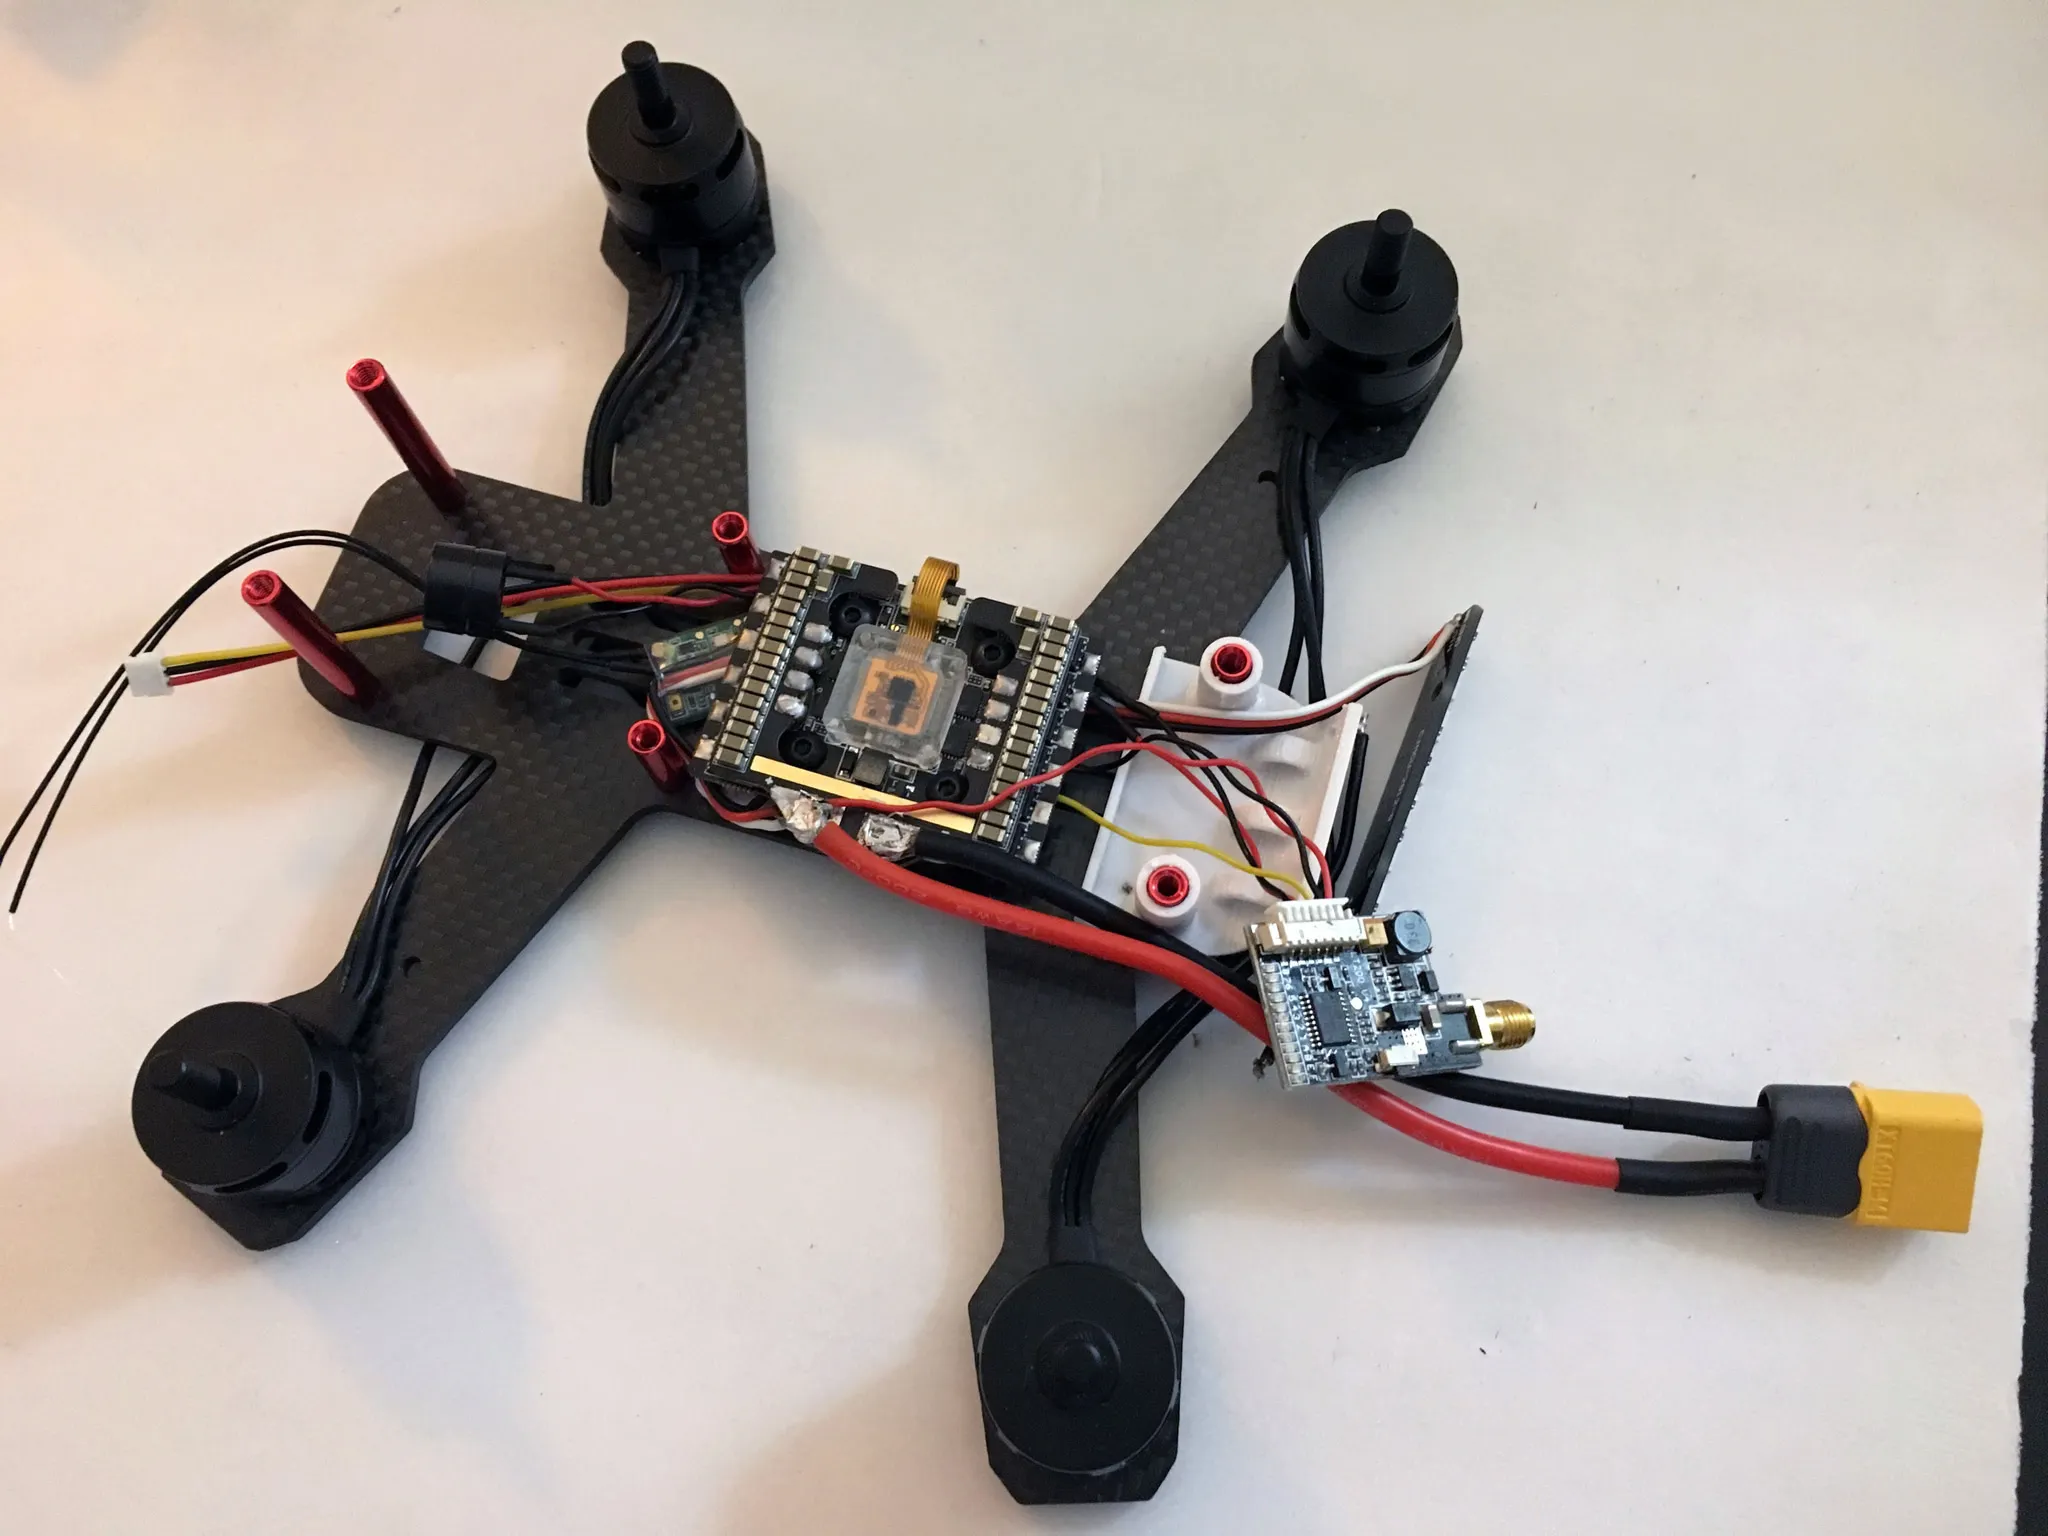
Mounted and ready to fly!

Config
Here’s my Betaflight 3.2.4 configuration for the NOX: nox180.txt.